I decided to do this little project for a couple reasons:
#1. To remember to pray everyday, actually that was the only reason and I think that's a good enough one. So I went to my favorite store Joann Fabrics in Milford and picked up a few letters....P-R-A-Y. I bought two of each, one set for myself, and one set for my sister (who's birthday it was). However, my other sister wants one sooooooooo I'll give her mine and I'll buy more and make another one.
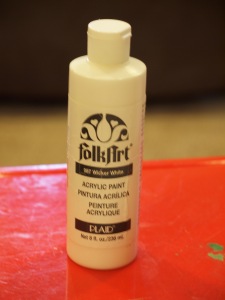
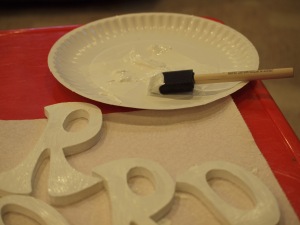 Using Folk Art Acrylic Paint in Wicker White I painted each letter (front, back, edges) I prefer using a sponge brush so none of the bristles end up painted on to the project. Let dry completely, obviously!
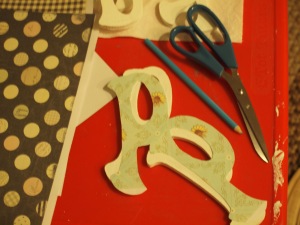
Using my K&Company "Best of Brenda Walton" (12 x 12) Paper Pad I chose the paper that I wanted to use for each letter and traced the wooden letter onto the paper and cut it out, yup it's a little tedious, but someone had to do it!
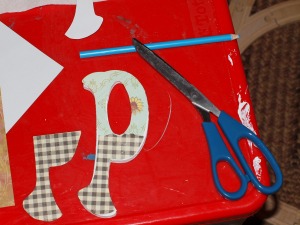
For 2 of my letters I decided to layer a couple different patters of paper. I traced the letter and ripped the top edge because I like that ripped old look.
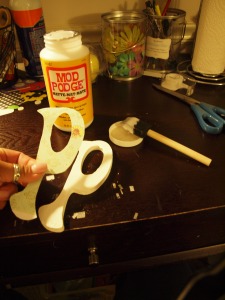 Using Mod Podge and my handy dandy sponge brush I glued the paper onto the wood letter. Since my "P" and my "A" had 2 layers, I glued the top layer on using Mod Podge as well. Really press down and smooth out the paper so you don't get bubbles and/or creases.
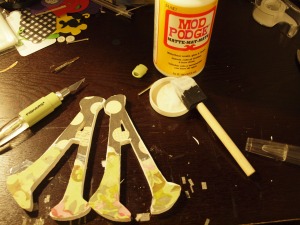 After all patterns are "Mod Podged" onto the wooden letters and dried completey I used my craft knife to go around the letter and cut off any excess paper that might hang over the edge.
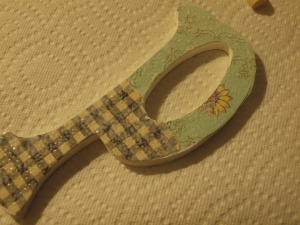 I used mod podge once again over top of the paper. I used my sponge brush and brushed a layer on covering the letter completely. I wasn't a fan of the streaks so by dabbing the sponge brush over the letter instead of brushing I gave it a pretty cool texture. Kinda bumpy looking. Let that dry completely too!
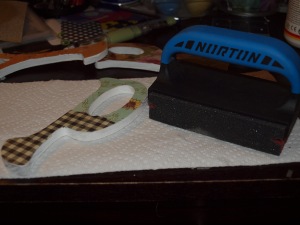 After the letters dry completely (and I'm serious it's gotta be totally dry cause sanding it will not work to well) I sanded the edges to give it a little worn in look. I roughed it up in some spots more then others. The paper ripped in a couple spots where it wasn't completely dry, but I was ok with it cause it looked cool still. I didn't have a good amount of sand paper to choose from so I grabbed whatever my father had laying around in the garage.
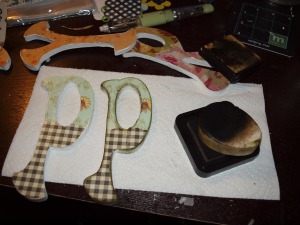 I used my Distress Ink Pad in Walnut Stain along with my makeup sponge (clearly not used for makeup anymore!) and rubbed the edges to give it an older look. See the difference!? Love it! Don't forget give a little "distress" to the sides of the letter cause those babies are still bright wicker white!
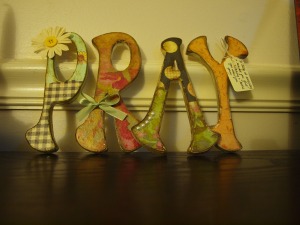
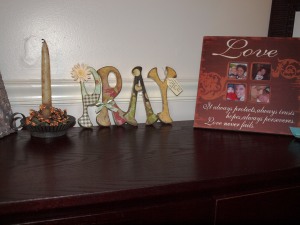
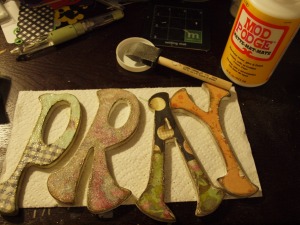 I hope you didn't put away the mod podge yet! After i distressed the letters with the ink pad I brushed another layer of mod podge and then dabbed the sponge to give it that same textured look as the first layer instead of the streaks. And there ya go. Once its dried your done. I, of course, took the liberty of taking it a step further and decorating the decoration.
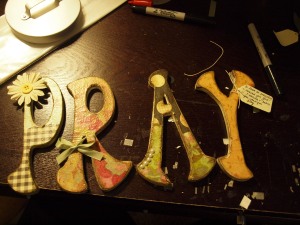 A little flower with button center on the "P", a bow on the "R", there are a few pearl embellishments going up the "A" and there is a tag on the "Y" which reads......
To look at everyday & remember God is listening & hears you when you pray
I thought of that all on my own, cute huh!? Anyway, you can go crazy with decorating the letters but I liked it a little more subtle.
I chose to lean the letters against a wall on a shelf, but you can also hang them on the wall using the 3M velcro strips.
No comments:
Post a Comment