Sunday, December 9, 2012

A beautiful reminder


I decided to do this little project for a couple reasons:
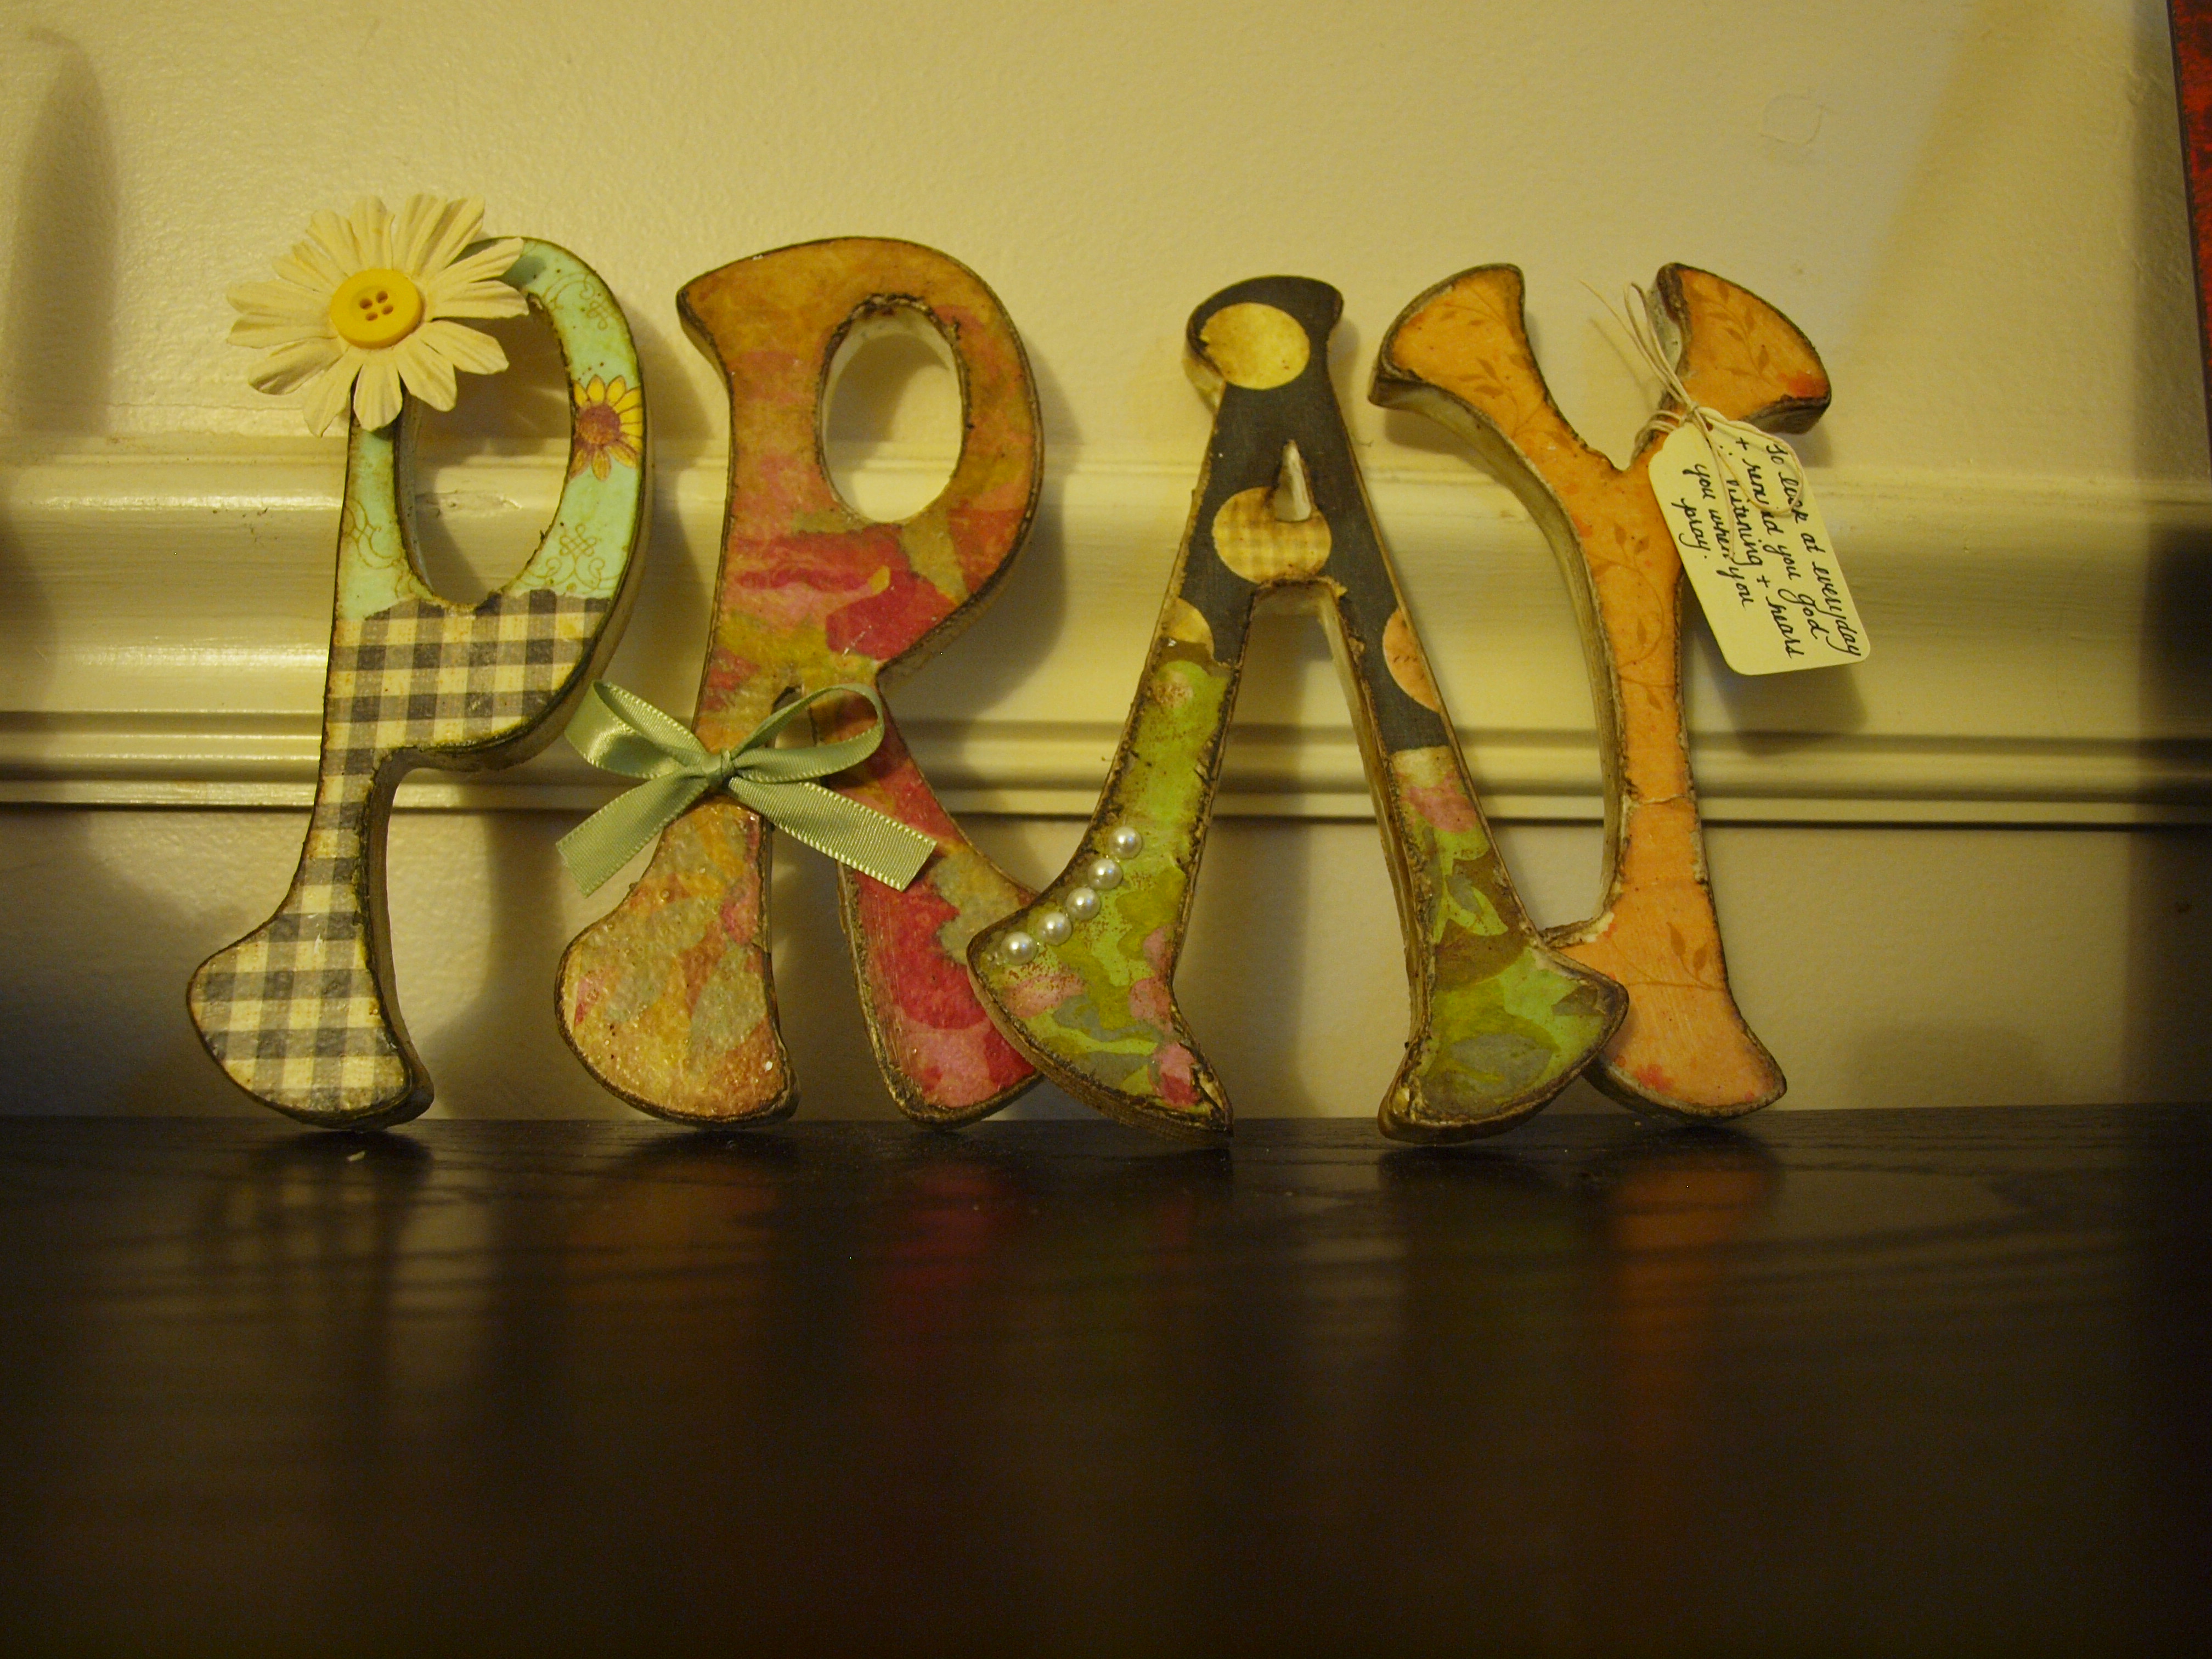
#1. To remember to pray everyday, actually that was the only reason and I think that's a good enough one. So I went to my favorite store Joann Fabrics in Milford and picked up a few letters....P-R-A-Y. I bought two of each, one set for myself, and one set for my sister (who's birthday it was).  However, my other sister wants one sooooooooo I'll give her mine and I'll buy more and make another one.
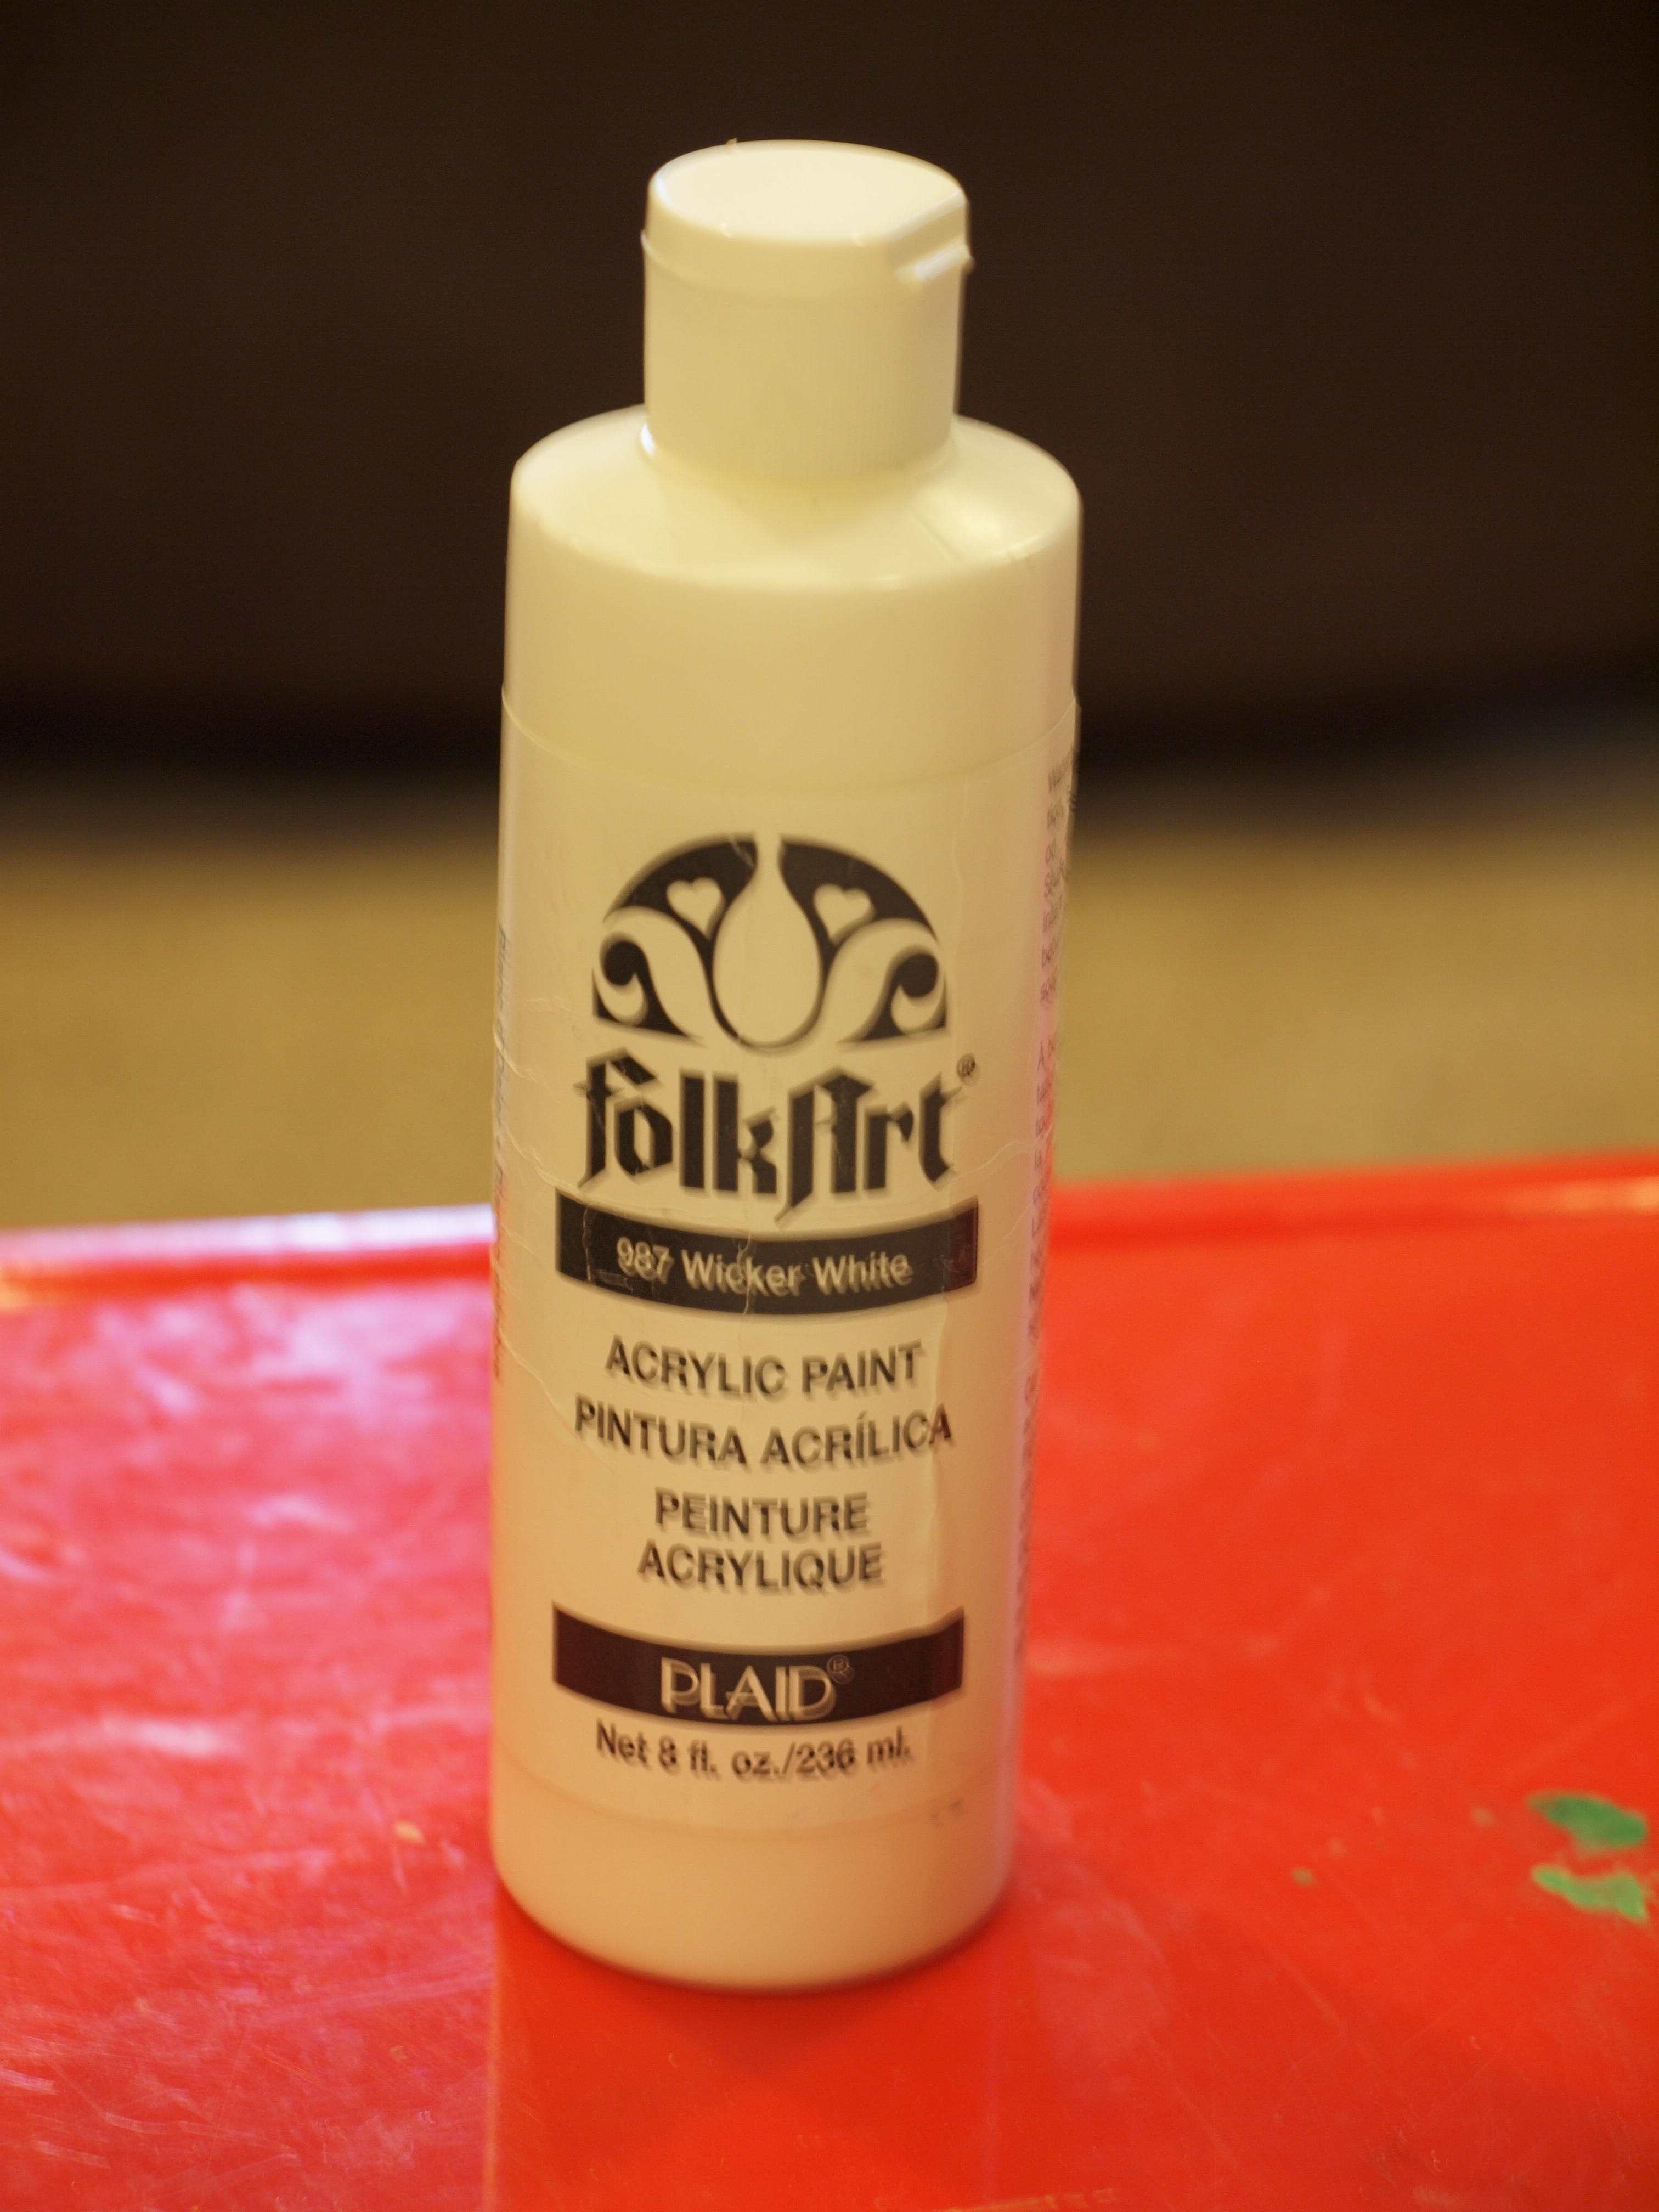
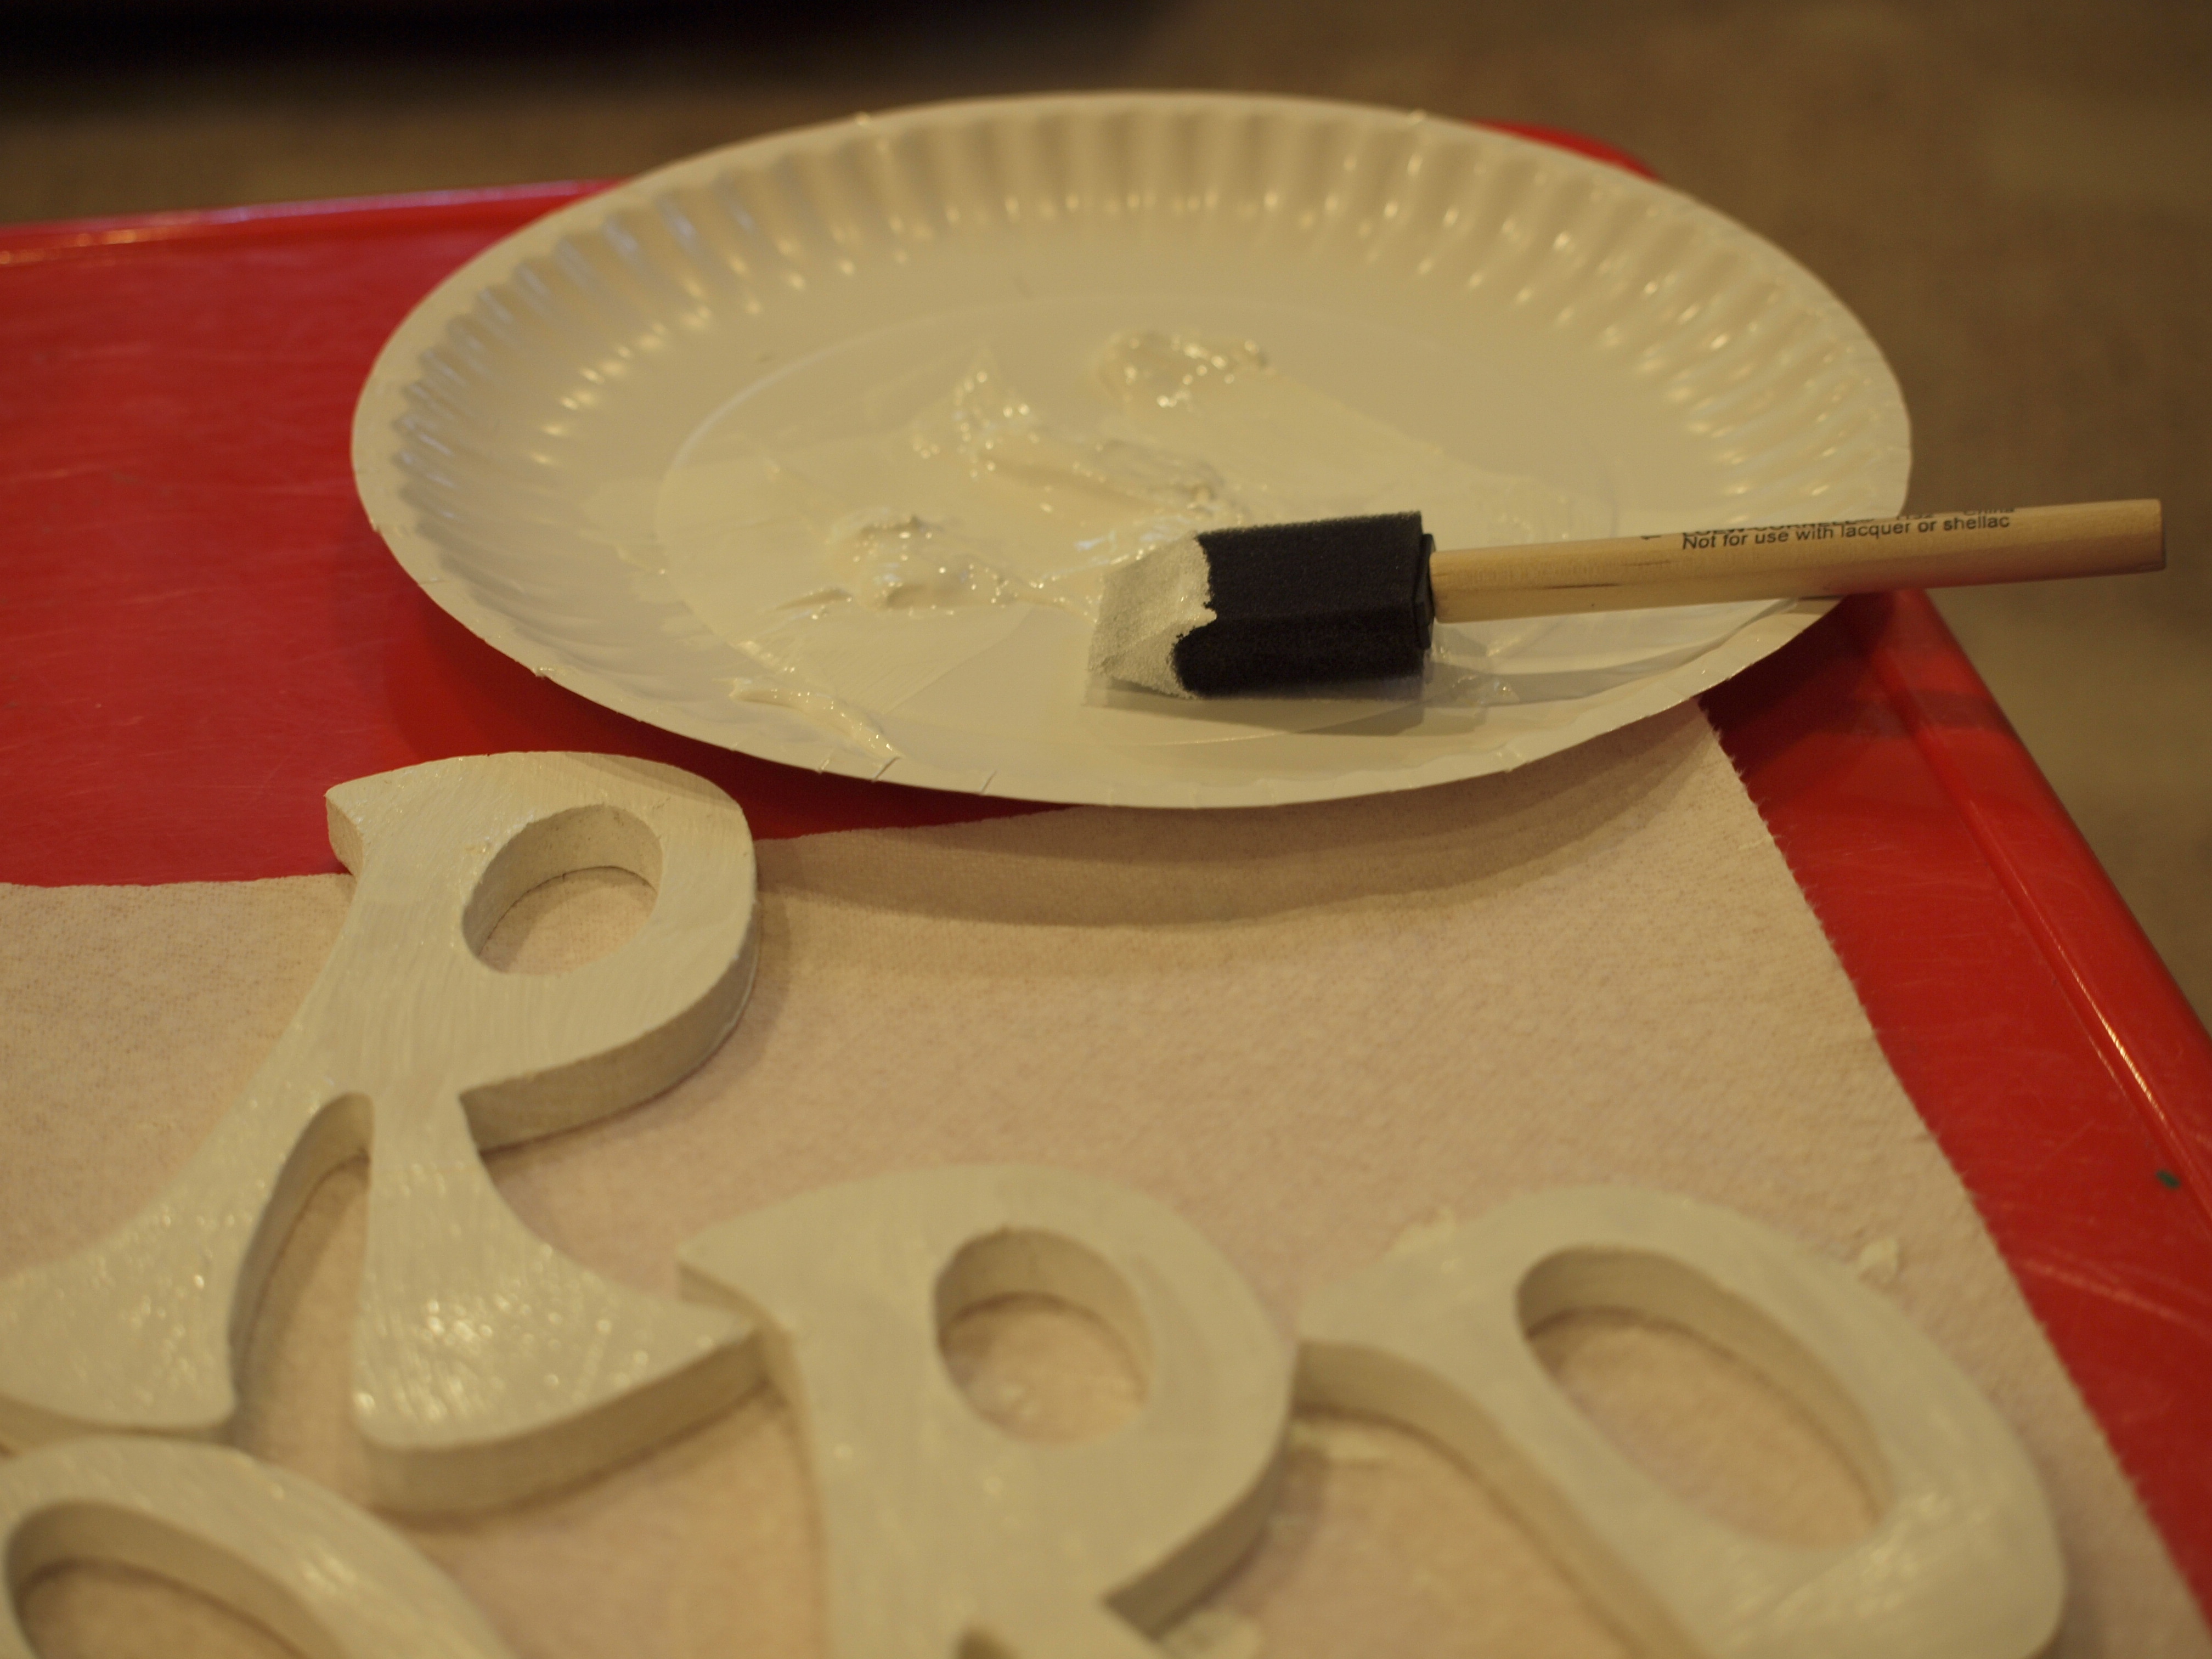
Using Folk Art Acrylic Paint in Wicker White I painted each letter (front, back, edges) I prefer using a sponge brush so none of the bristles end up painted on to the project.  Let dry completely, obviously!
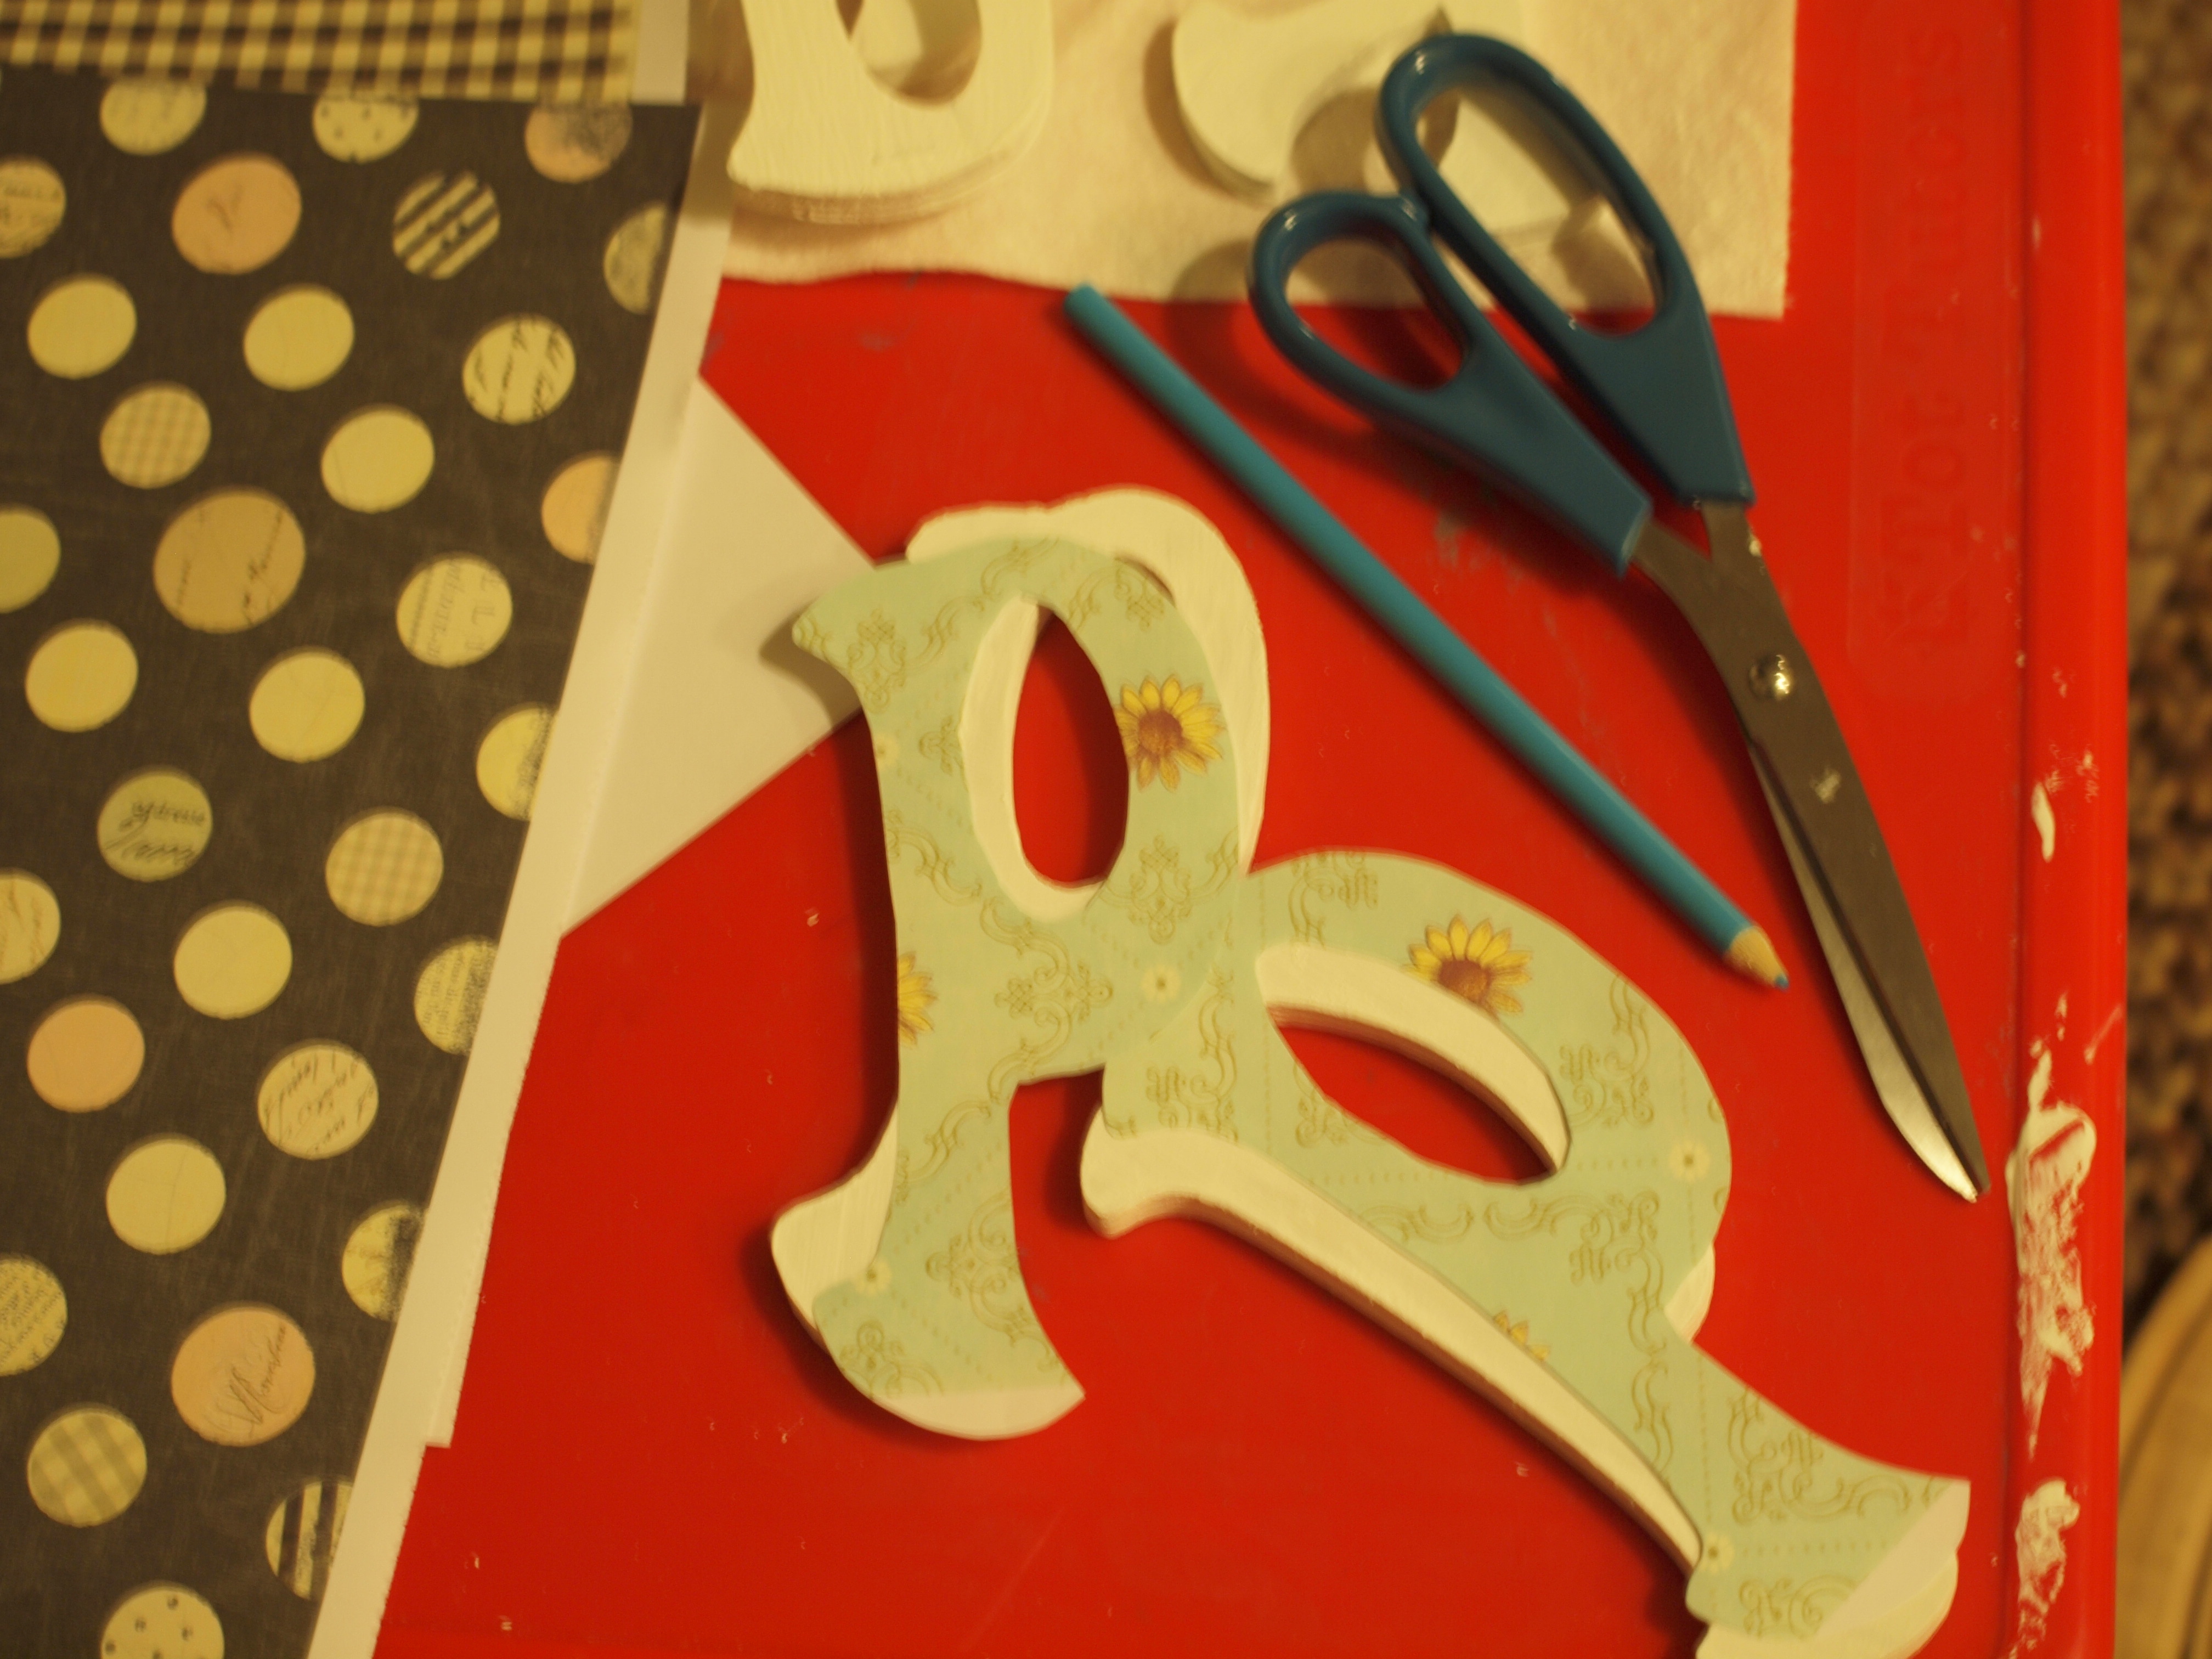
Using my K&Company "Best of Brenda Walton" (12 x 12) Paper Pad I chose the paper that I wanted to use for each letter and traced the wooden letter onto the paper and cut it out, yup it's a little tedious, but someone had to do it!
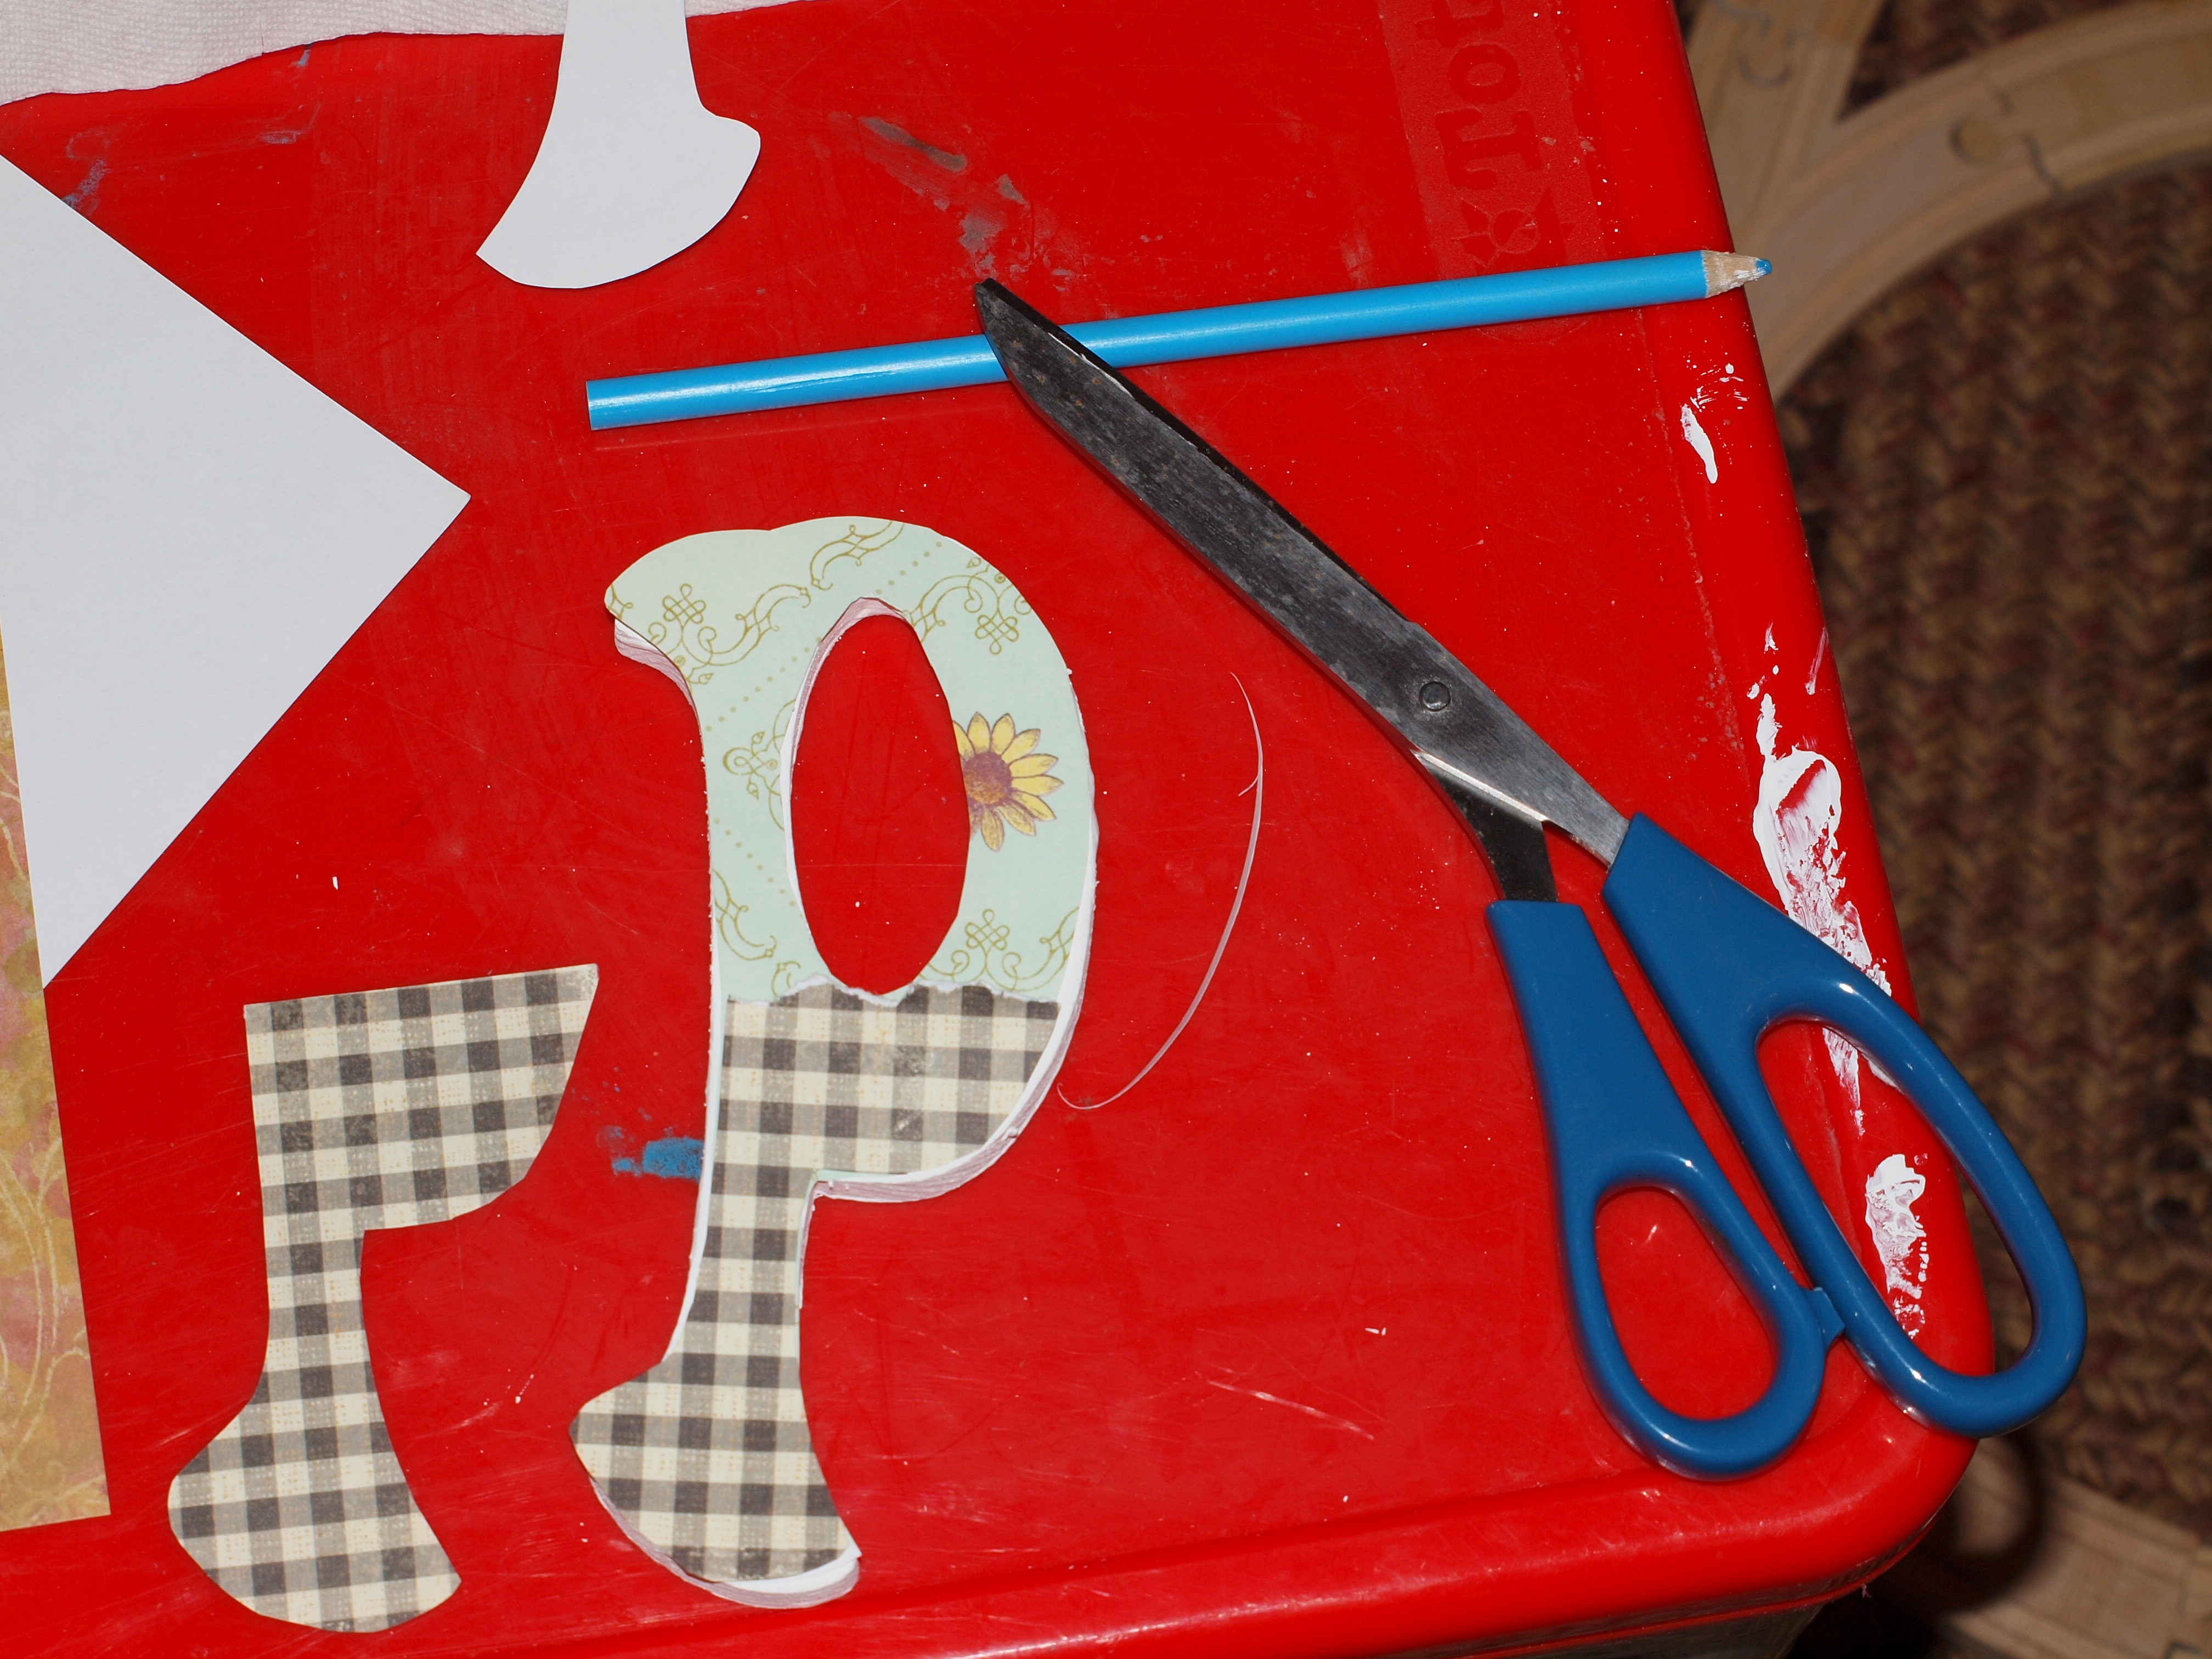
For 2 of my letters I decided to layer a couple different patters of paper.  I traced the letter and ripped the top edge because I like that ripped old look.
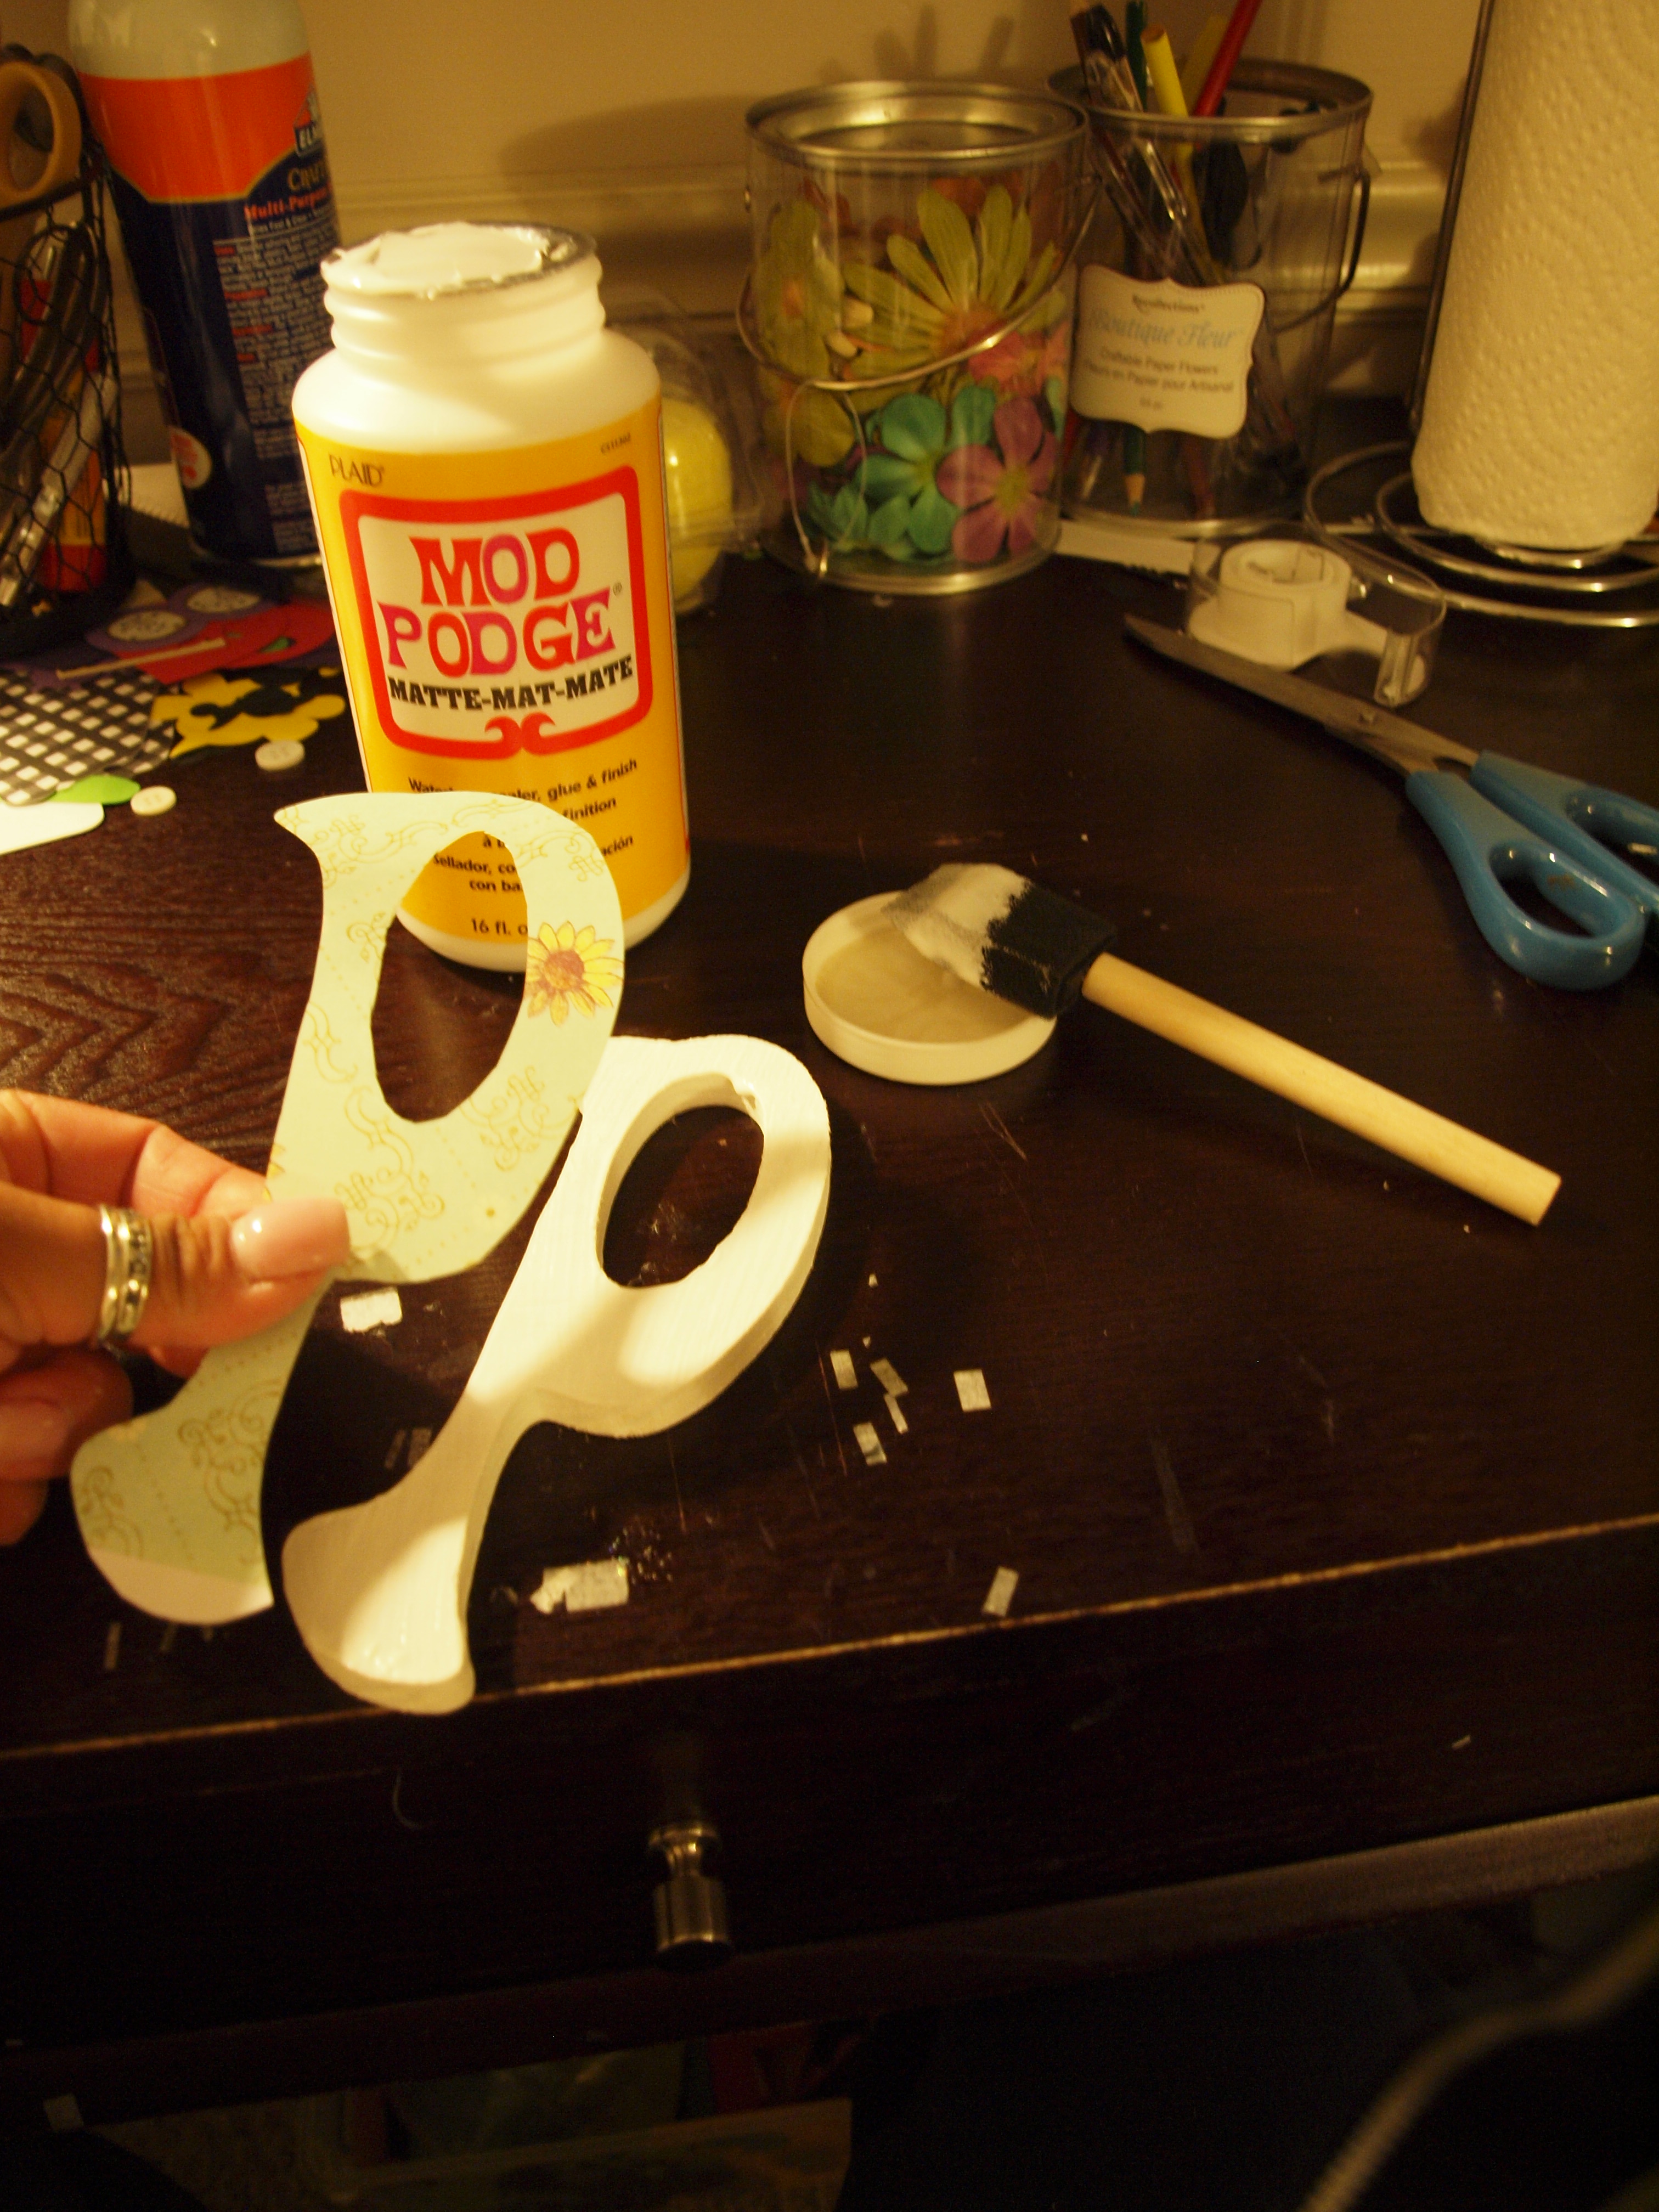
Using Mod Podge and my handy dandy sponge brush I glued the paper onto the wood letter.  Since my "P" and my "A" had 2 layers, I glued the top layer on using Mod Podge as well.  Really press down and smooth out the paper so you don't get bubbles and/or creases.
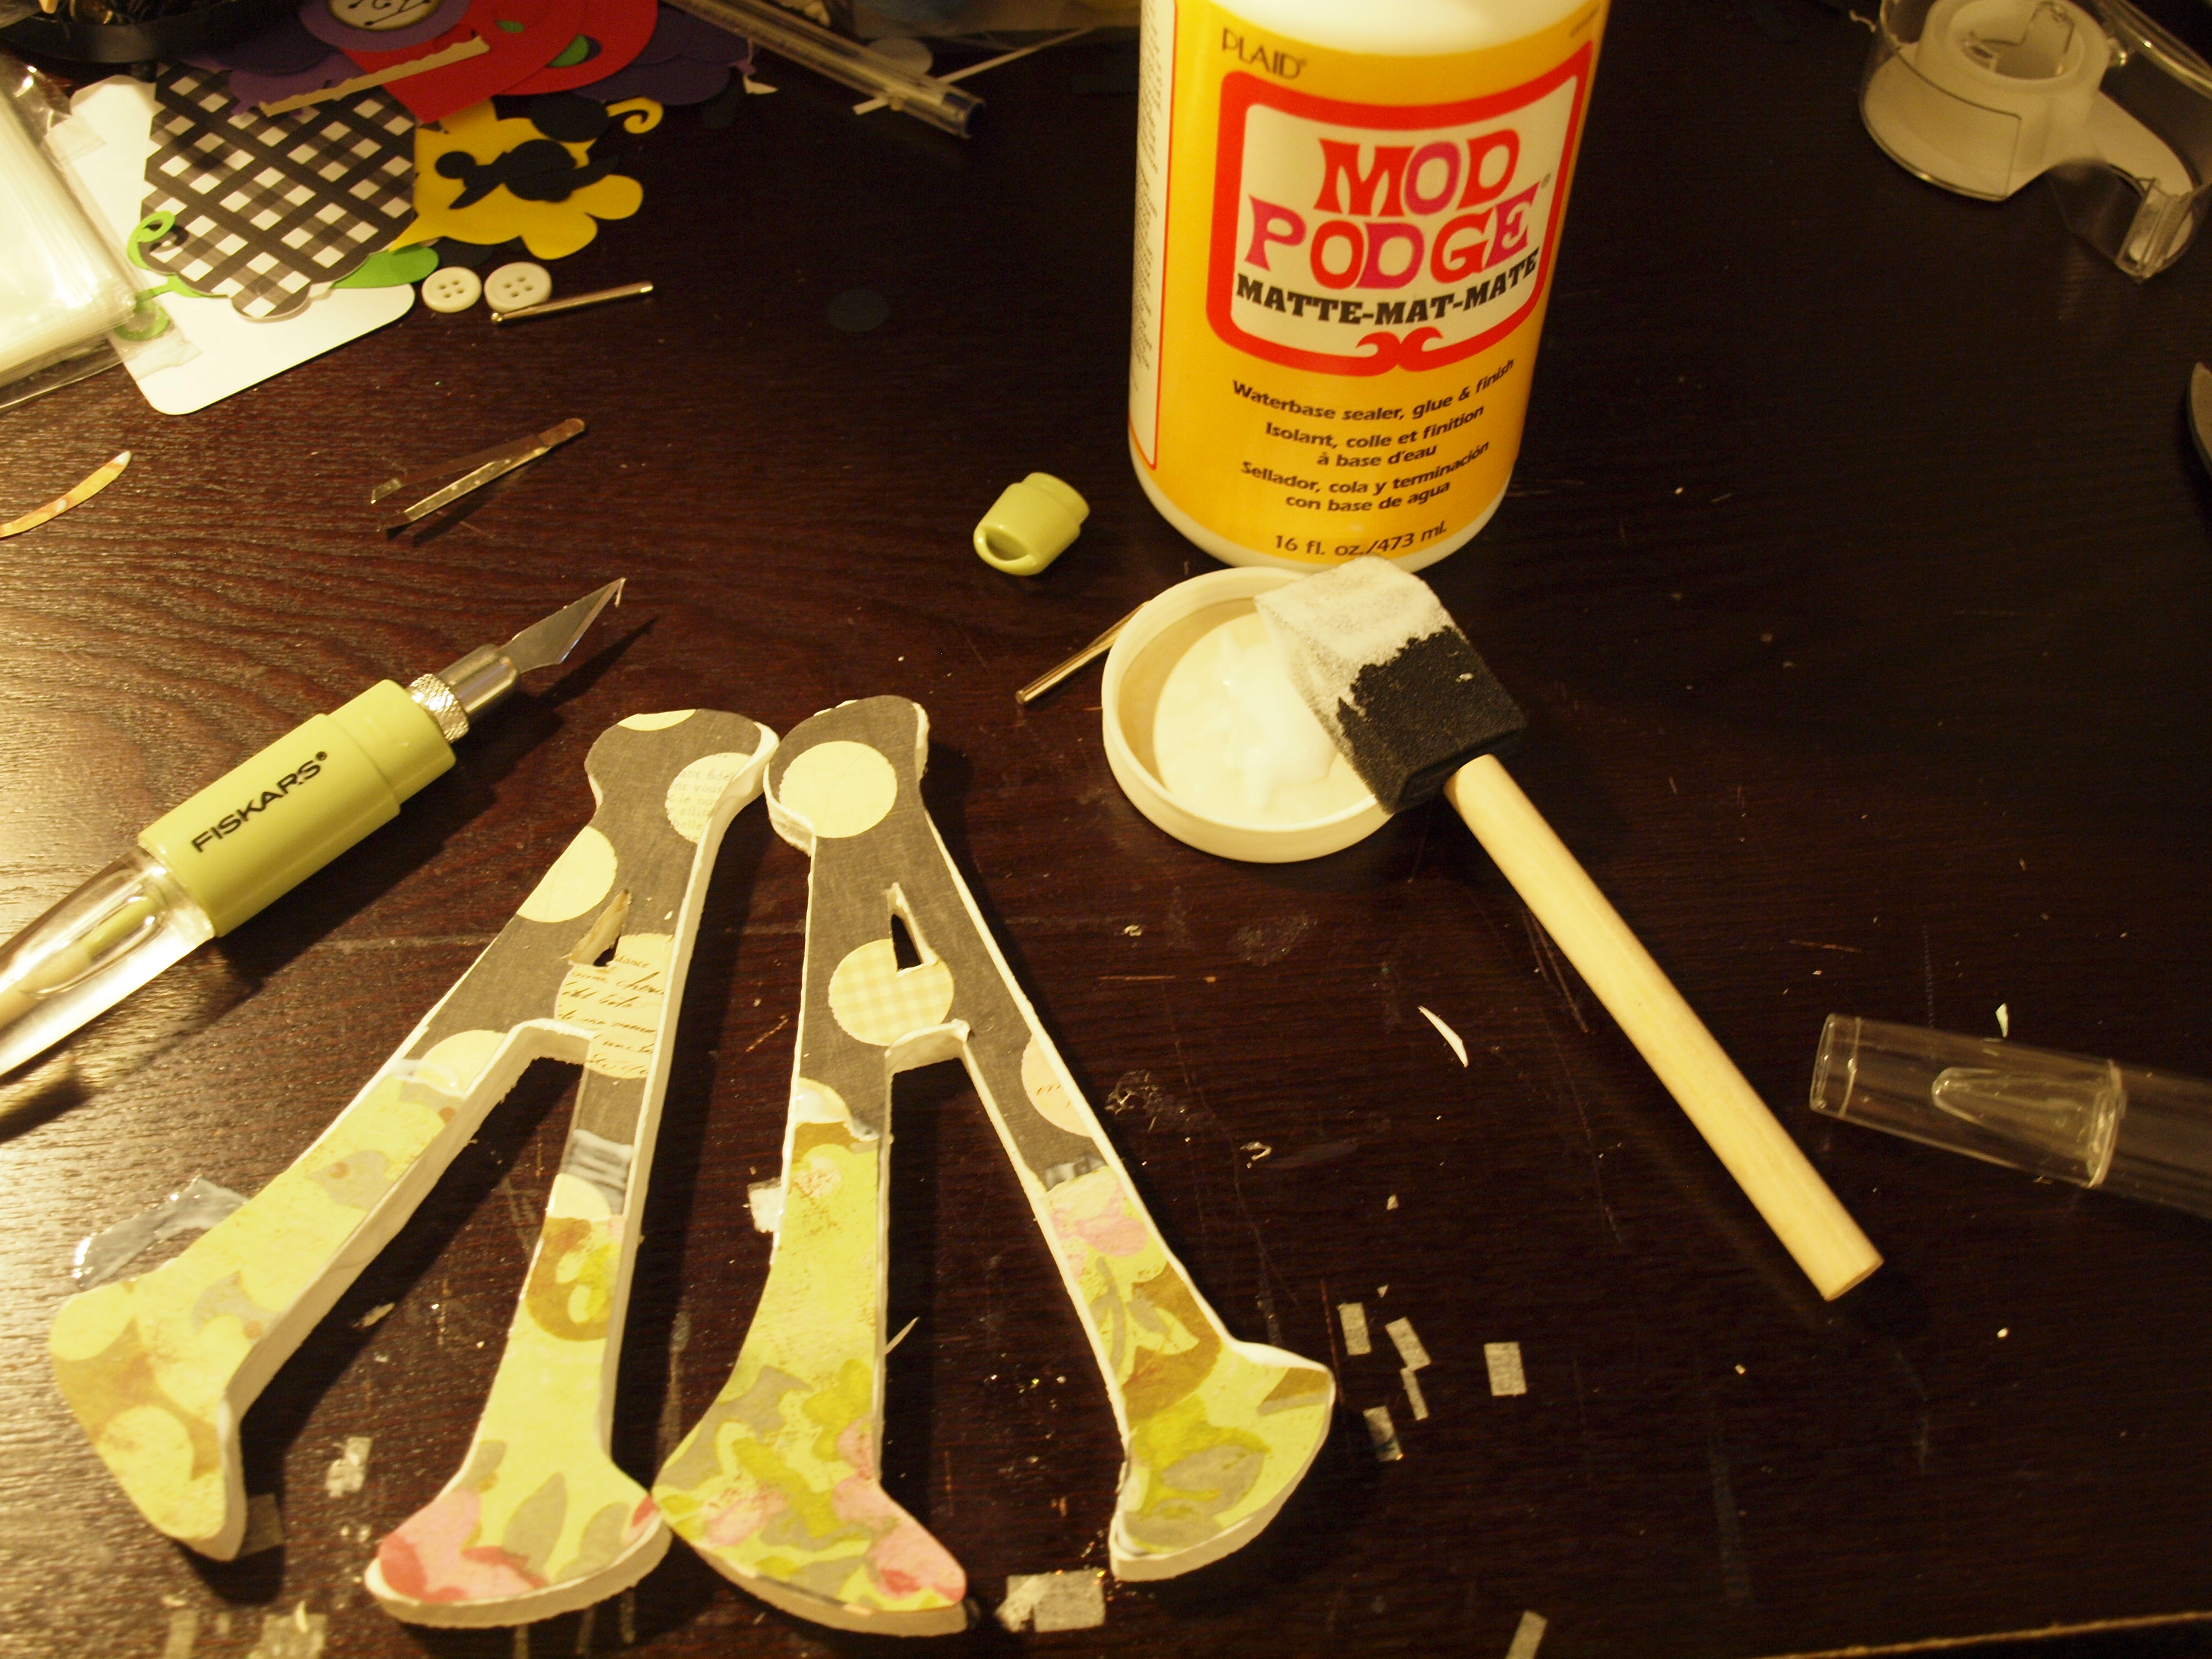
After all patterns are "Mod Podged" onto the wooden letters and dried completey I used my craft knife to go around the letter and cut off any excess paper that might hang over the edge.
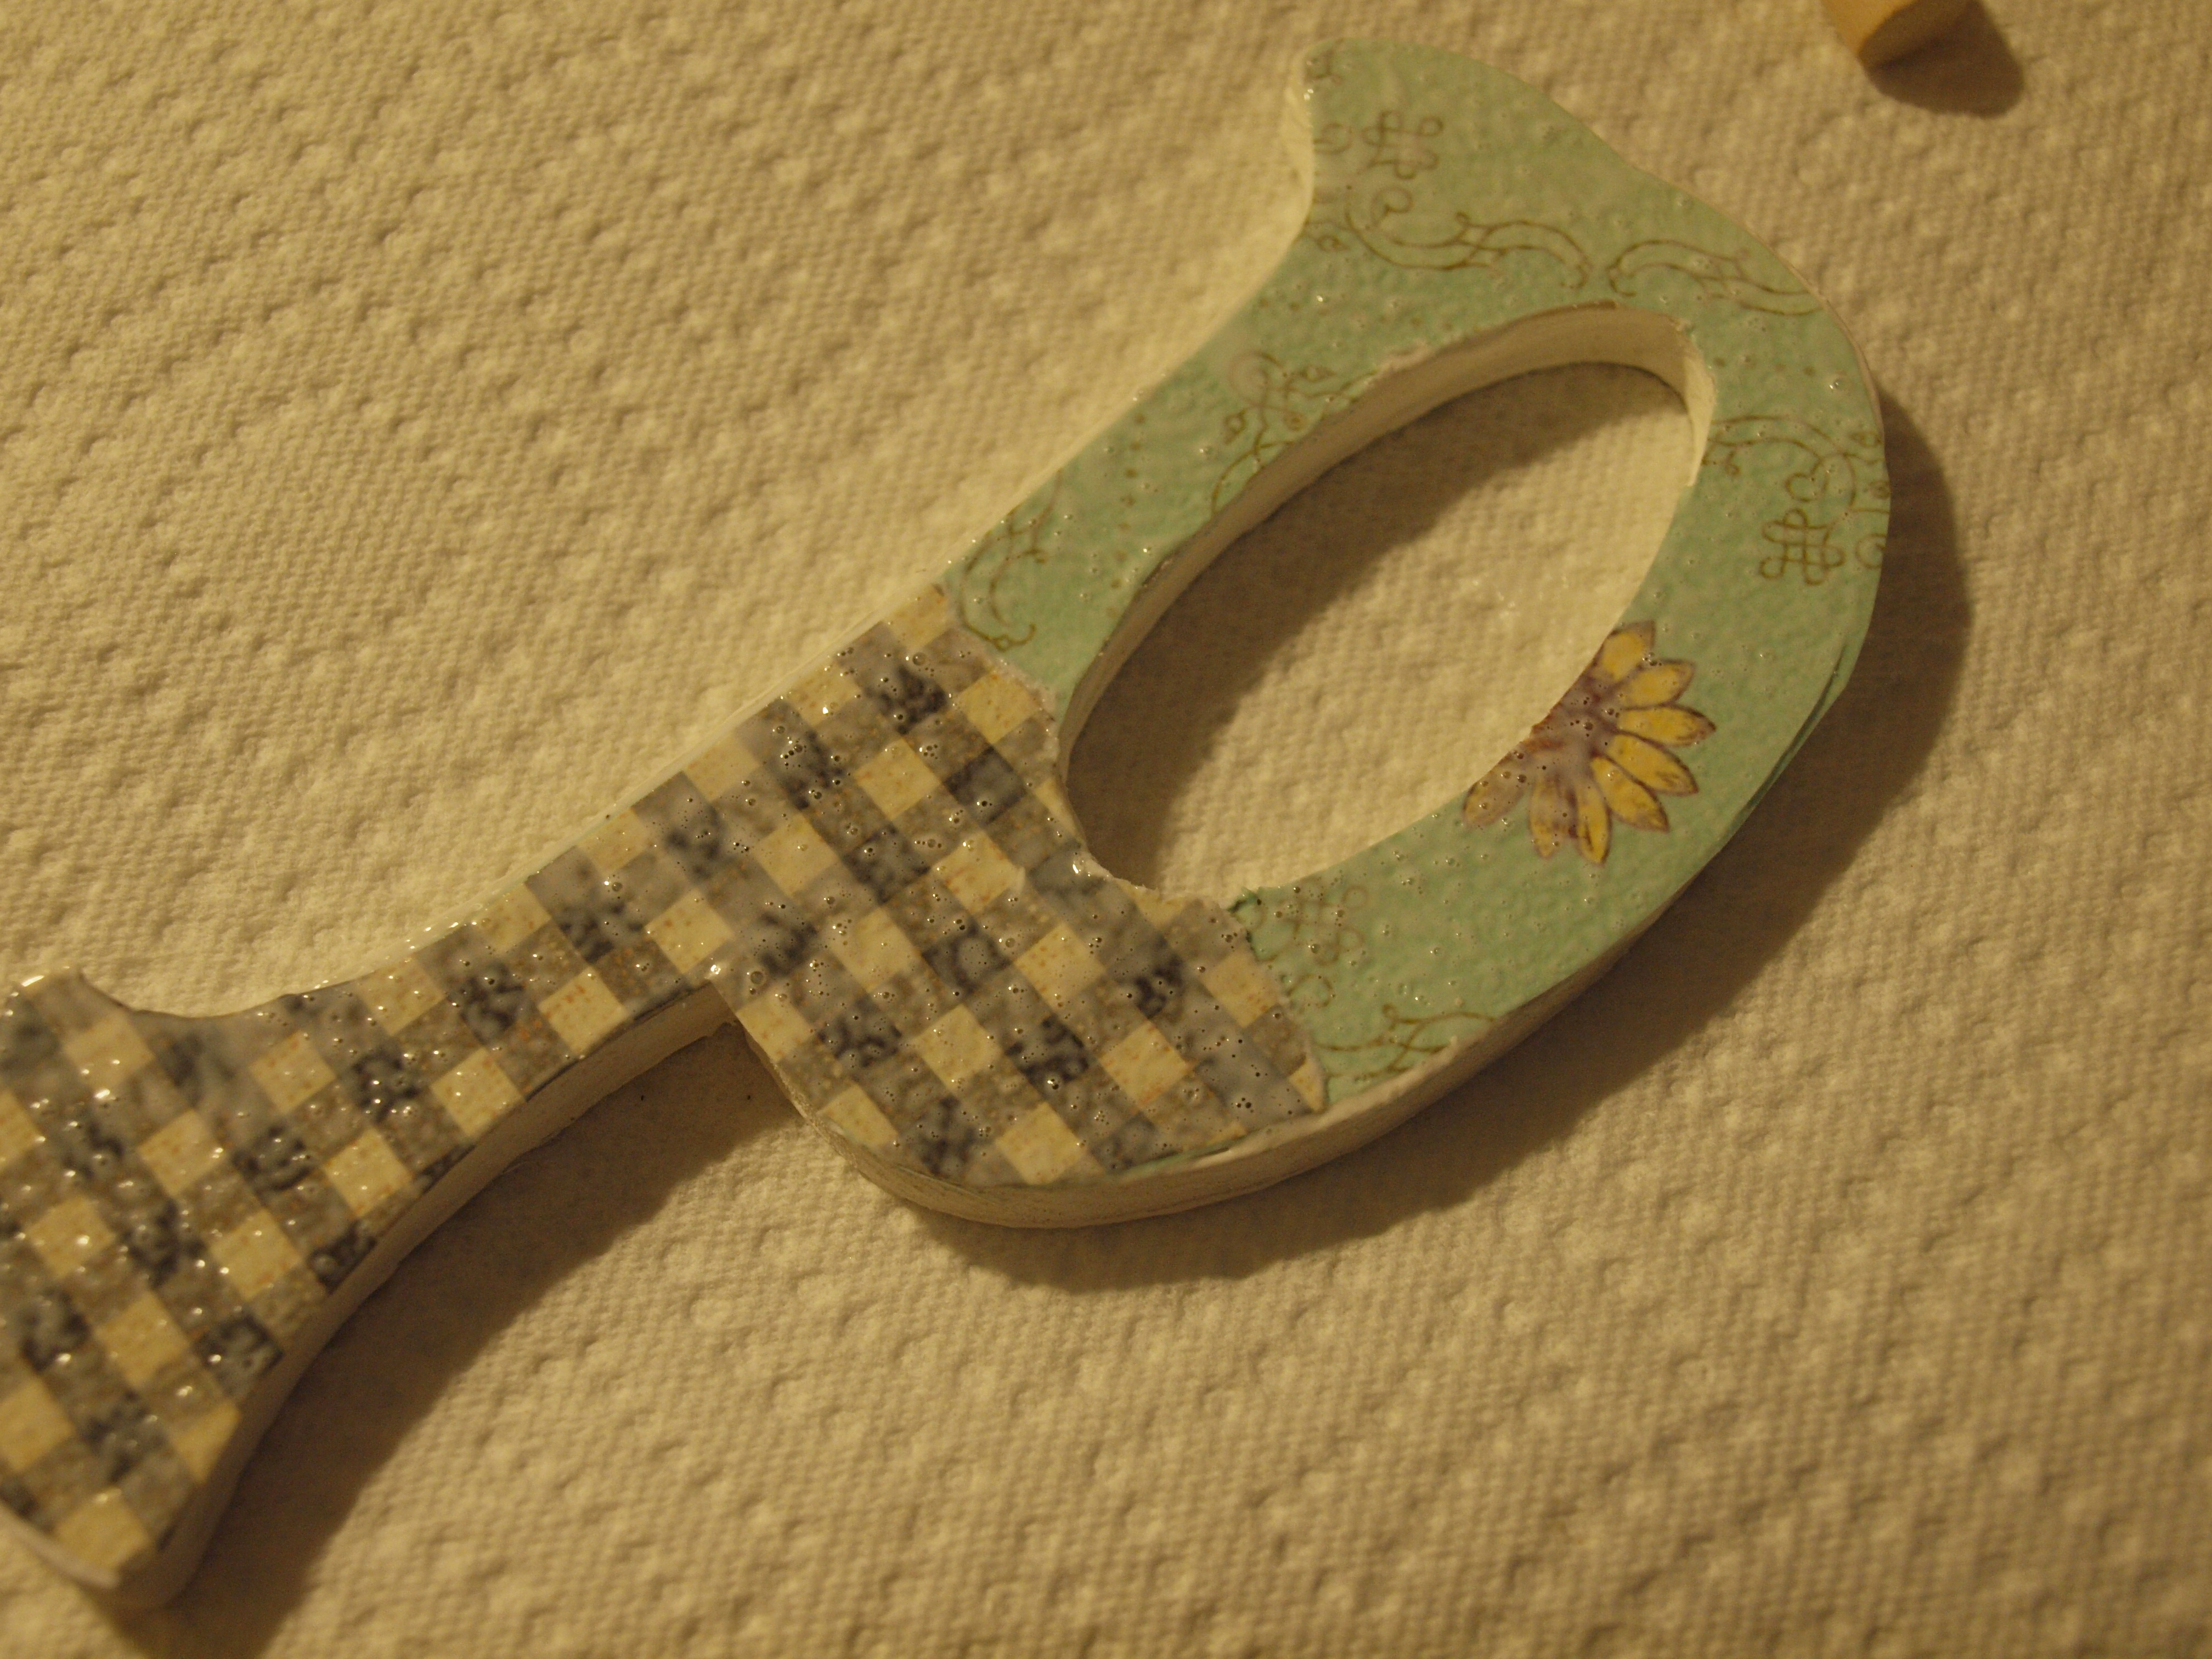
I used mod podge once again over top of the paper. I used my sponge brush and brushed a layer on covering the letter completely.  I wasn't a fan of the streaks so by dabbing the sponge brush over the letter instead of brushing I gave it a pretty cool texture. Kinda bumpy looking. Let that dry completely too!
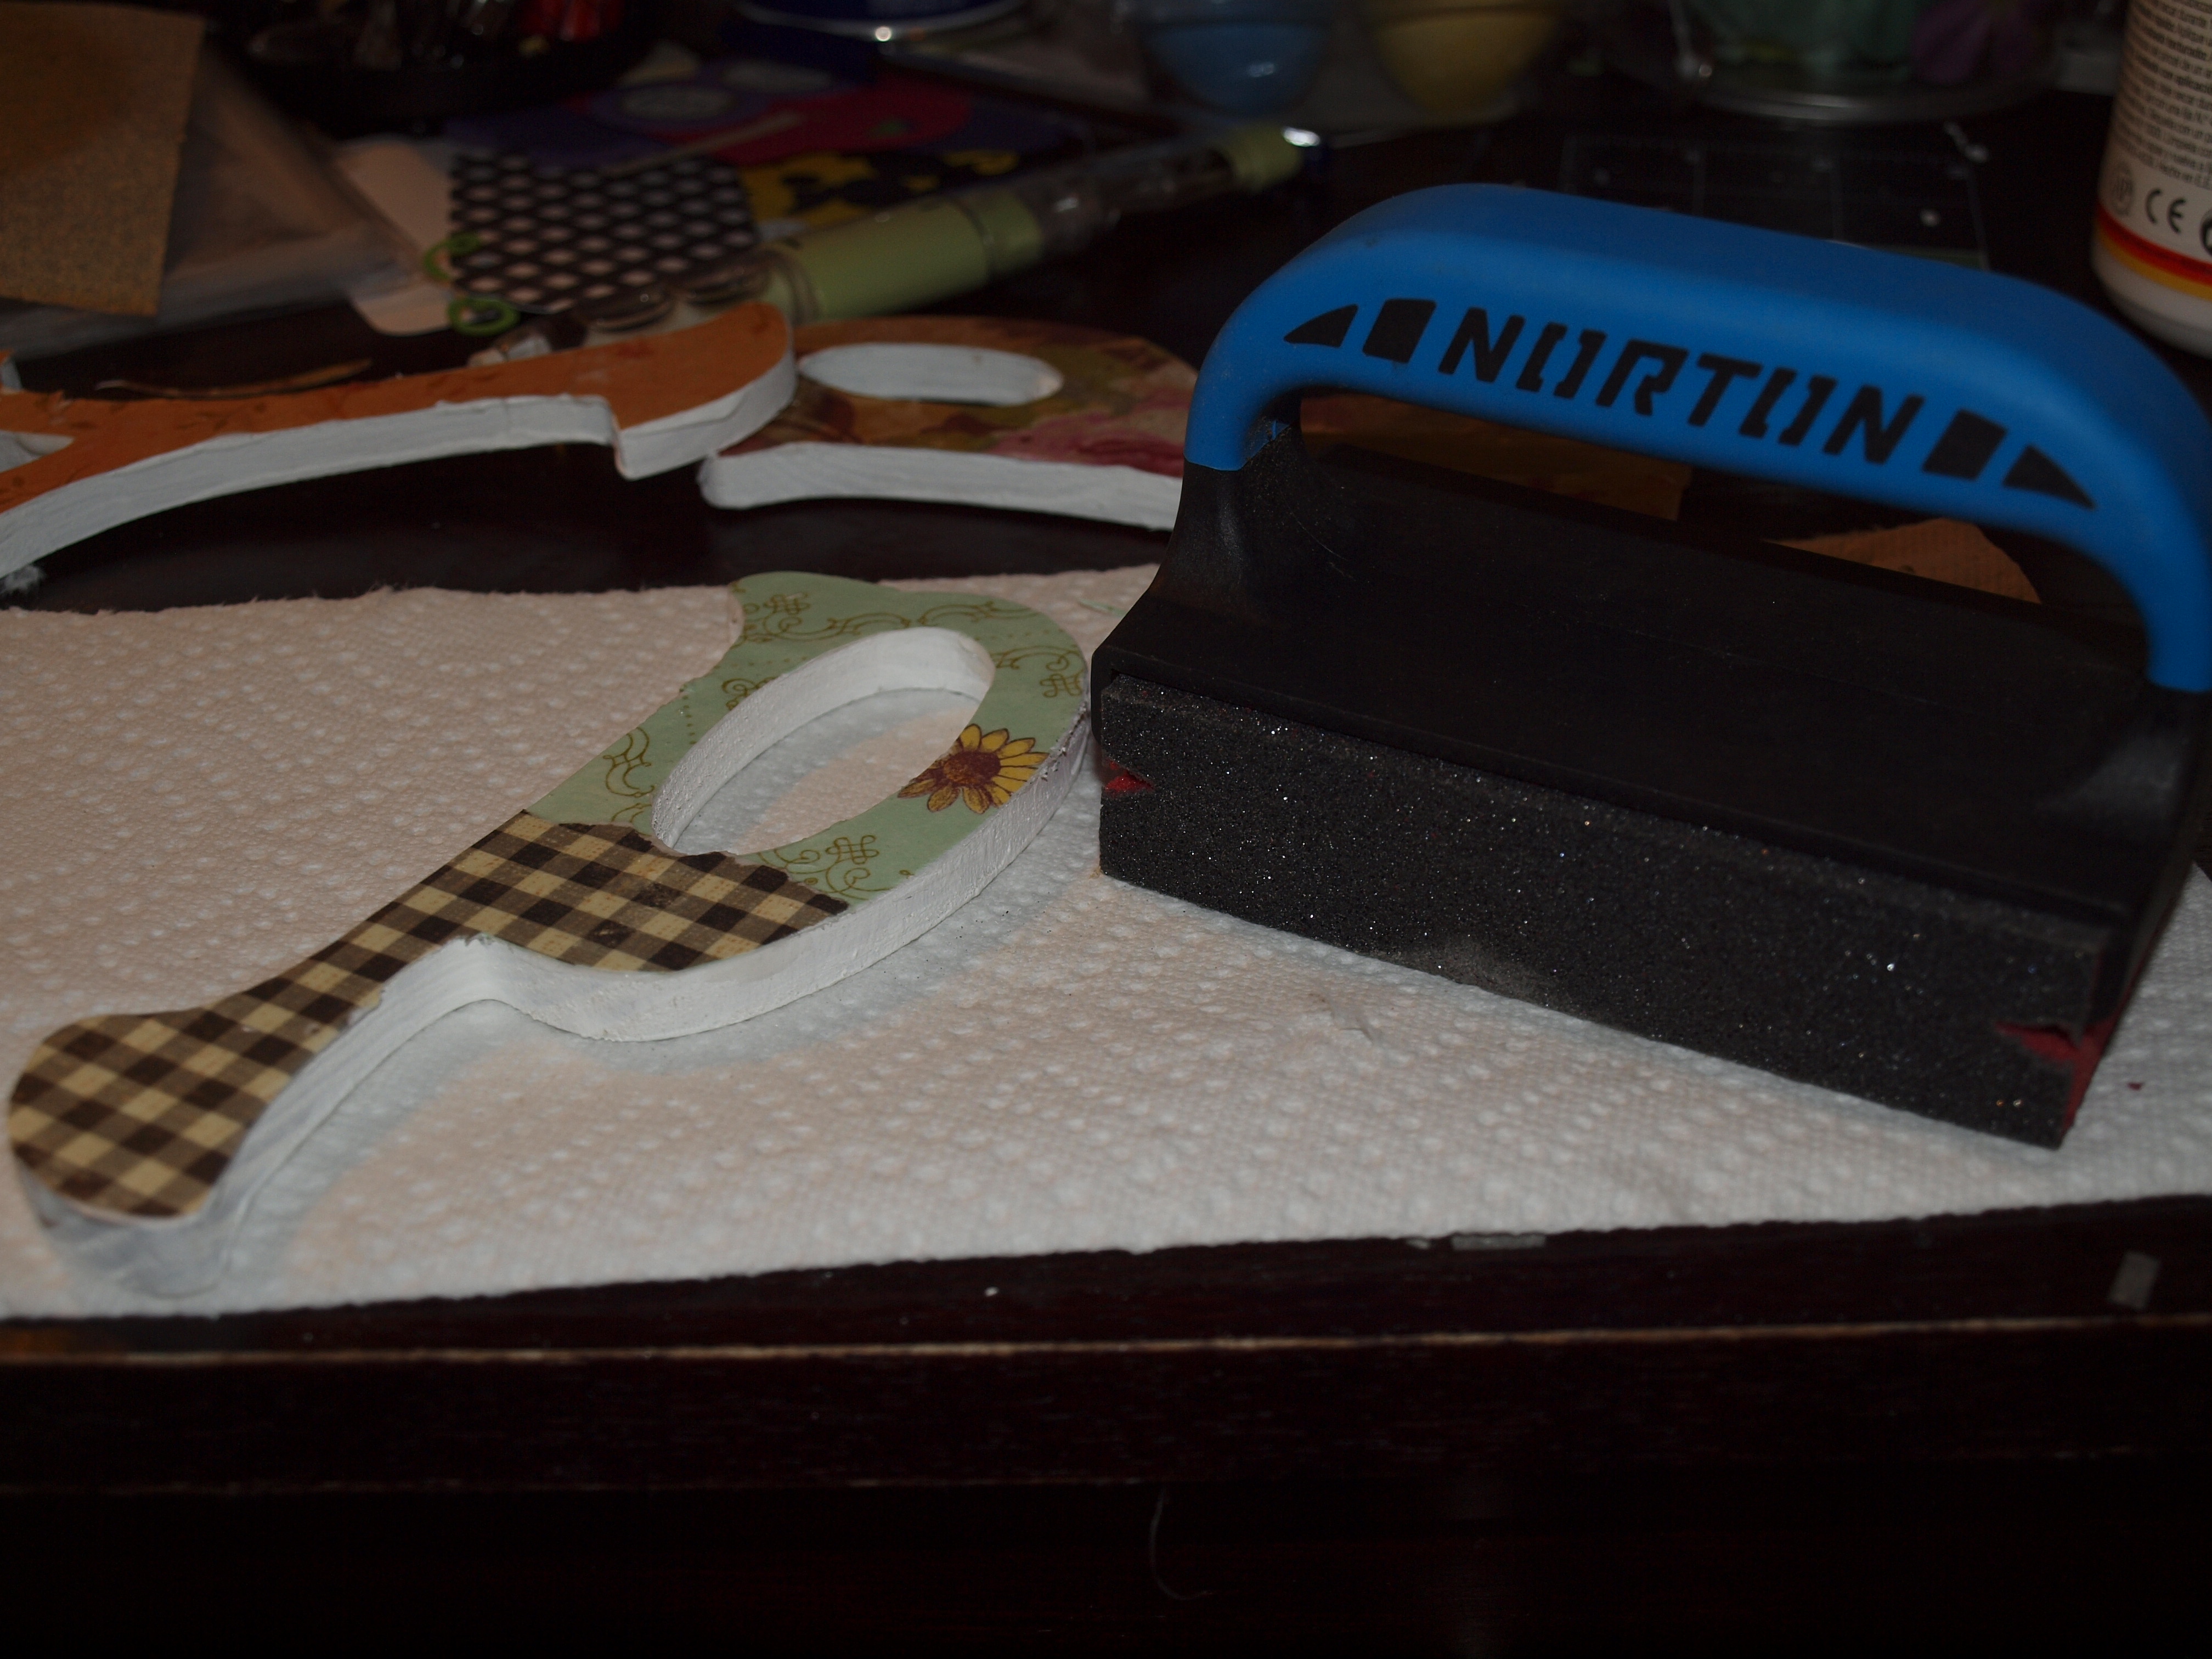
After the letters dry completely (and I'm serious it's gotta be totally dry cause sanding it will not work to well) I sanded the edges to give it a little worn in look.  I roughed it up in some spots more then others. The paper ripped in a couple spots where it wasn't completely dry, but I was ok with it cause it looked cool still.  I didn't have a good amount of sand paper to choose from so I grabbed whatever my father had laying around in the garage.
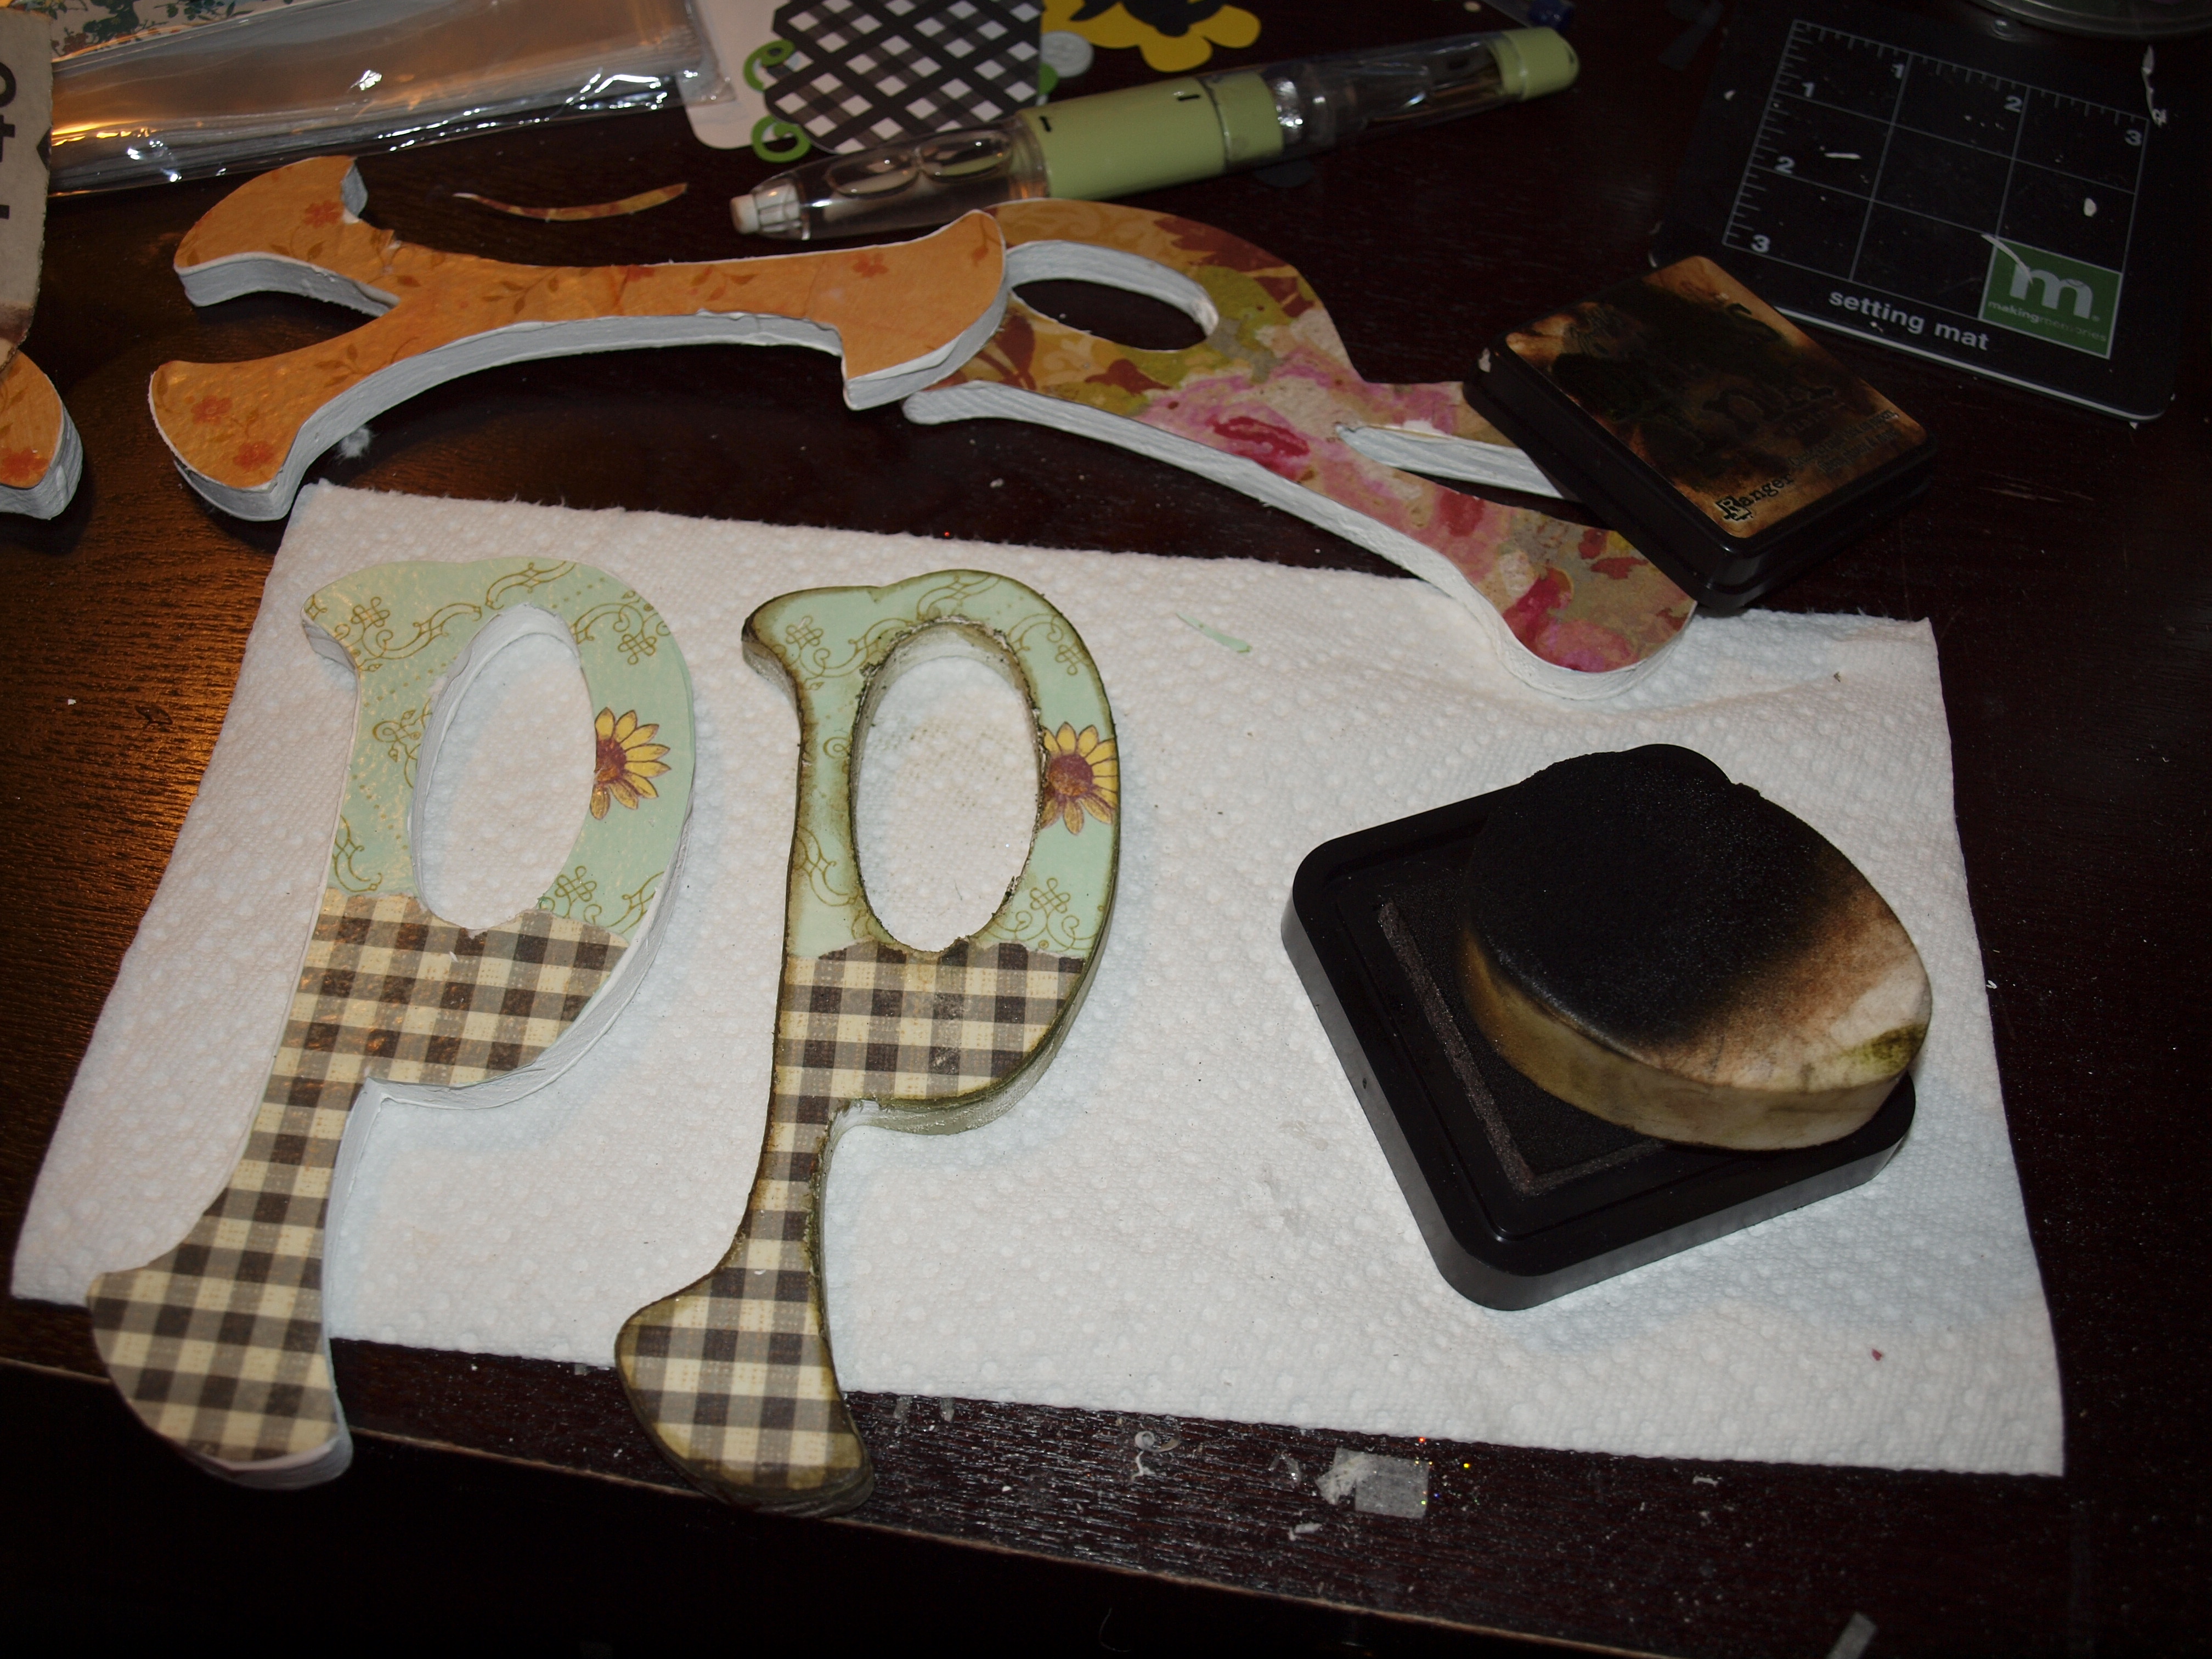
I used my Distress Ink Pad in Walnut Stain along with my makeup sponge (clearly not used for makeup anymore!) and rubbed the edges to give it an older look.  See the difference!? Love it! Don't forget give a little "distress" to the sides of the letter cause those babies are still bright wicker white!
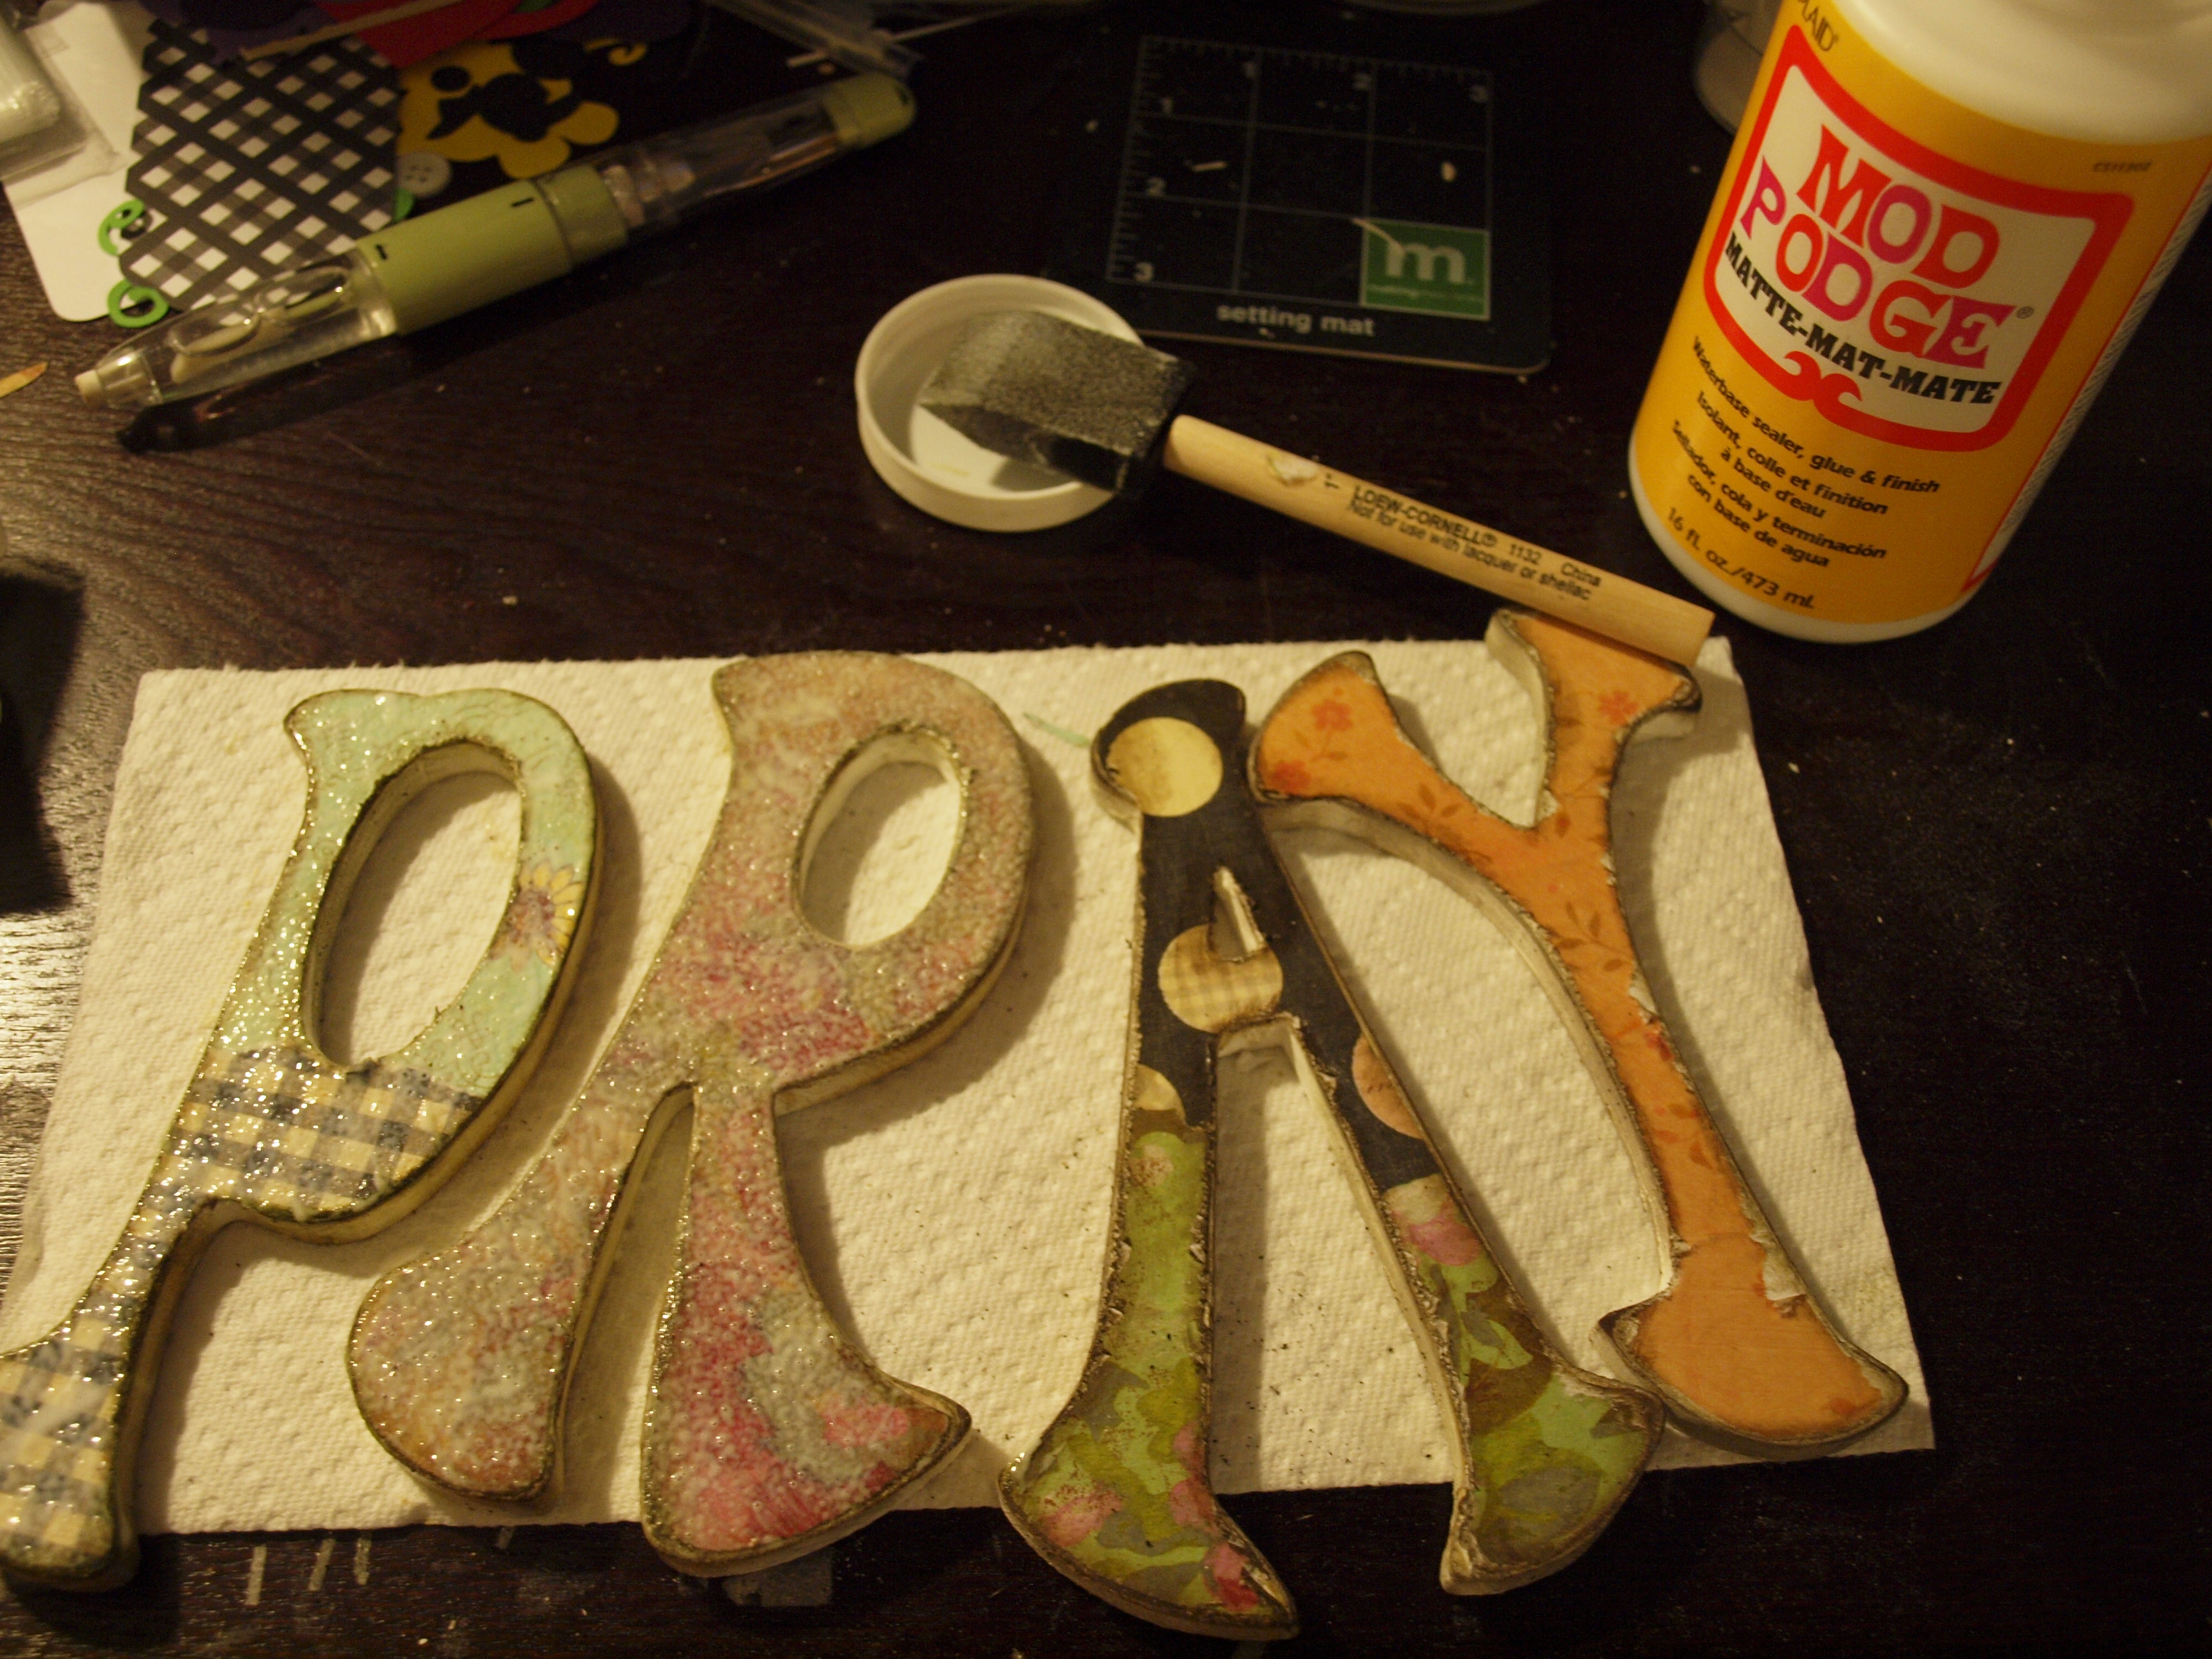
I hope you didn't put away the mod podge yet!  After i distressed the letters with the ink pad I brushed another layer of mod podge and then dabbed the sponge to give it that same textured look as the first layer instead of the streaks. And there ya go.  Once its dried your done.  I, of course, took the liberty of taking it a step further and decorating the decoration.
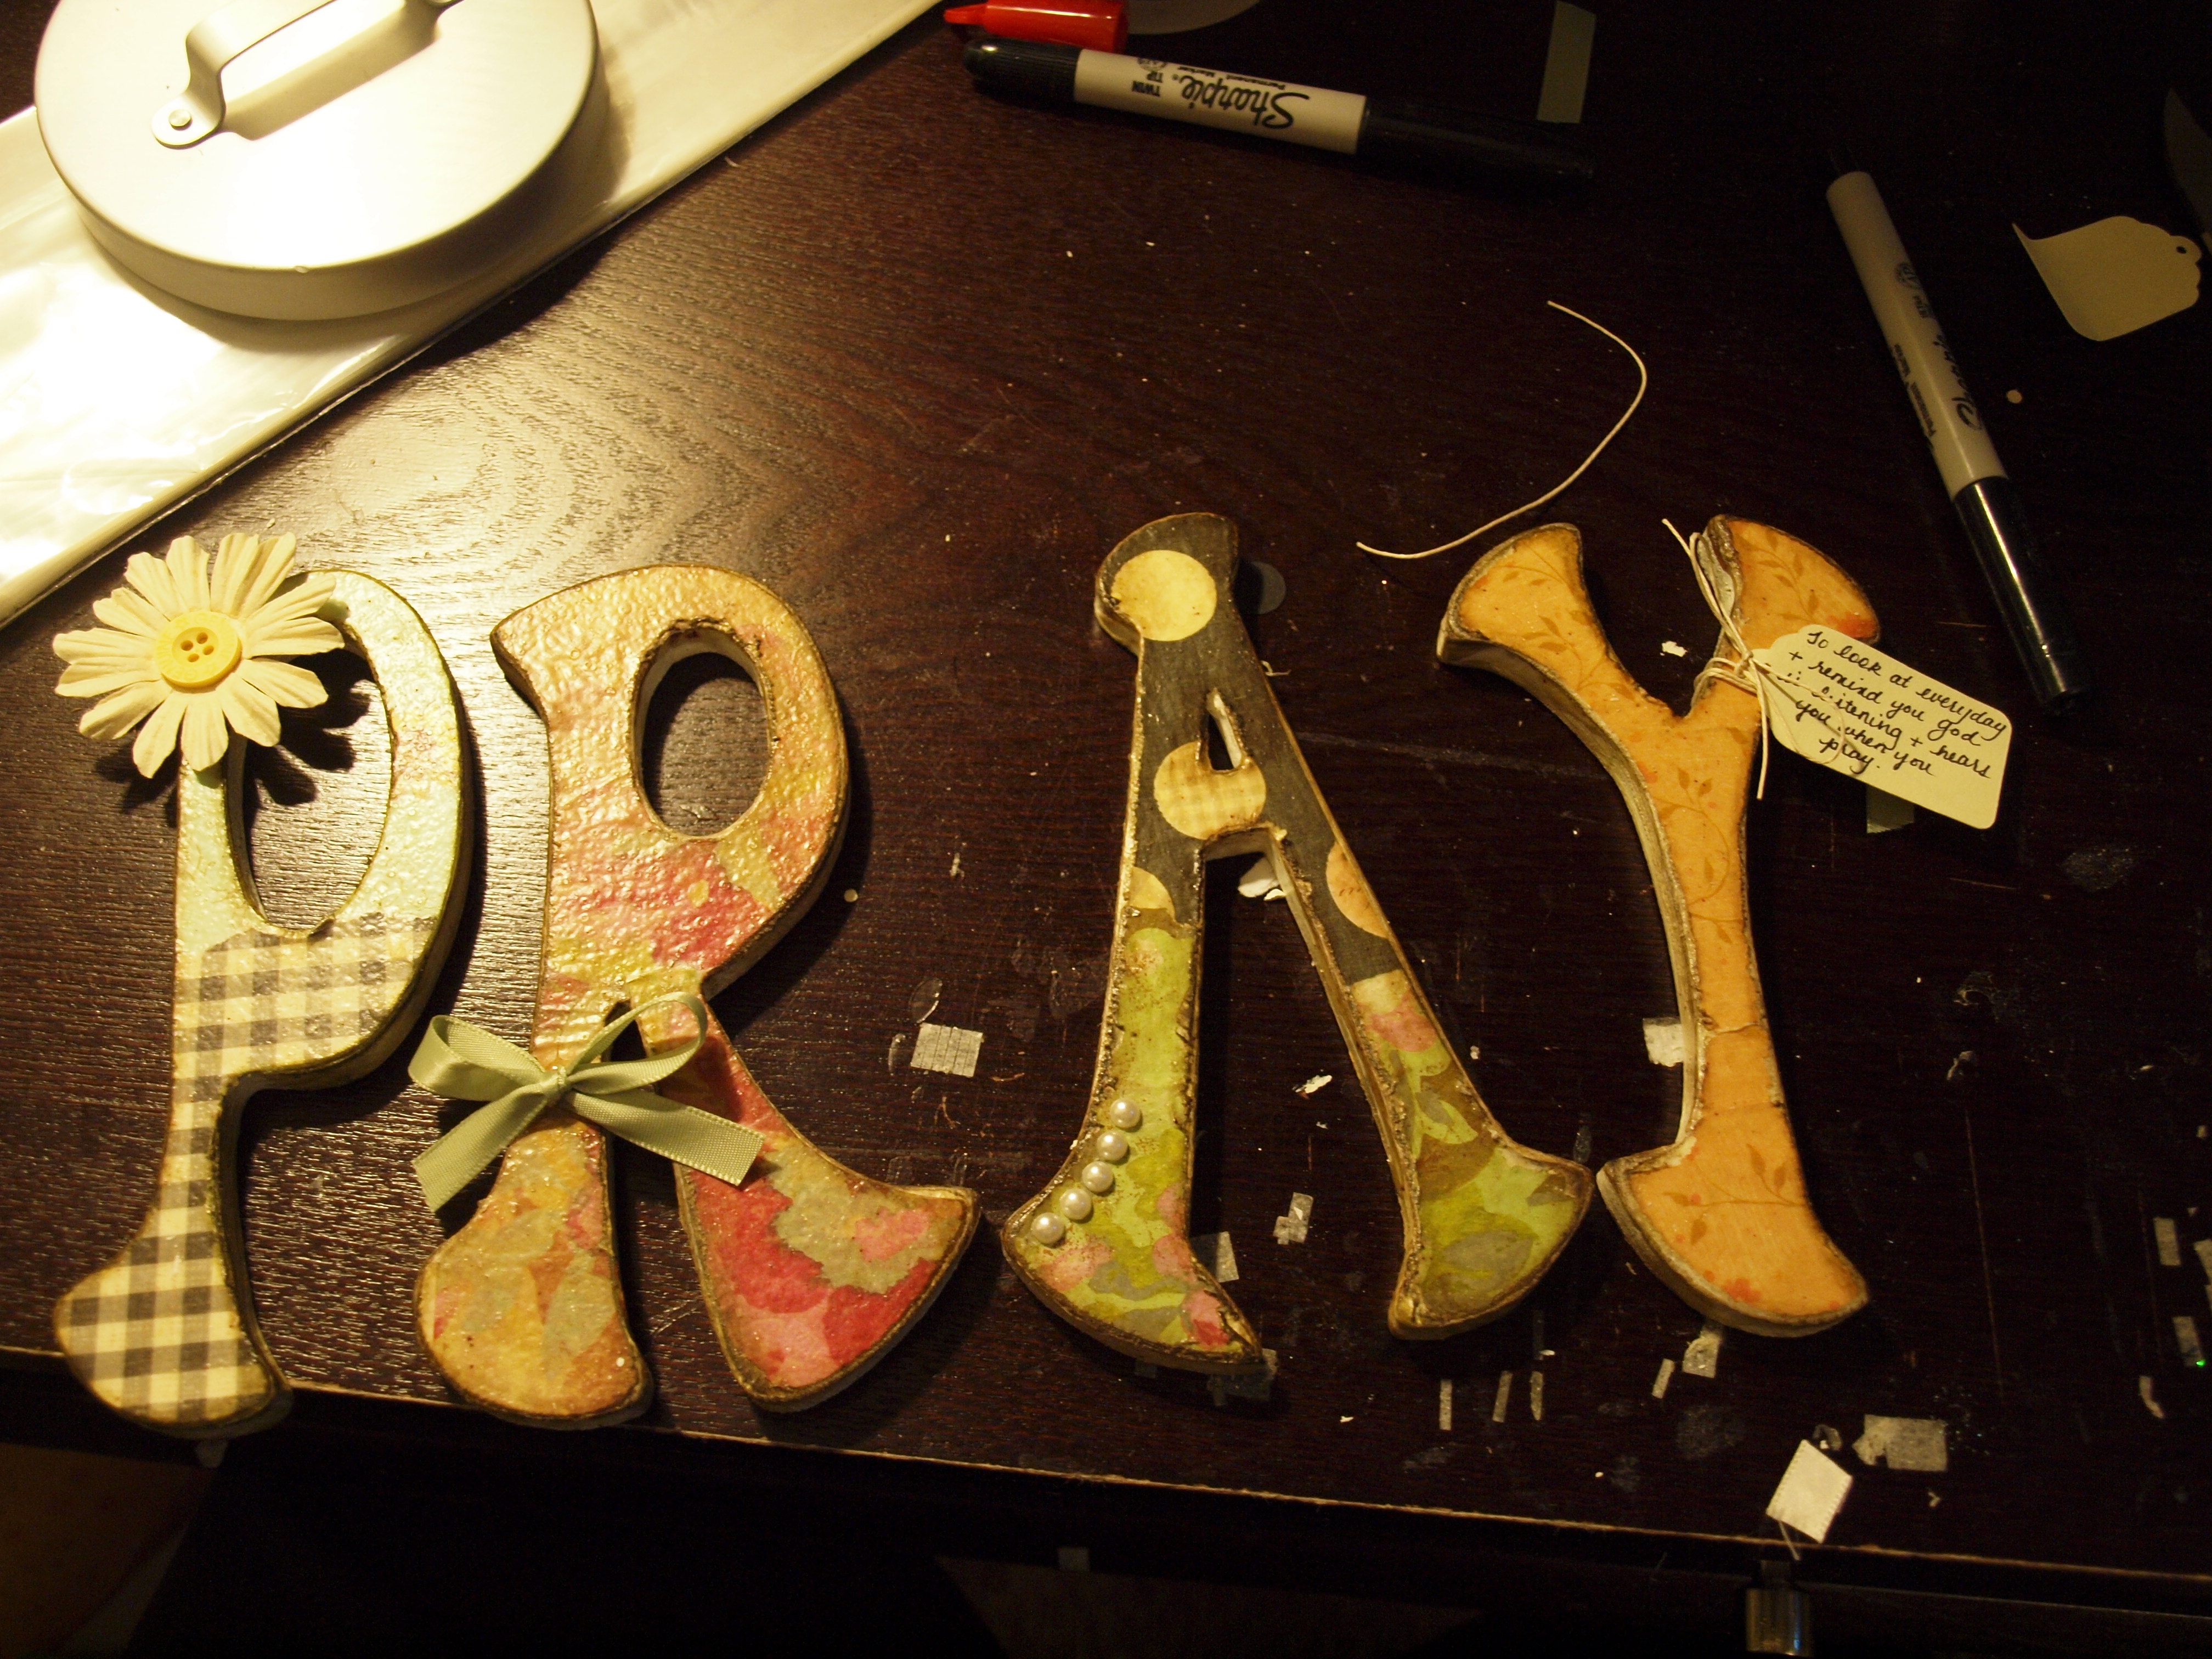
A little flower with button center on the "P", a bow on the "R", there are a few pearl embellishments going up the "A" and there is a tag on the "Y" which reads......
To look at everyday & remember God is listening & hears you when you pray
I thought of that all on my own, cute huh!? Anyway, you can go crazy with decorating the letters but I liked it a little more subtle.
I chose to lean the letters against a wall on a shelf, but you can also hang them on the wall using the 3M velcro strips.
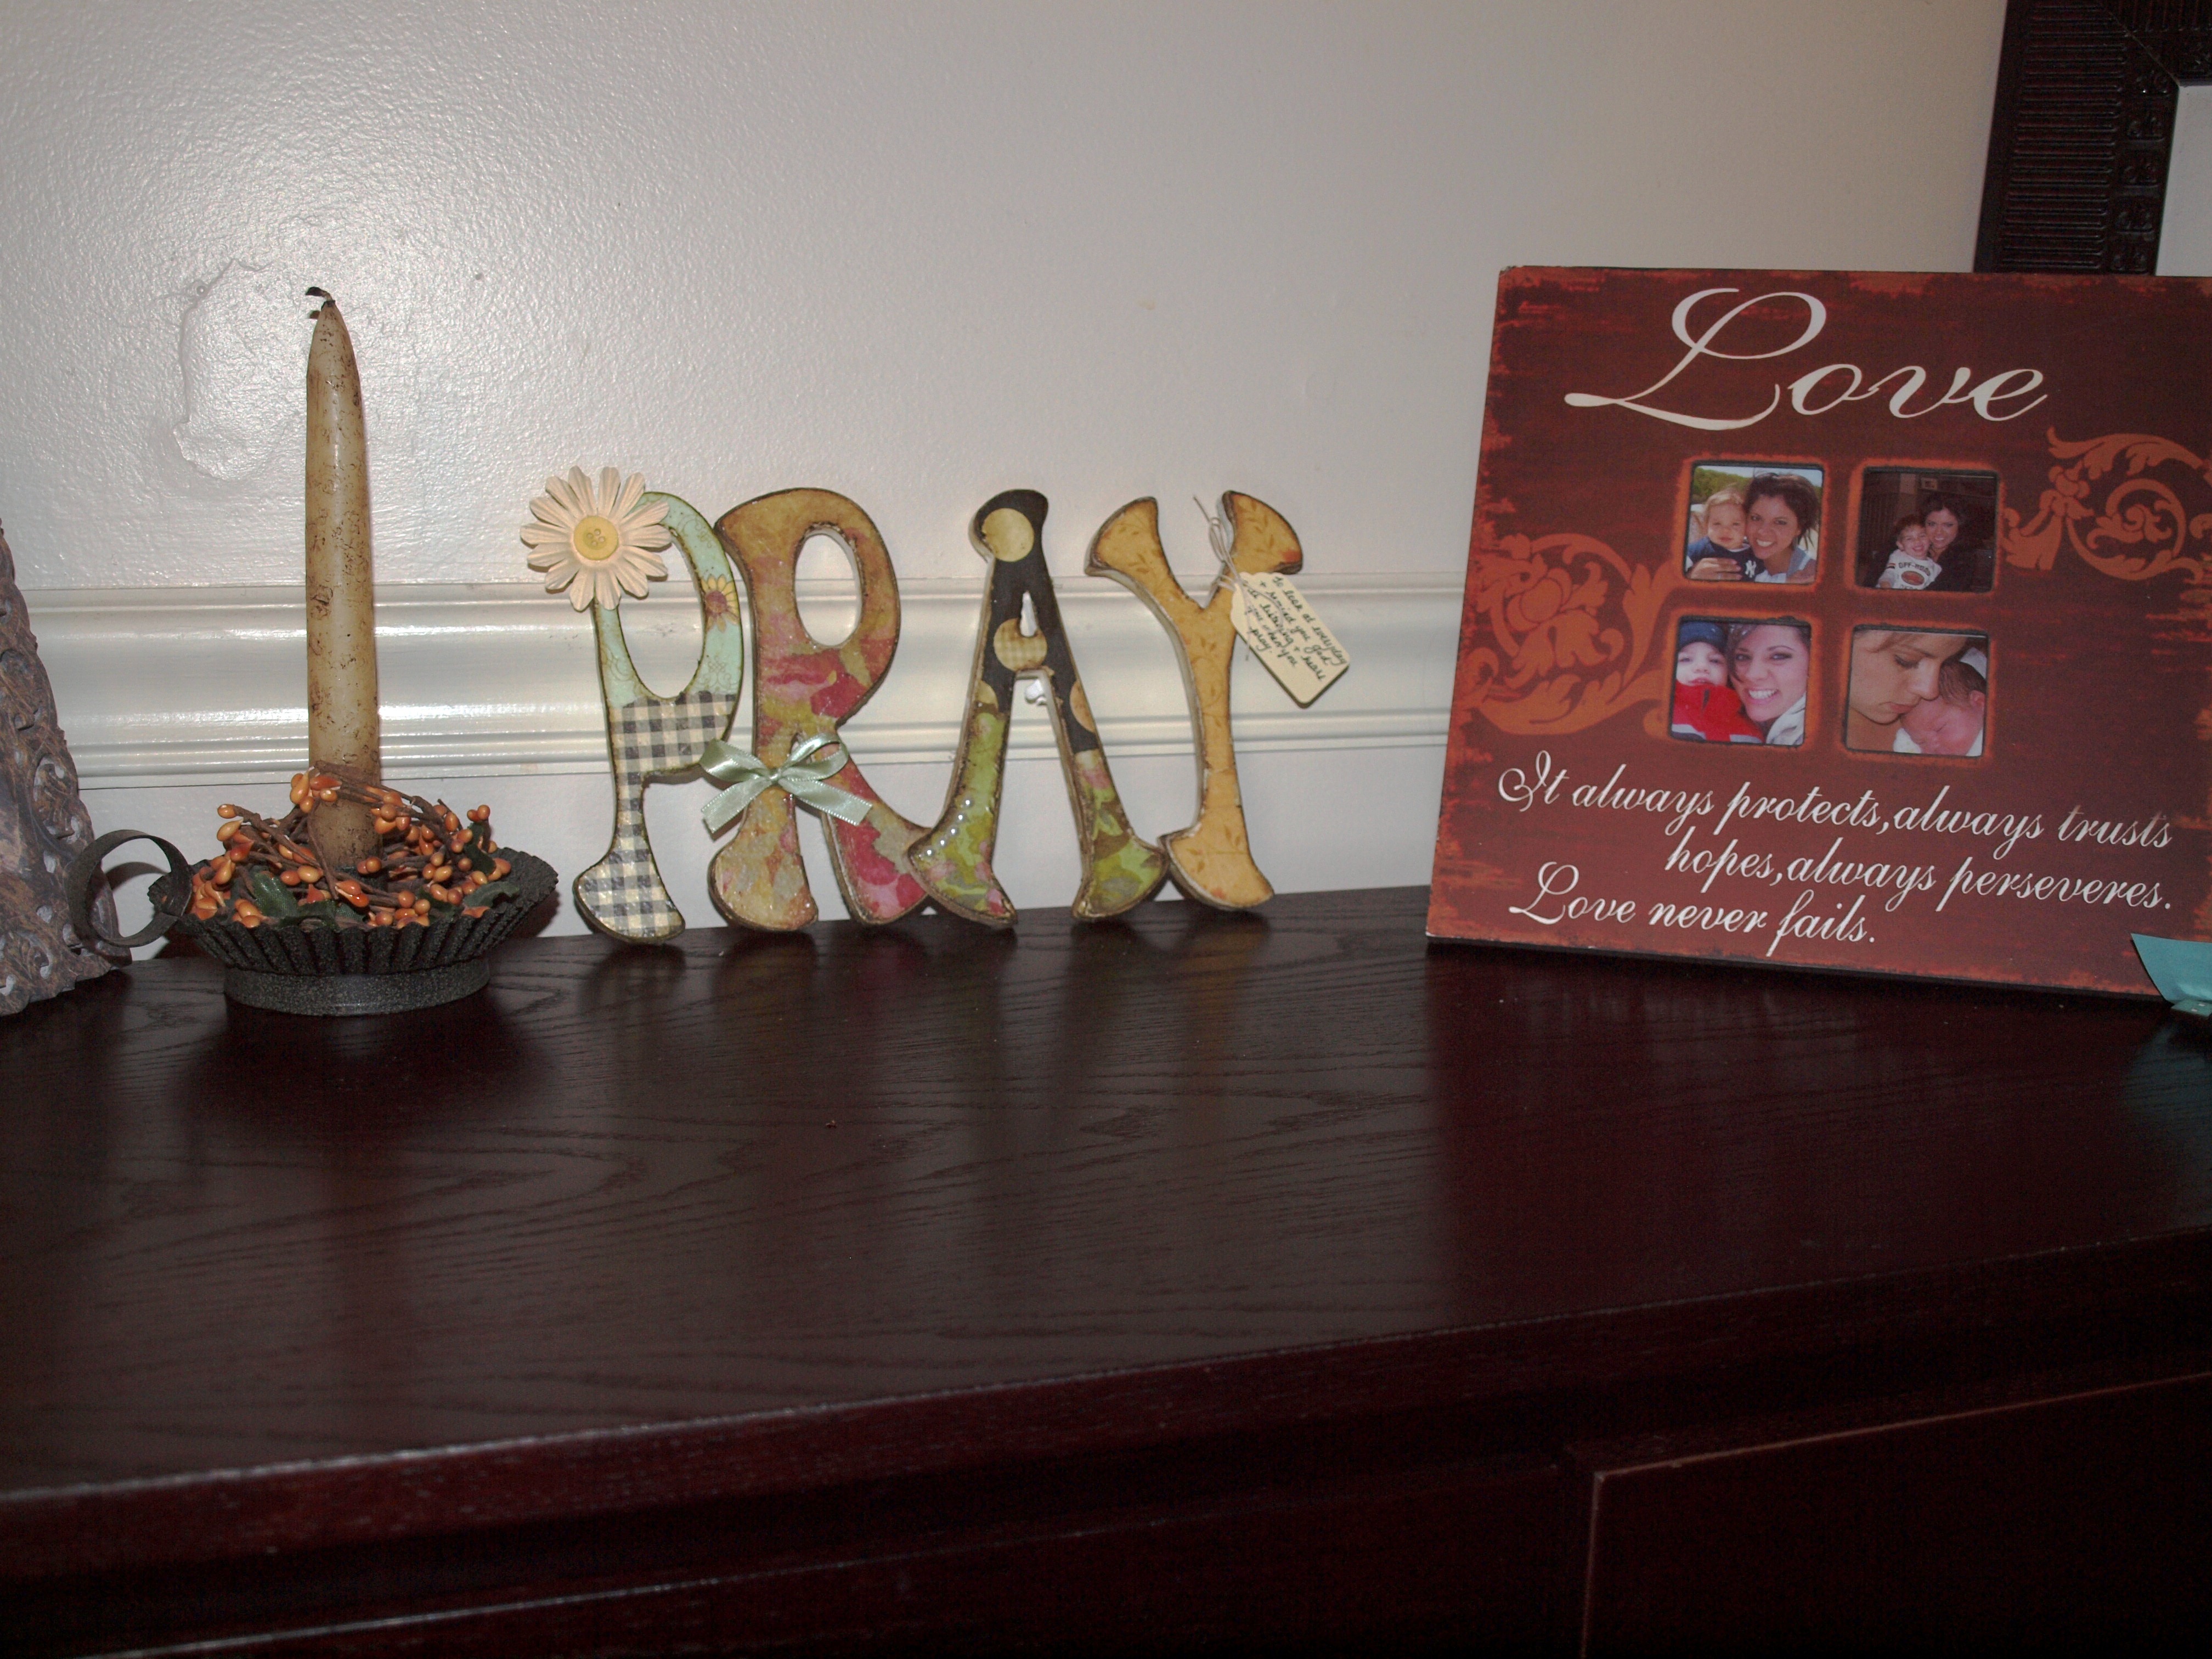
Hope you like it!!

Let Freedom Ring...


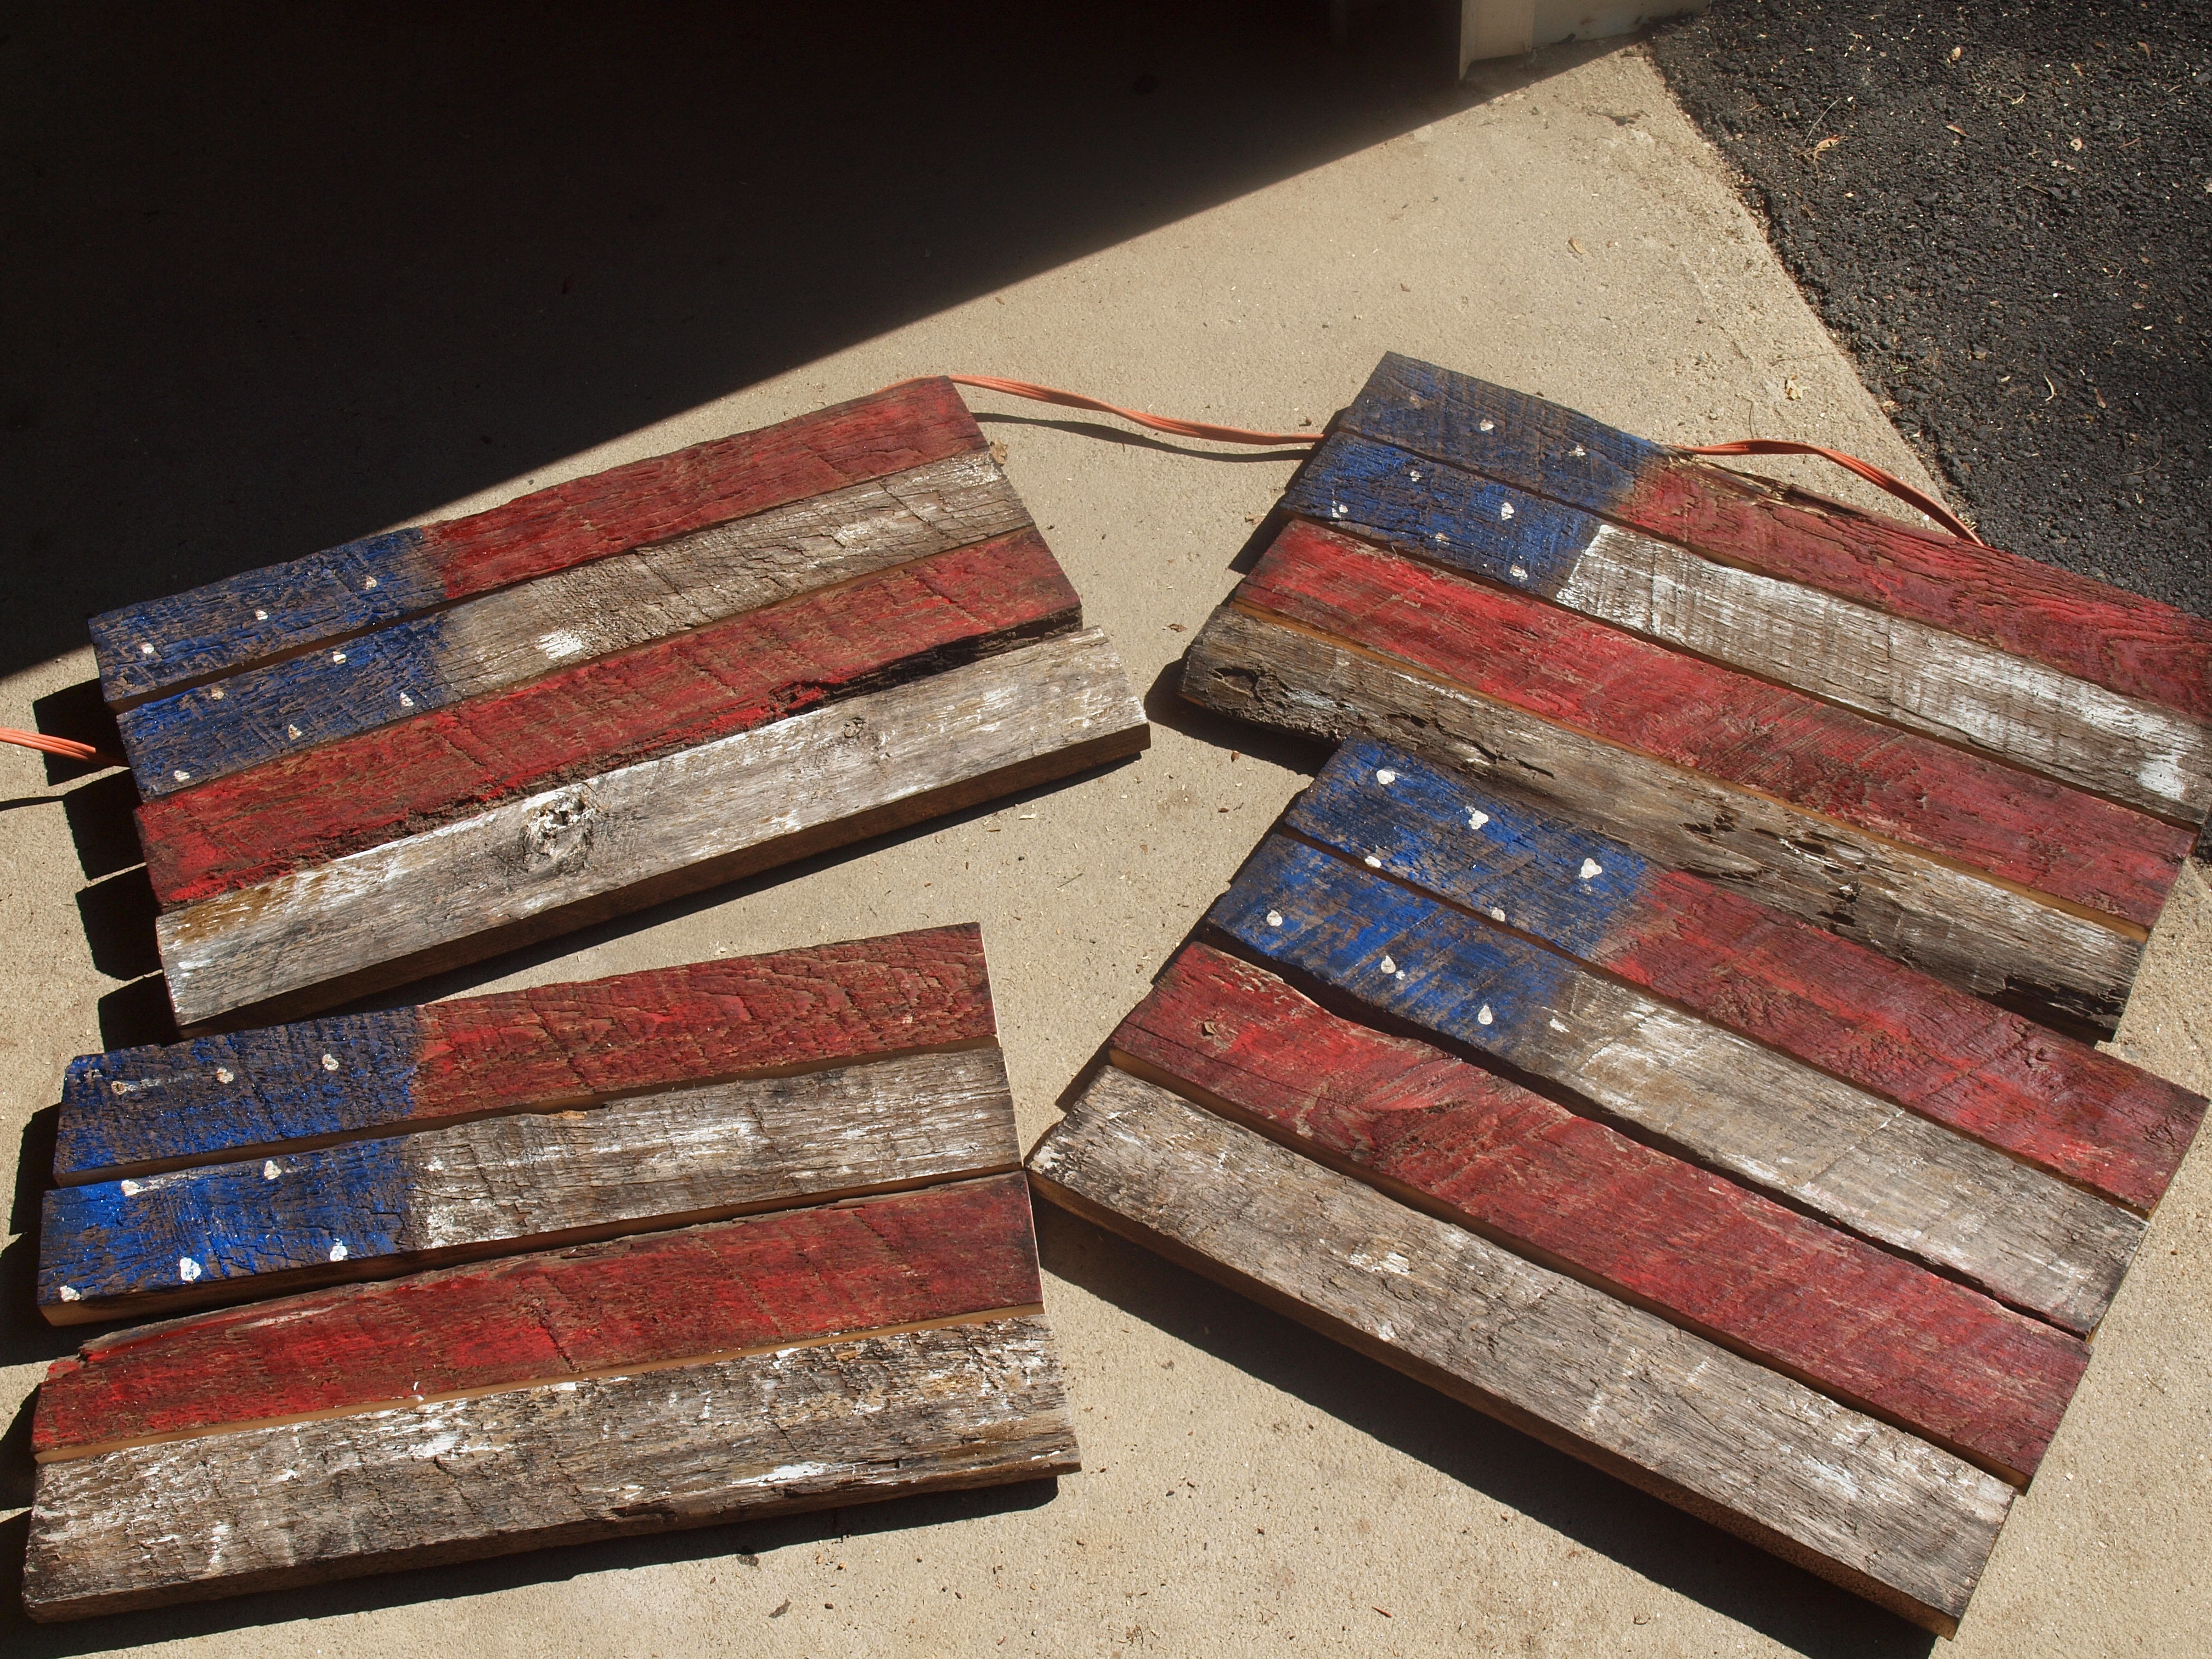
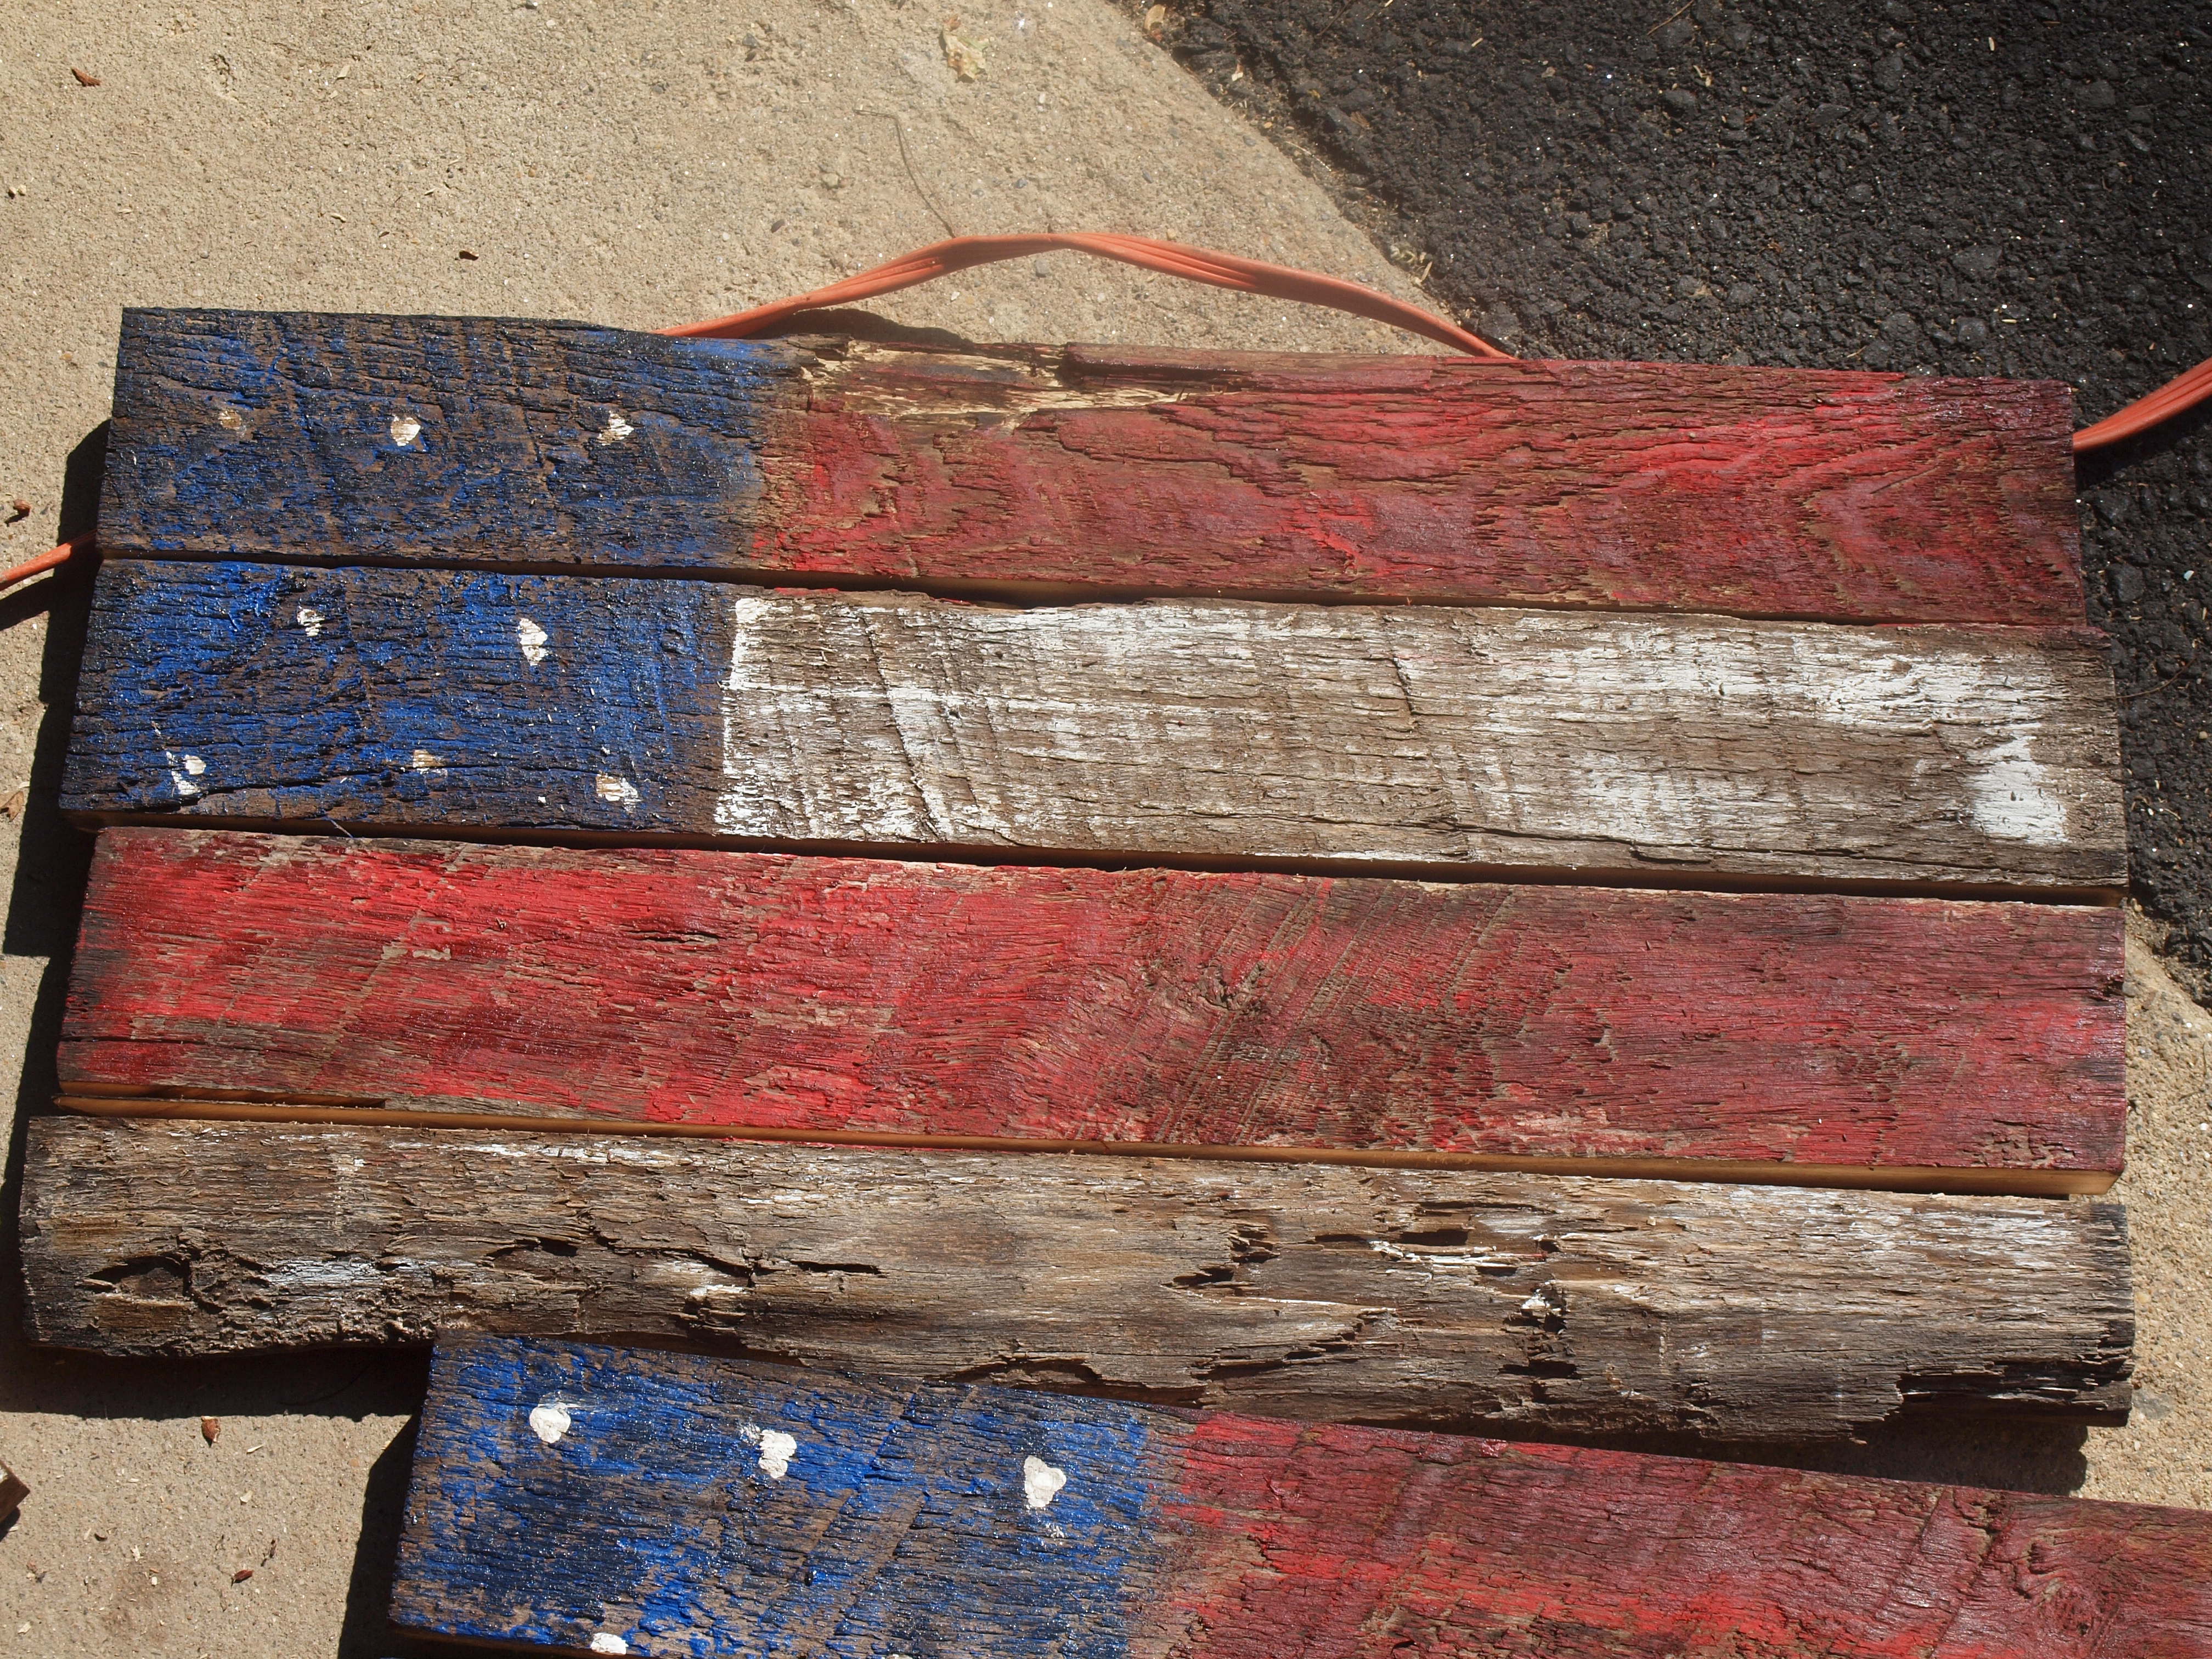
So I came up with this while checking out some other blogs that had a few versions of this craft.  I, again, take all the info in and then I give it my own little twist, and call it my own!  Now who doesn't like a little Americana decor in their home around this time of year?  I know I do!  What's even better is when you can say that you yourself made it (with a little help from someone who knows how to use those hand saw things).  Once my father cut the wood for me, it took me about 30 minutes to finish all 4 of these.....
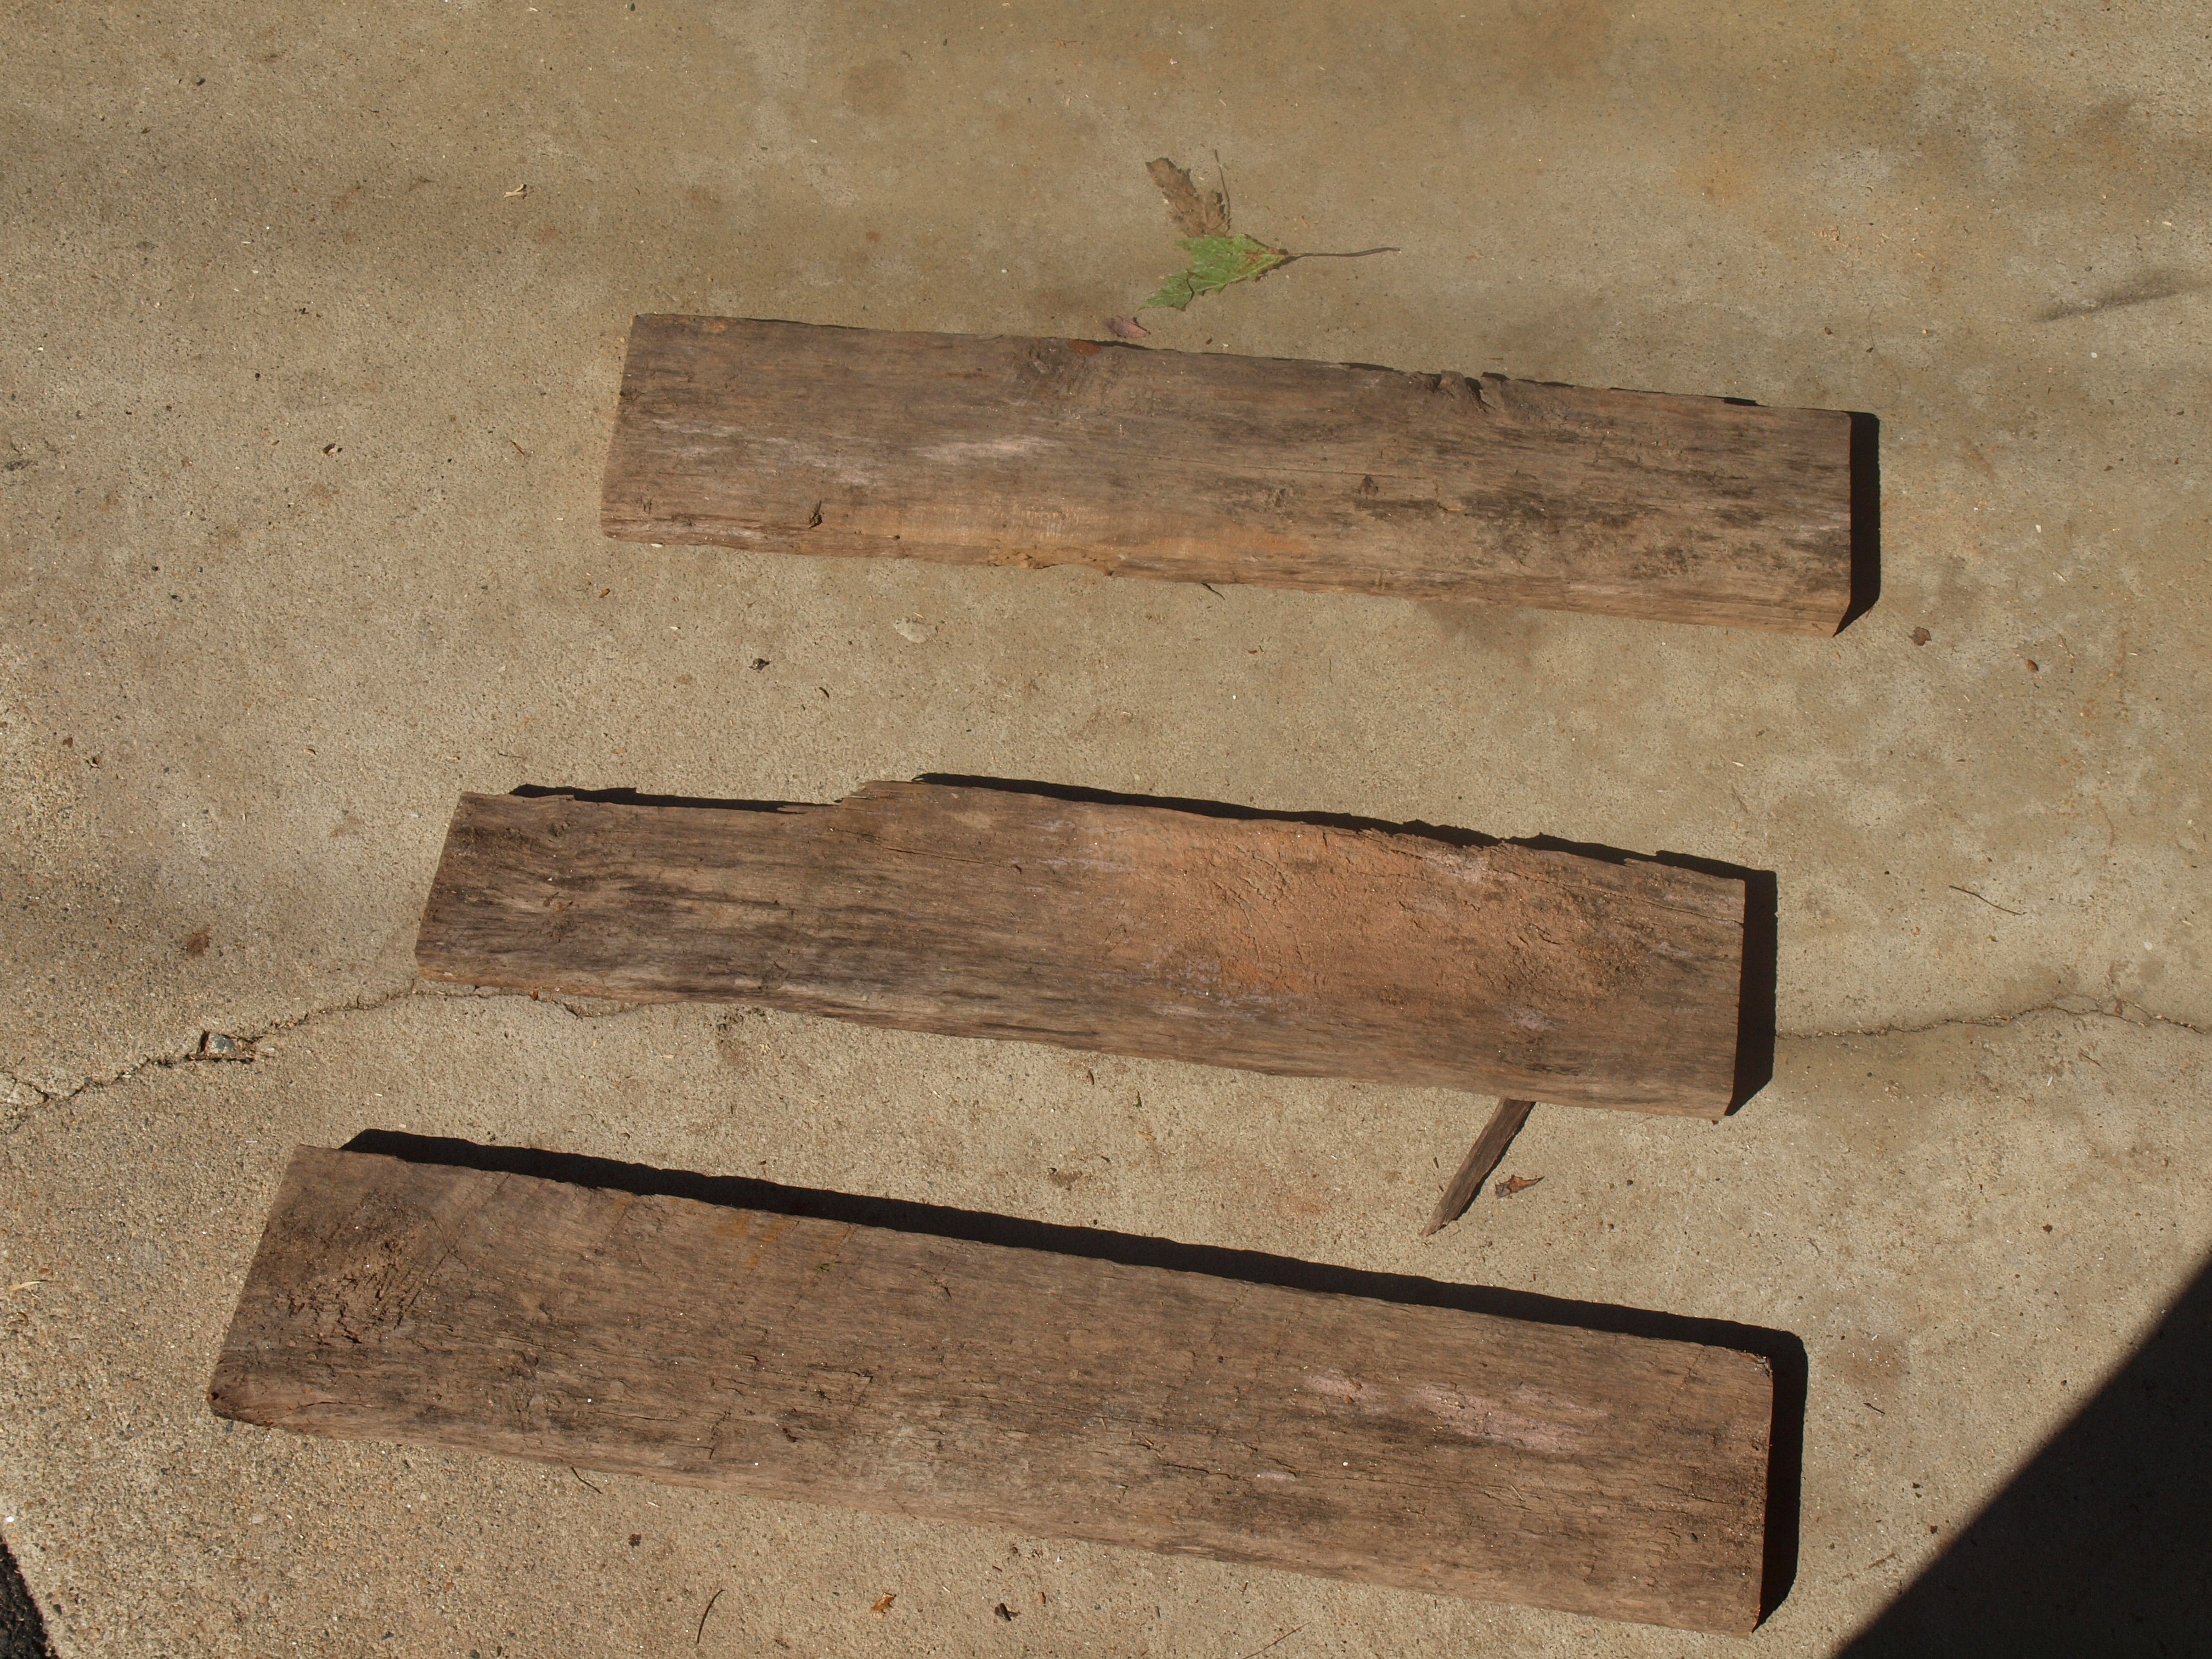
I remembered that we had a pallet hanging out in the backyard by the fire pit and decided to cut it up.  Alright well I didn't cut it up but I told my dad how I wanted it done. It's gotta count for something!!  He cut the 4 boards off the pallet and then took those boards and cut them in half horizontally.
I took 4 pieces and lined them up the way I liked, they don't have to be perfect, that's the best part!  Once I liked the pieces I put together I flipped them over.  So the wrong side was facing up.  I took a 2 thin pieces of wood that I found lying around and lied it vertically across the 4 boards and used the nail gun or staple gun to shoot a staple through the piece of thin wood and each pallet board.
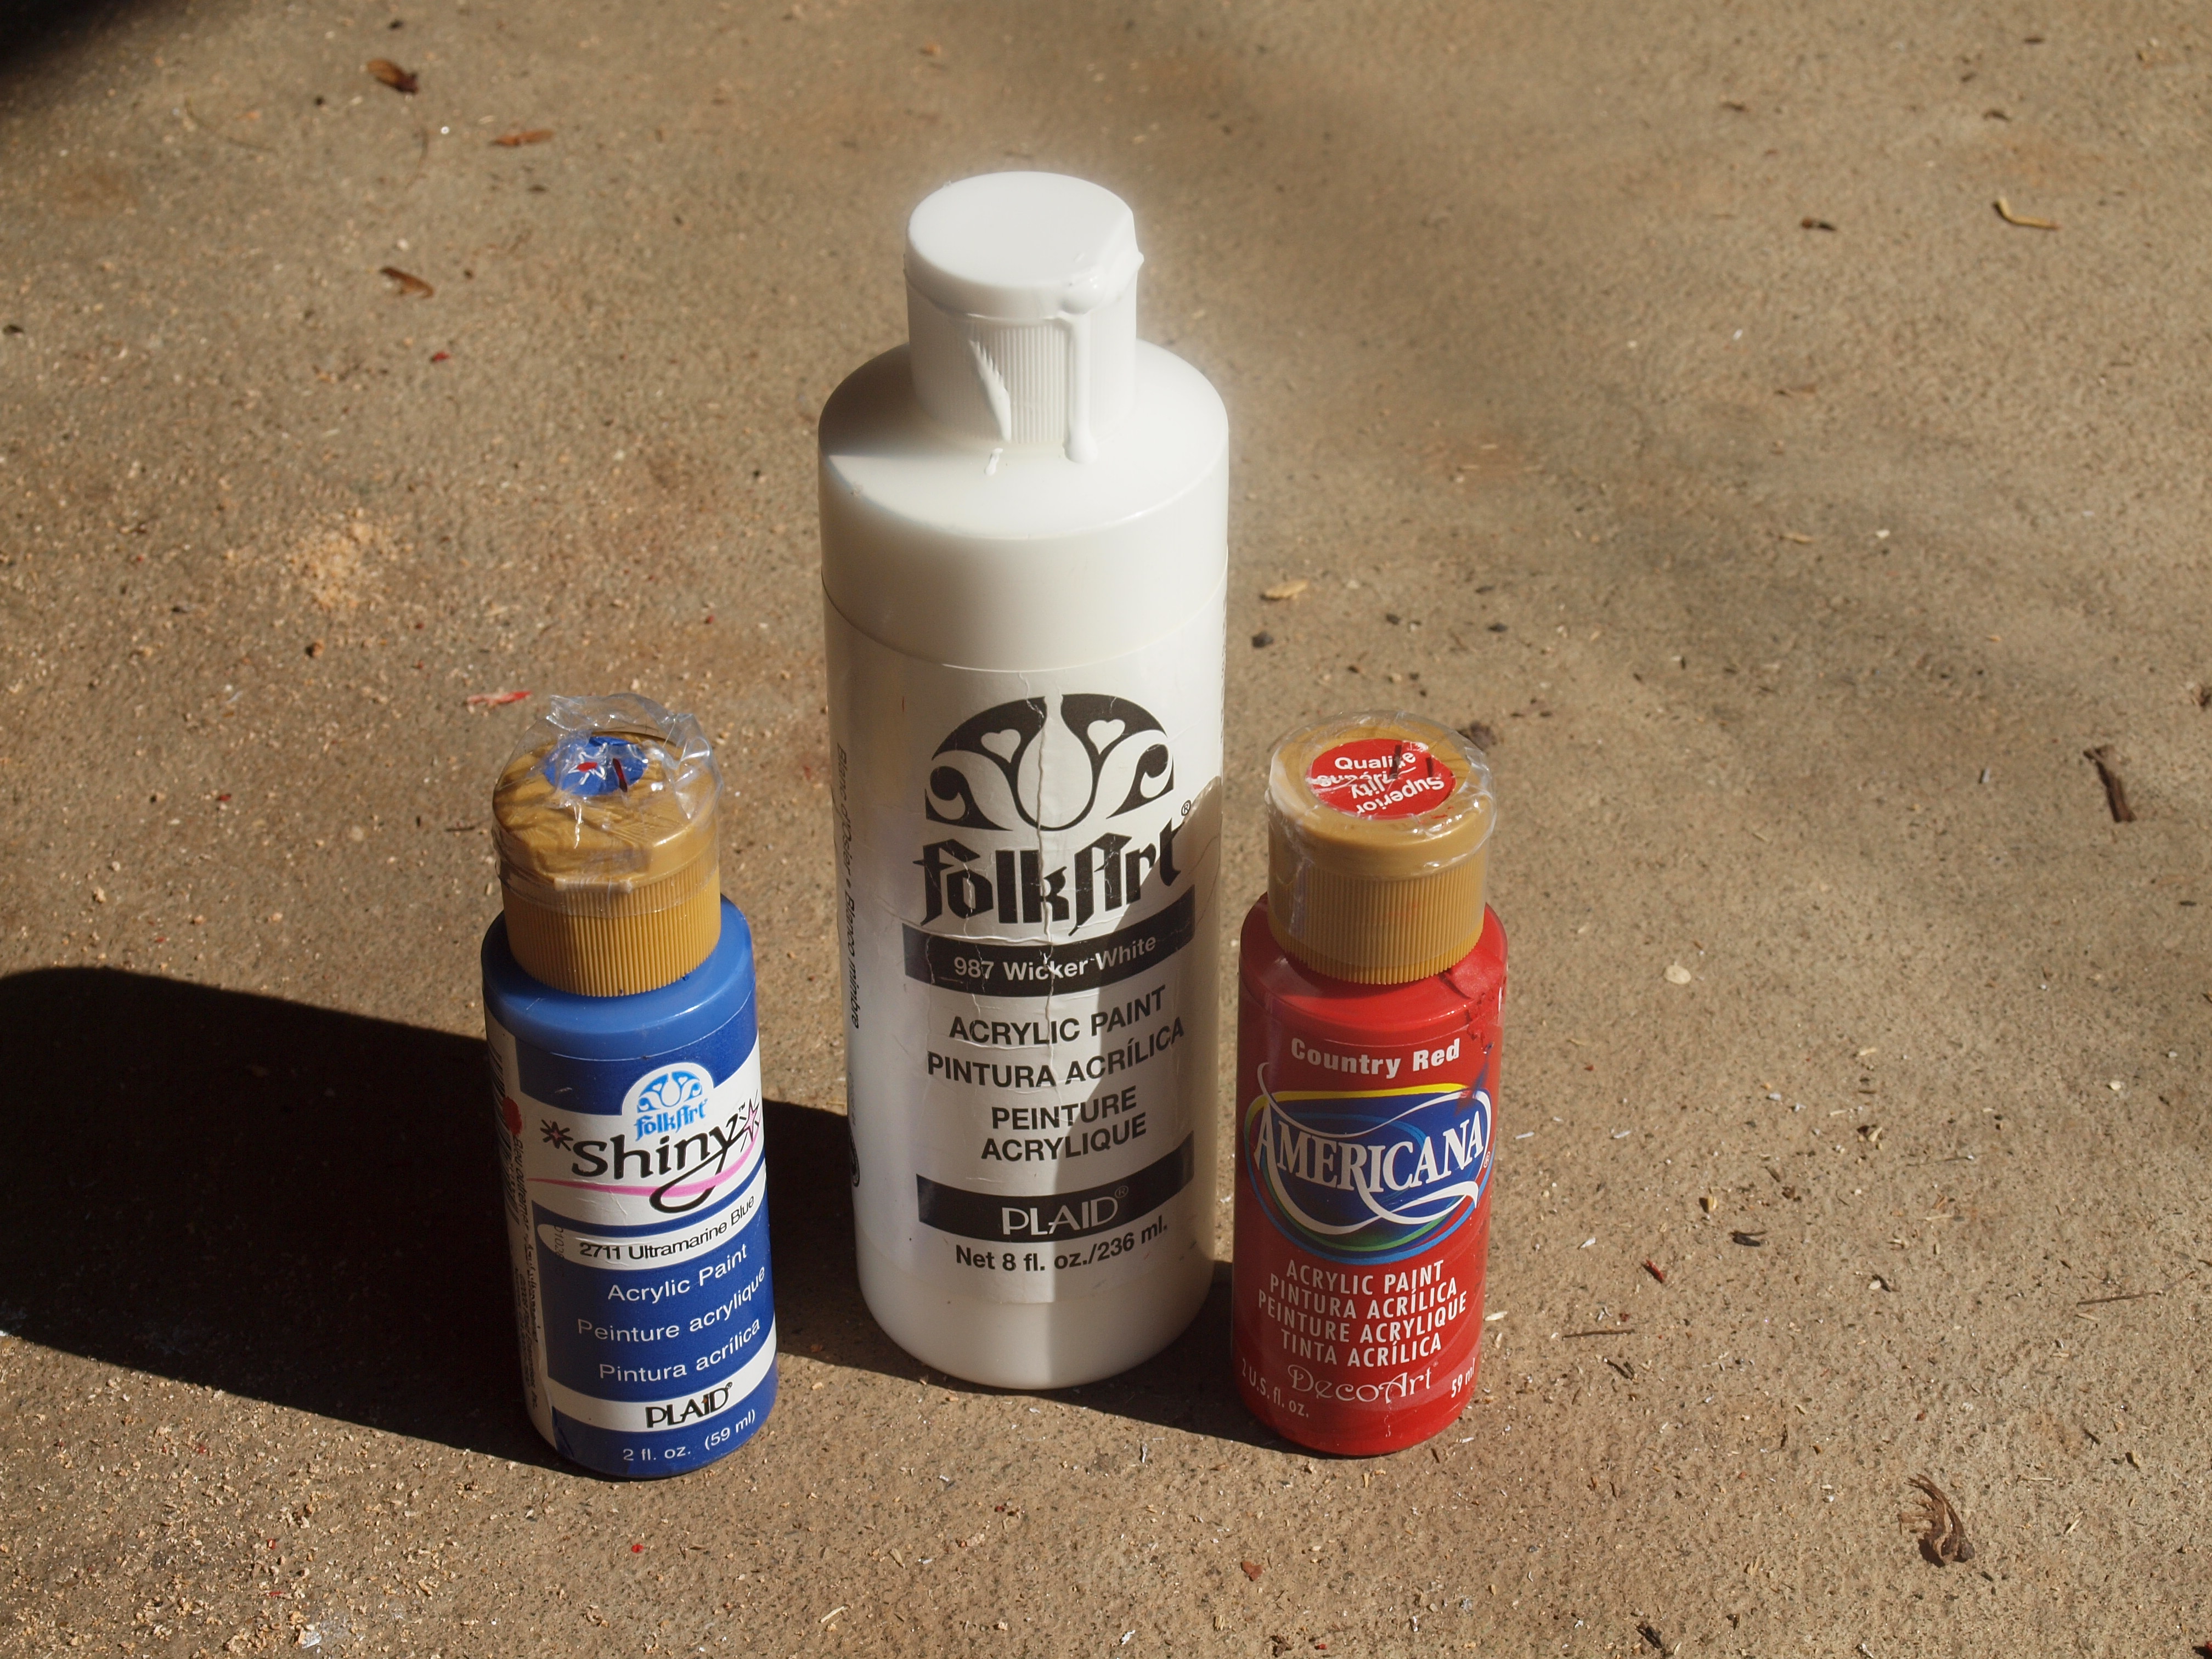
Then I looked for red, blue, and white paint and came up with these...
They are just plain acrylic paints.  I painted a square with the blue in the upper left corner and then used the red and white for stripes, obviously!   My painting job was not perfect I just dragged my brush along the boards, and the boards are not smooth so it gives it that old look.   I put a couple dots of white on the blue square for the stars.  I may have done something different for the stars, but I couldn 't think of anything more creative at the time.  I let that dry and then used the MinWax stain in Jacobean along with an old dish washing sponge and dabbed it in the stain and ran it along the boards to make it look a little more distressed, cause the colors were a little bright.
I love it!  So one of these is gonna go on my front door and I think I might give one to the host of one 4th of July parties I'm going to this weekend.   Oh so I haven't put anything to hang it by yet.  My thoughts are, just a hook on the back.  Or  a wire to go from one side to the other and kinda make it twisty and curly.  Haven't thought about it yet.  I'm gonna head to the Home Depot tonight to see if I can find a flat polyeurathane to protect it a little.  I'll see what the depot professionals say about it.
Have a happy and safe 4th of July!!

Table Revamp


I was in need of a new project, so I brought myself down the street to Goodwill in search of a piece of furniture that coule use some TLC.
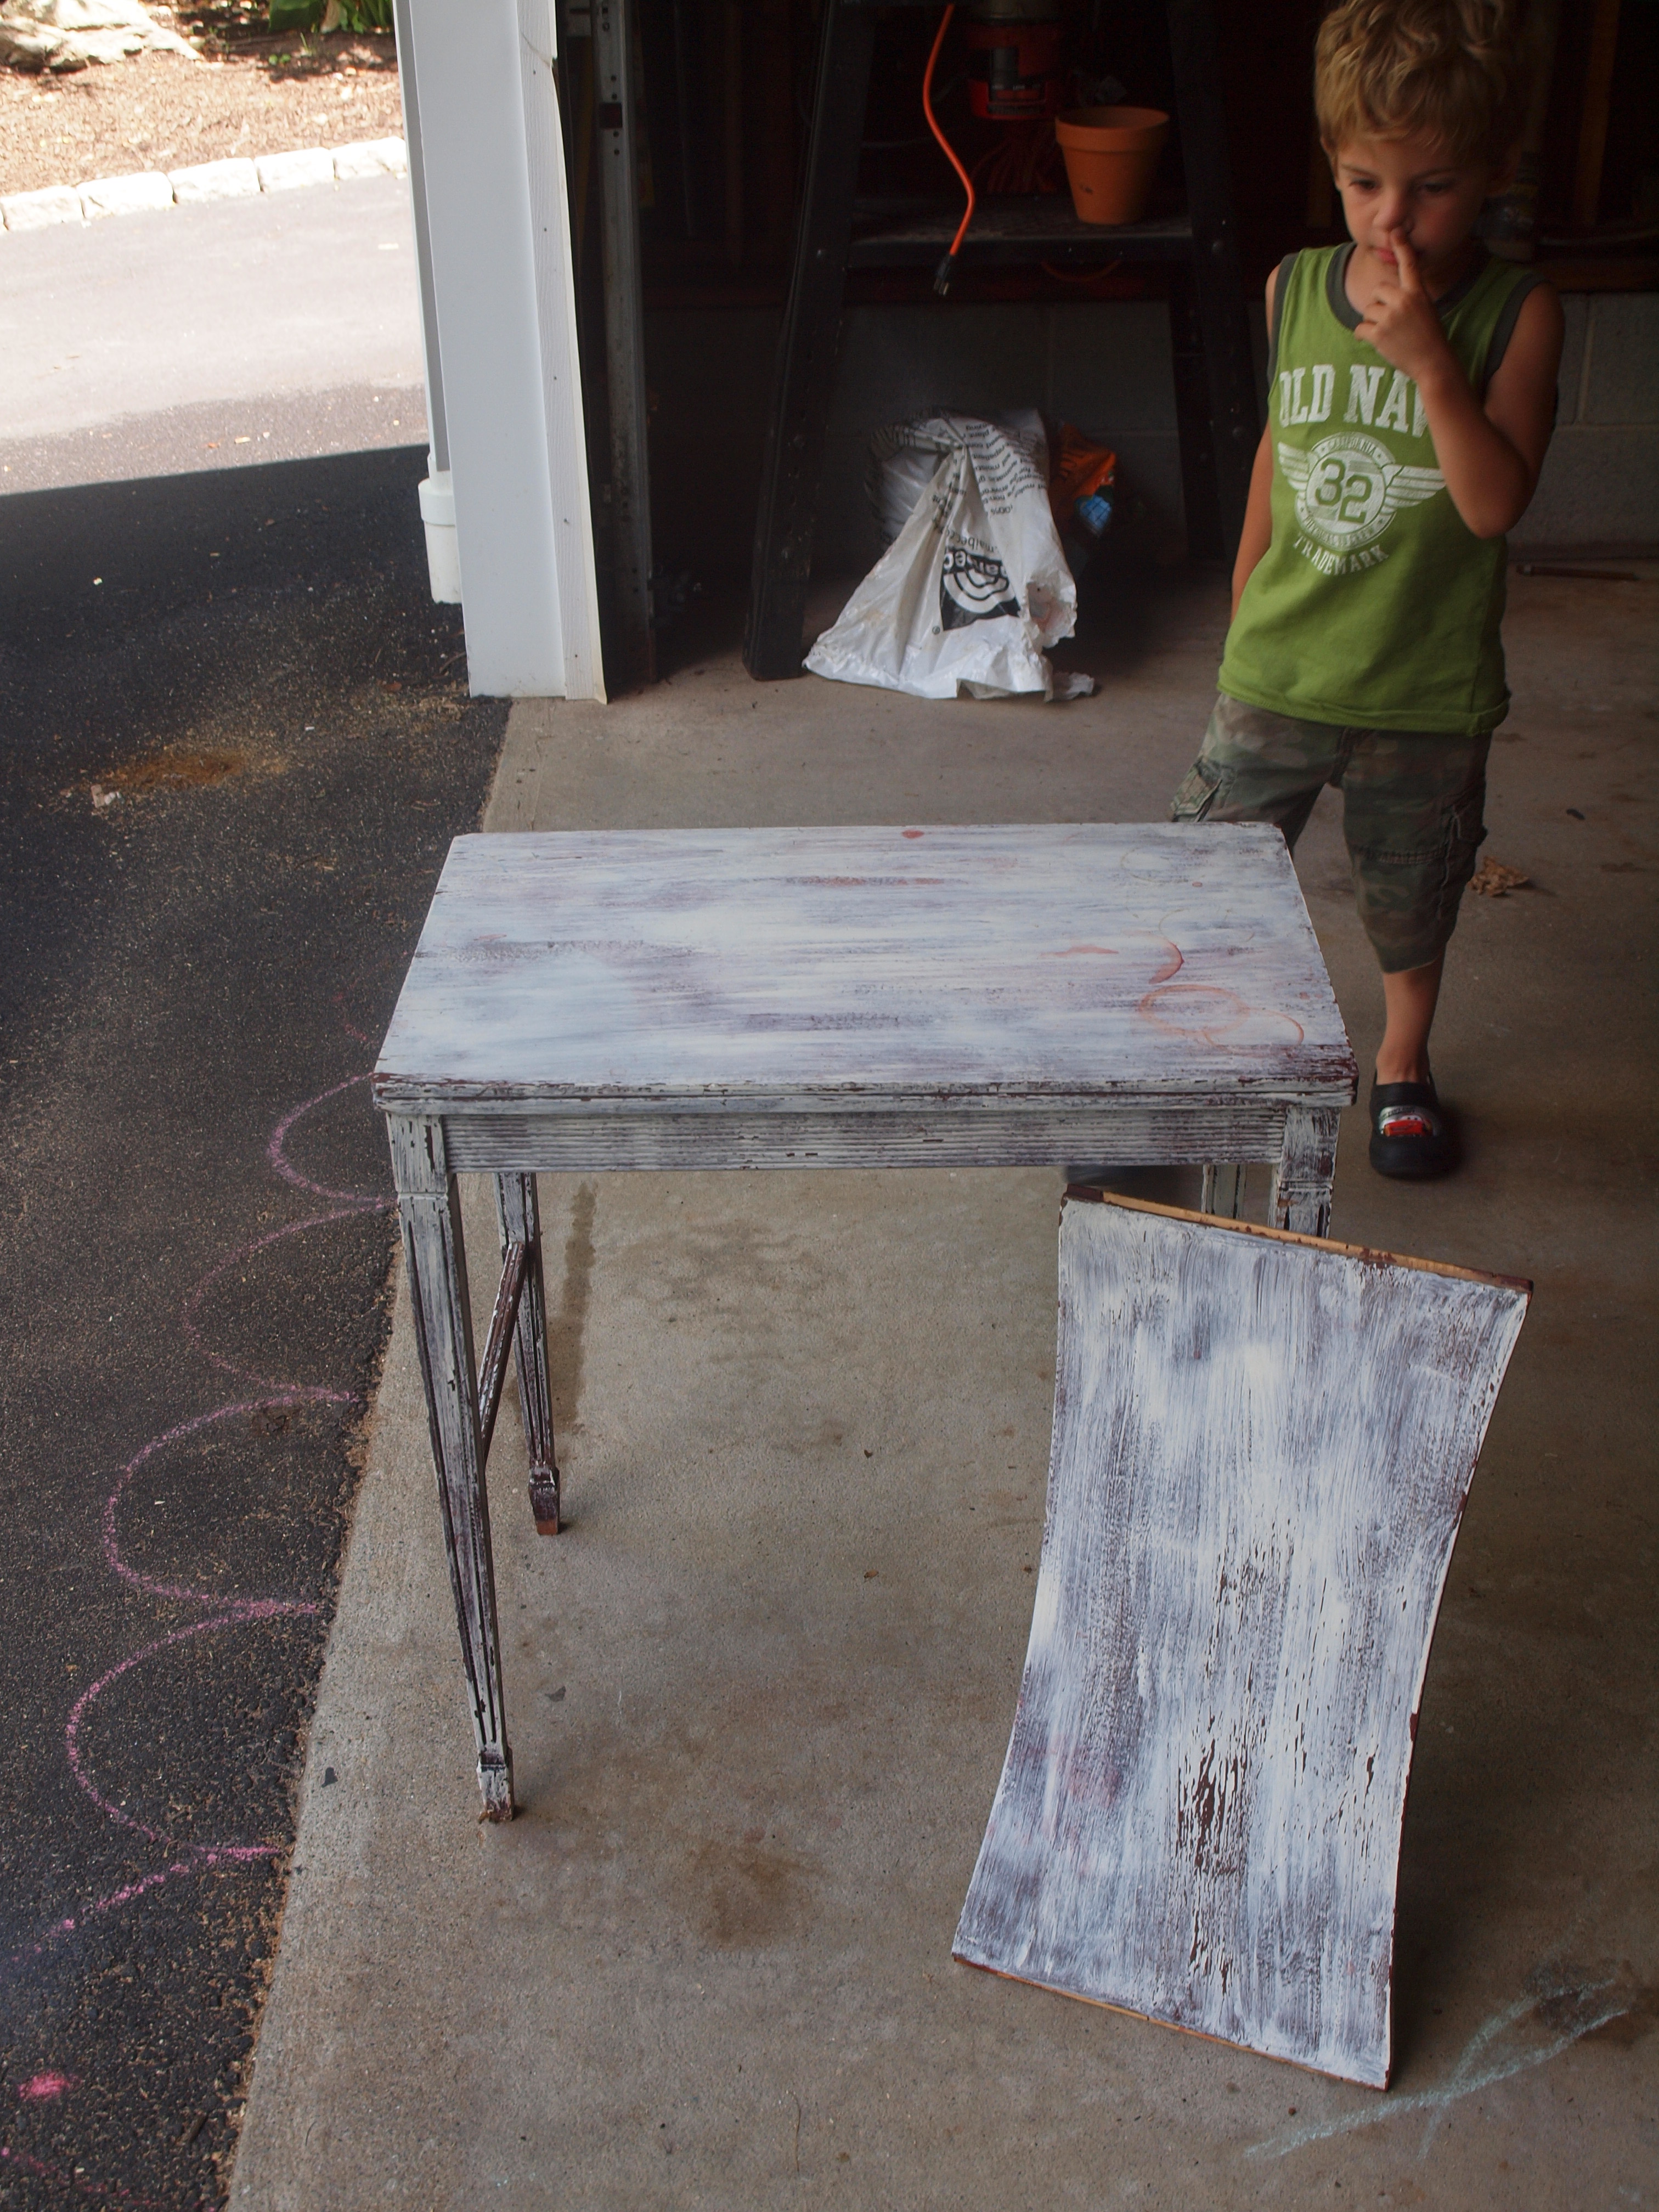
Enter into evidence......exhibit A
It looks as though someone tried to do a little refinishing on this table with a dark red base and tried to crackle the top white coat.  In one word I would explain this as YUCK!  Oh and that piece laying against the table  is a shelf that came loose, and then just came off.  Oh and Jacob is not picking his nose in the back round..........I promise!
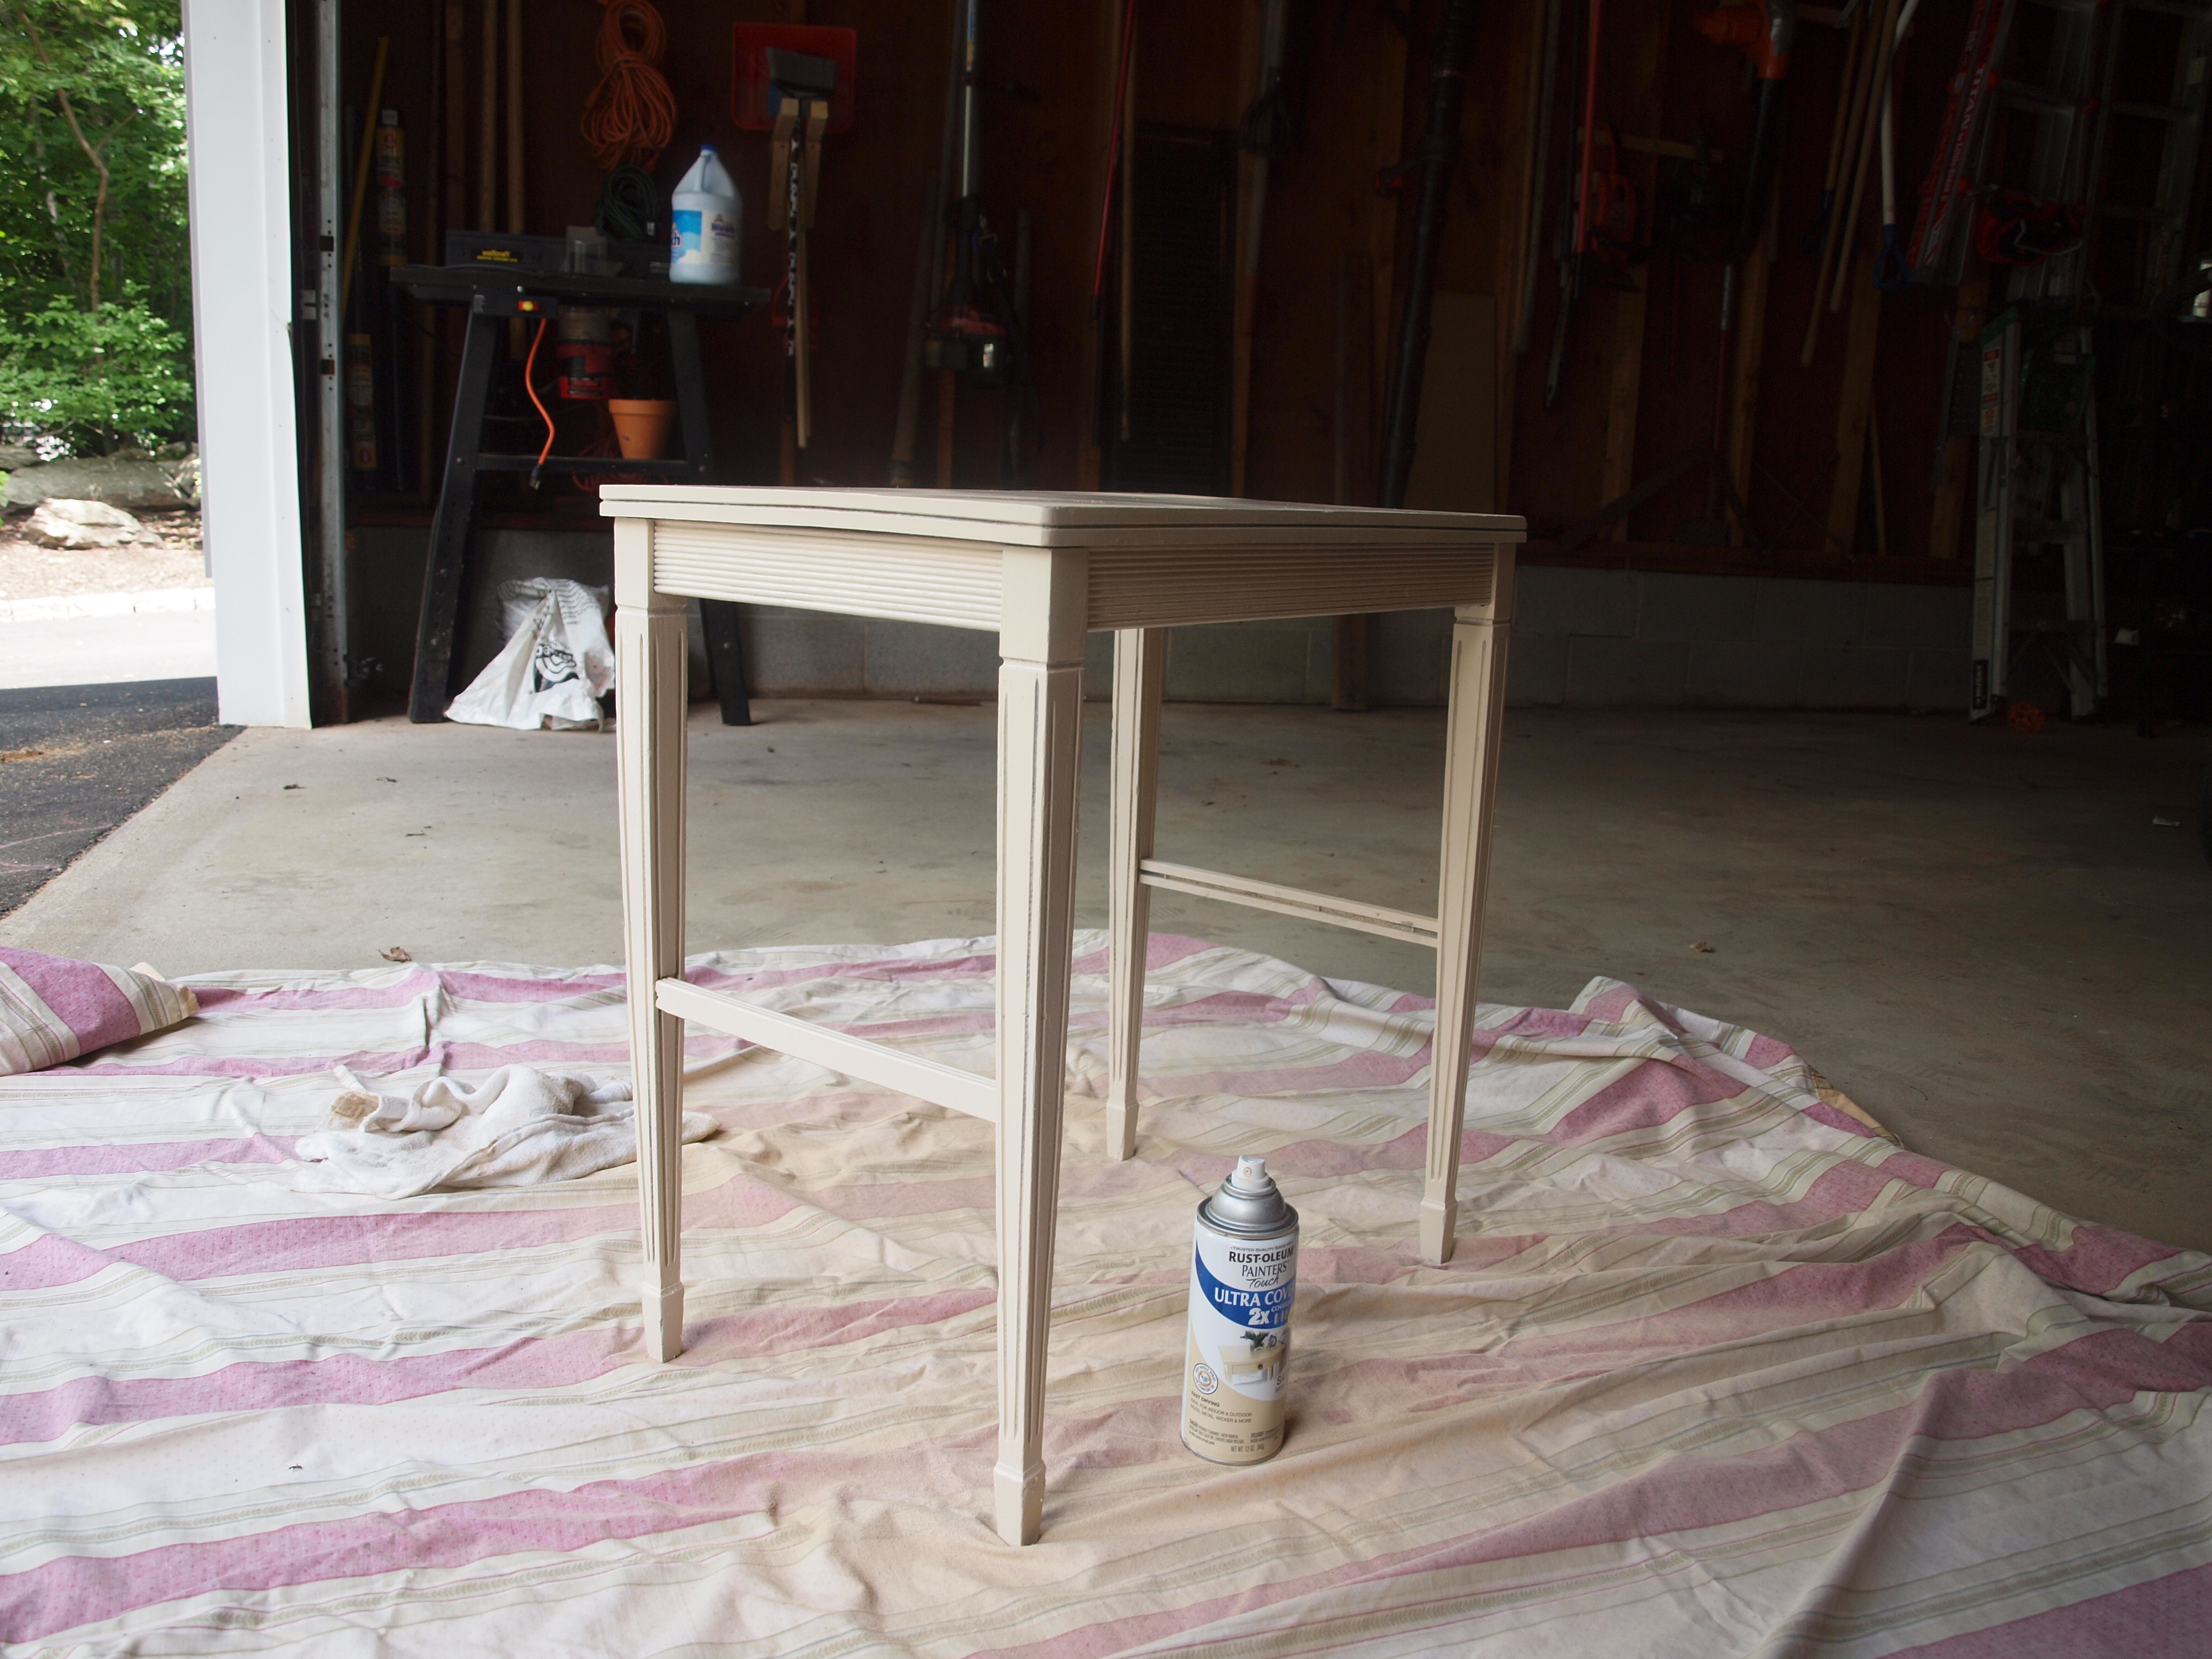
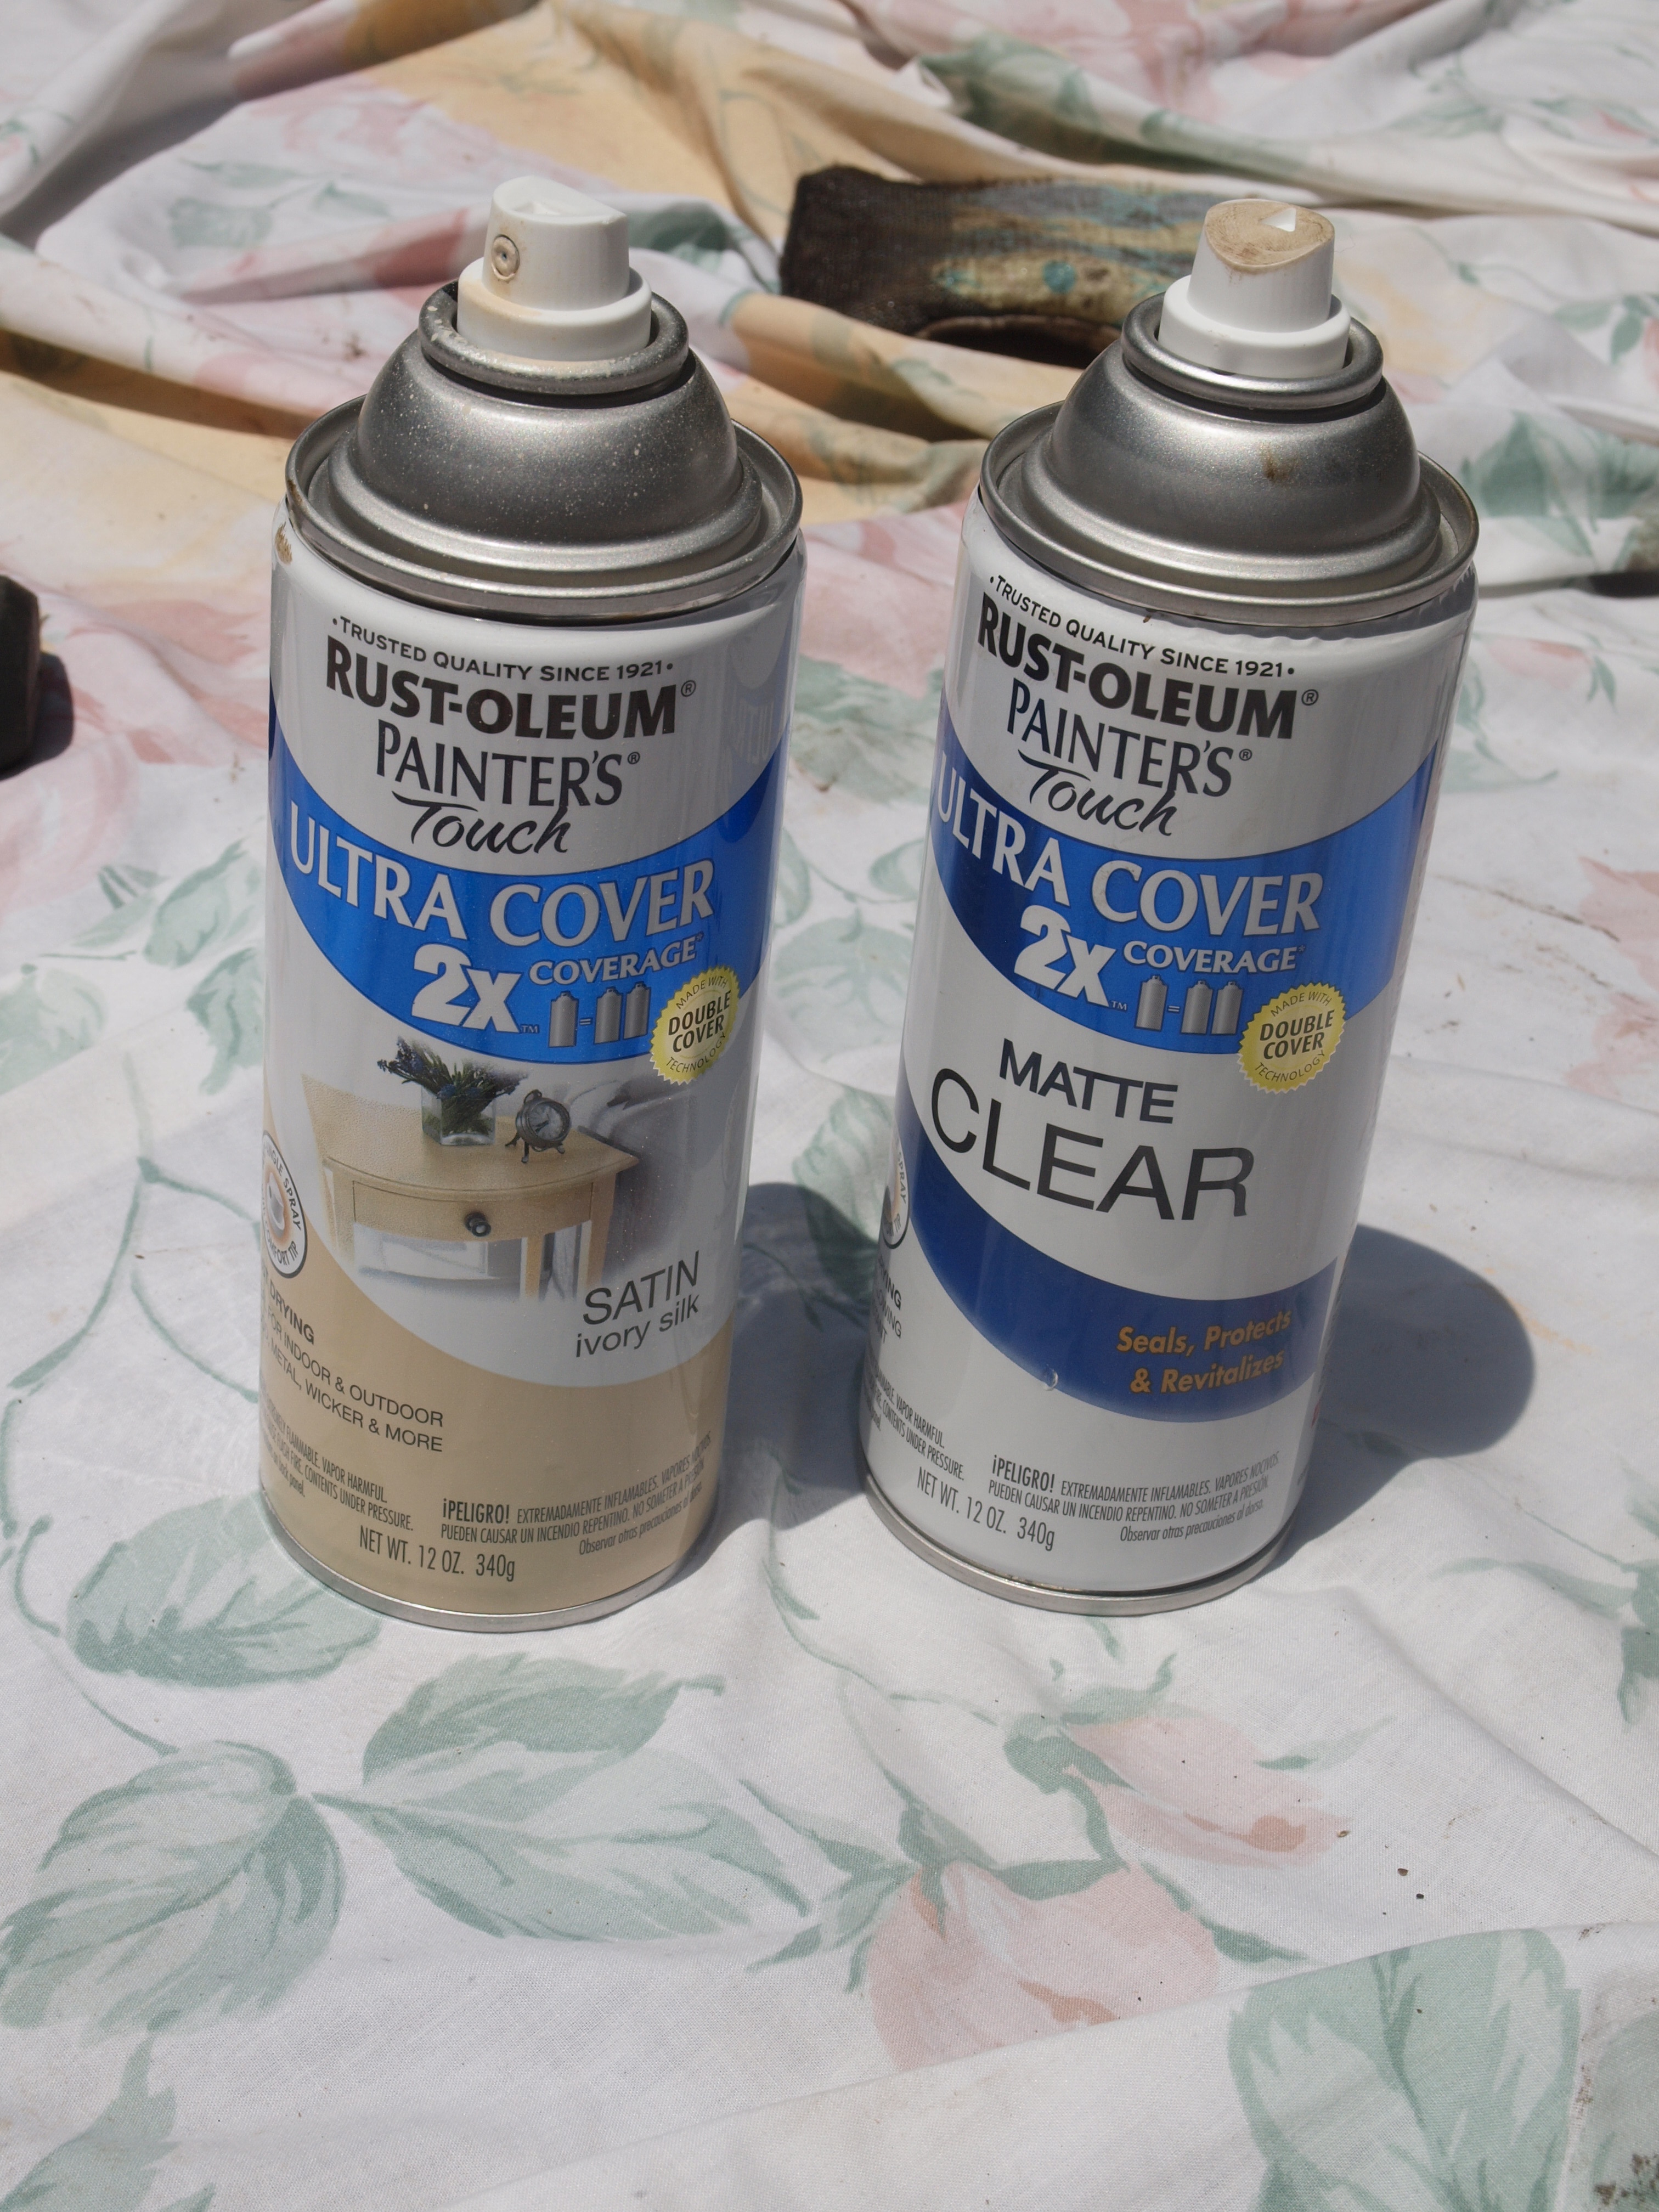
I went to Home Depot and picked out a color that I thought would do this table some justice.  I chose a satin ivory silk. I also purchased a clear finishing coat to protect it in a matte finish.
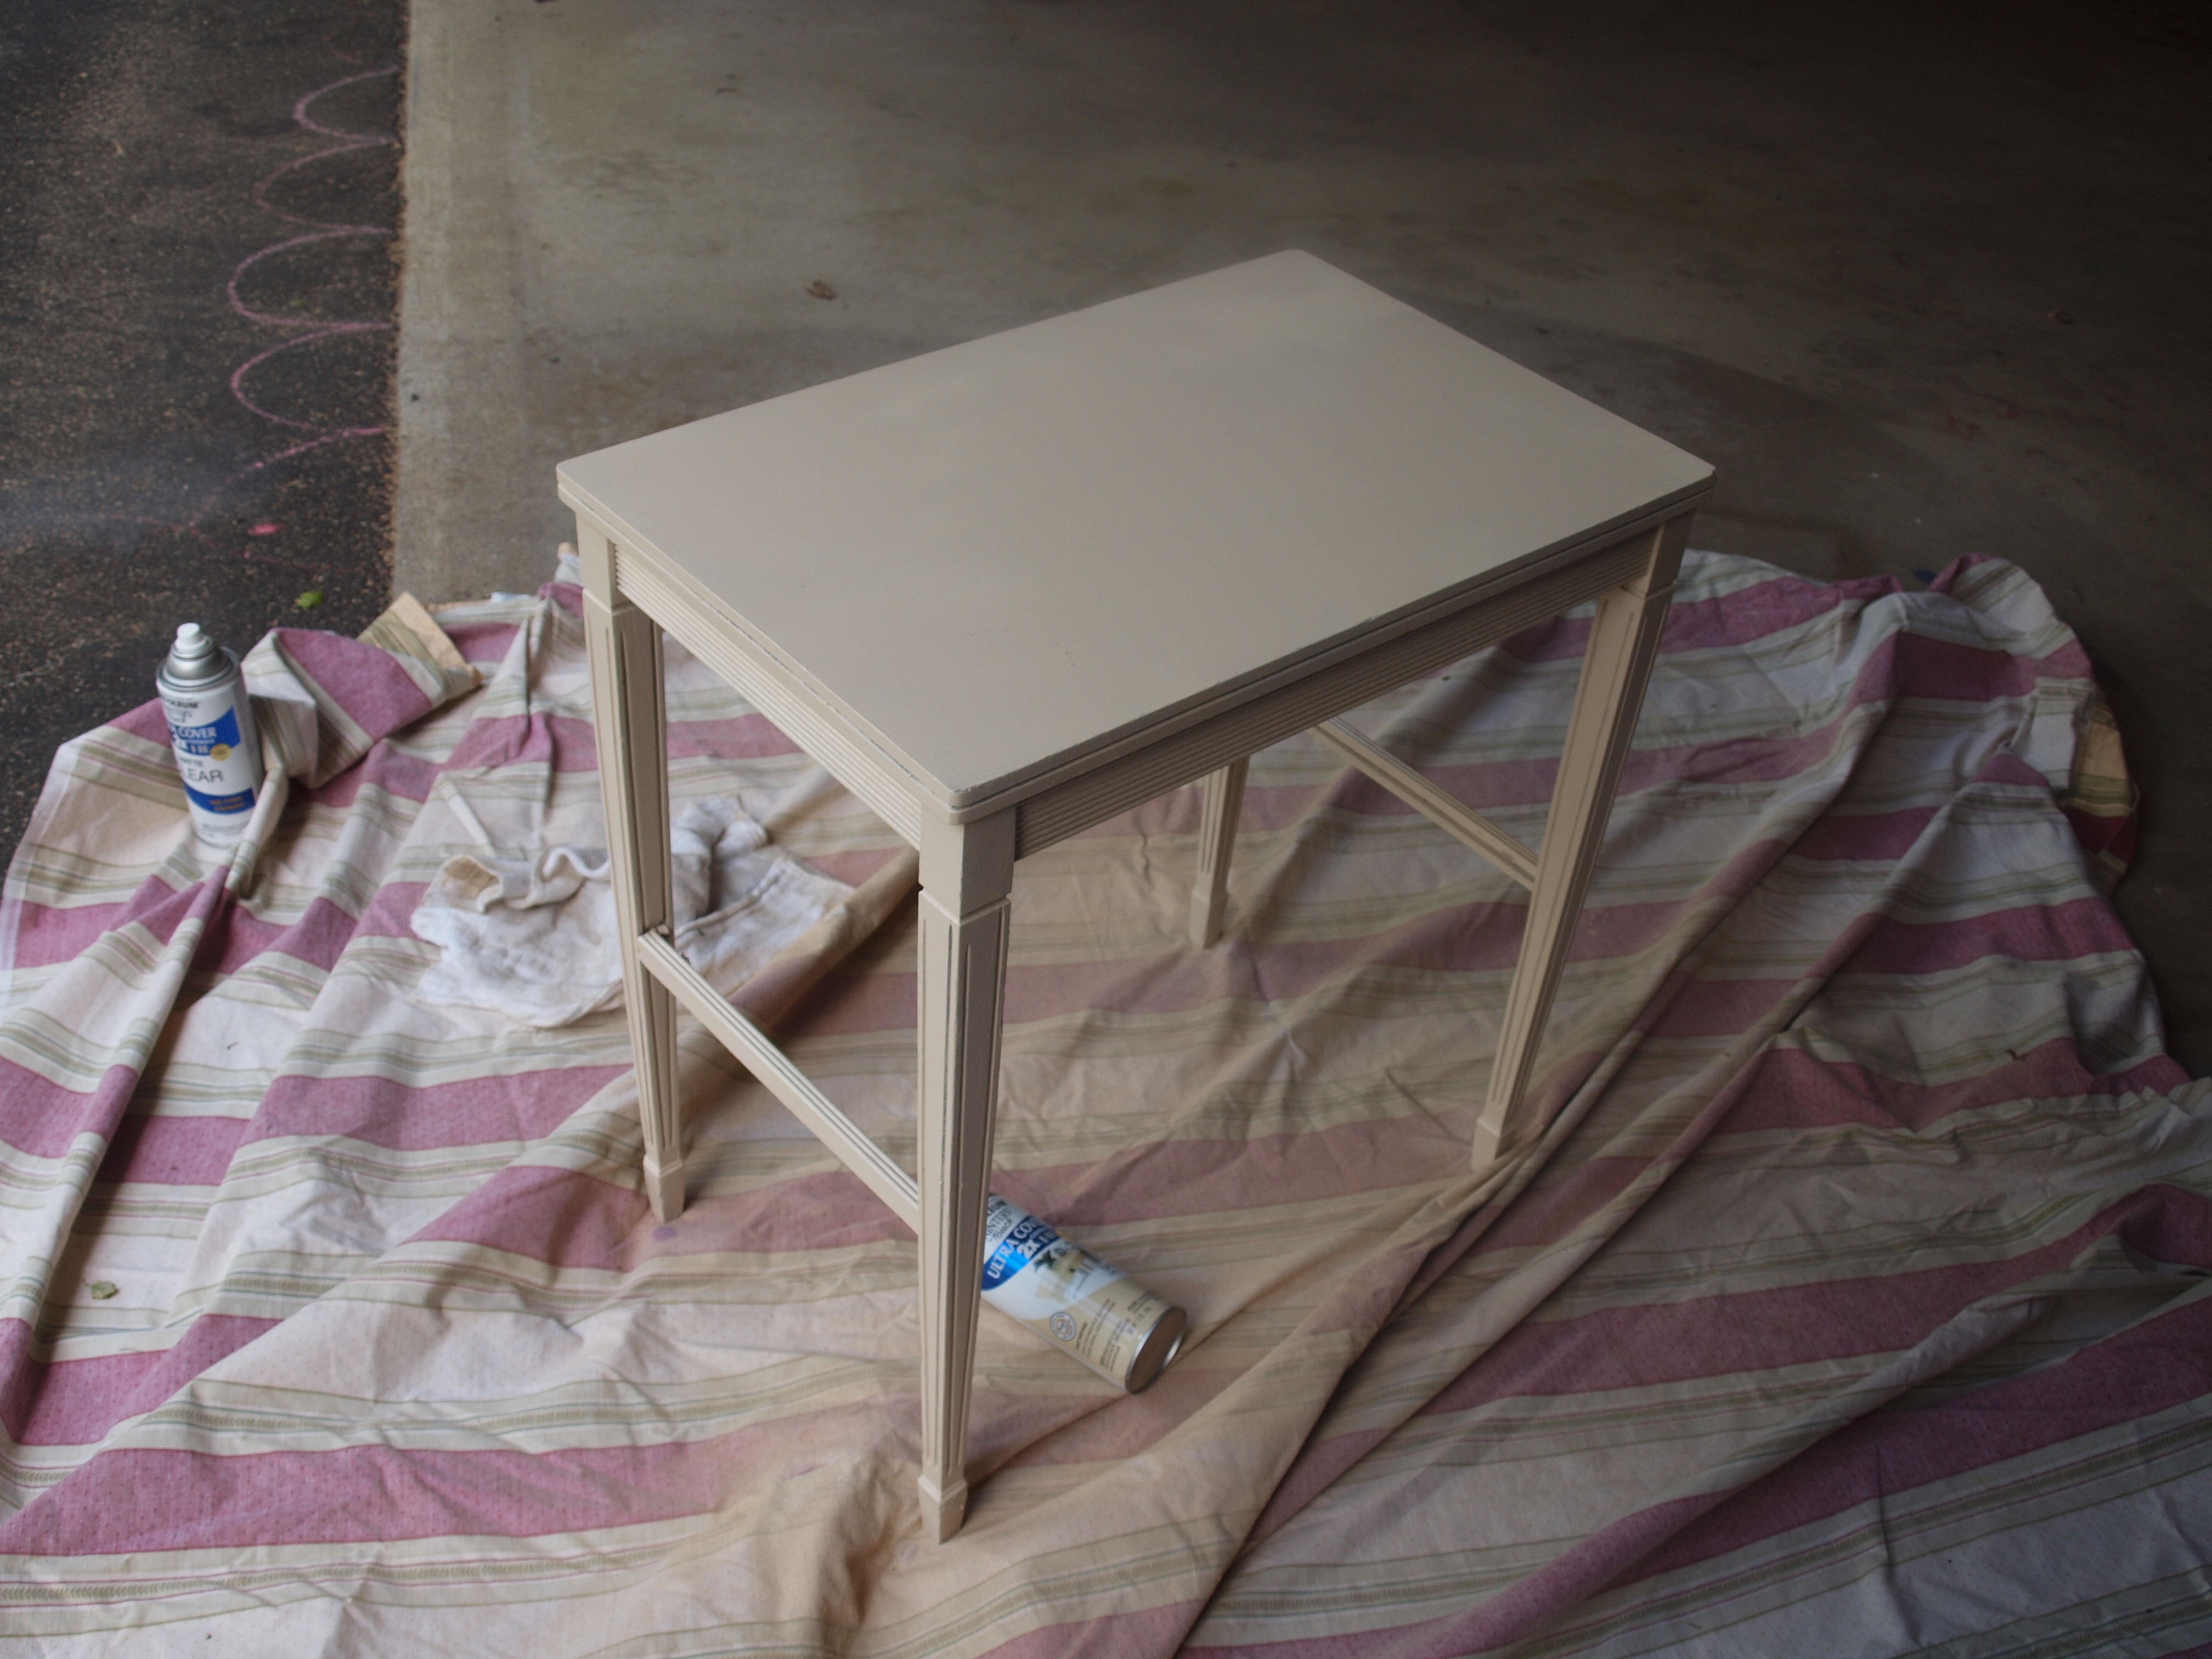
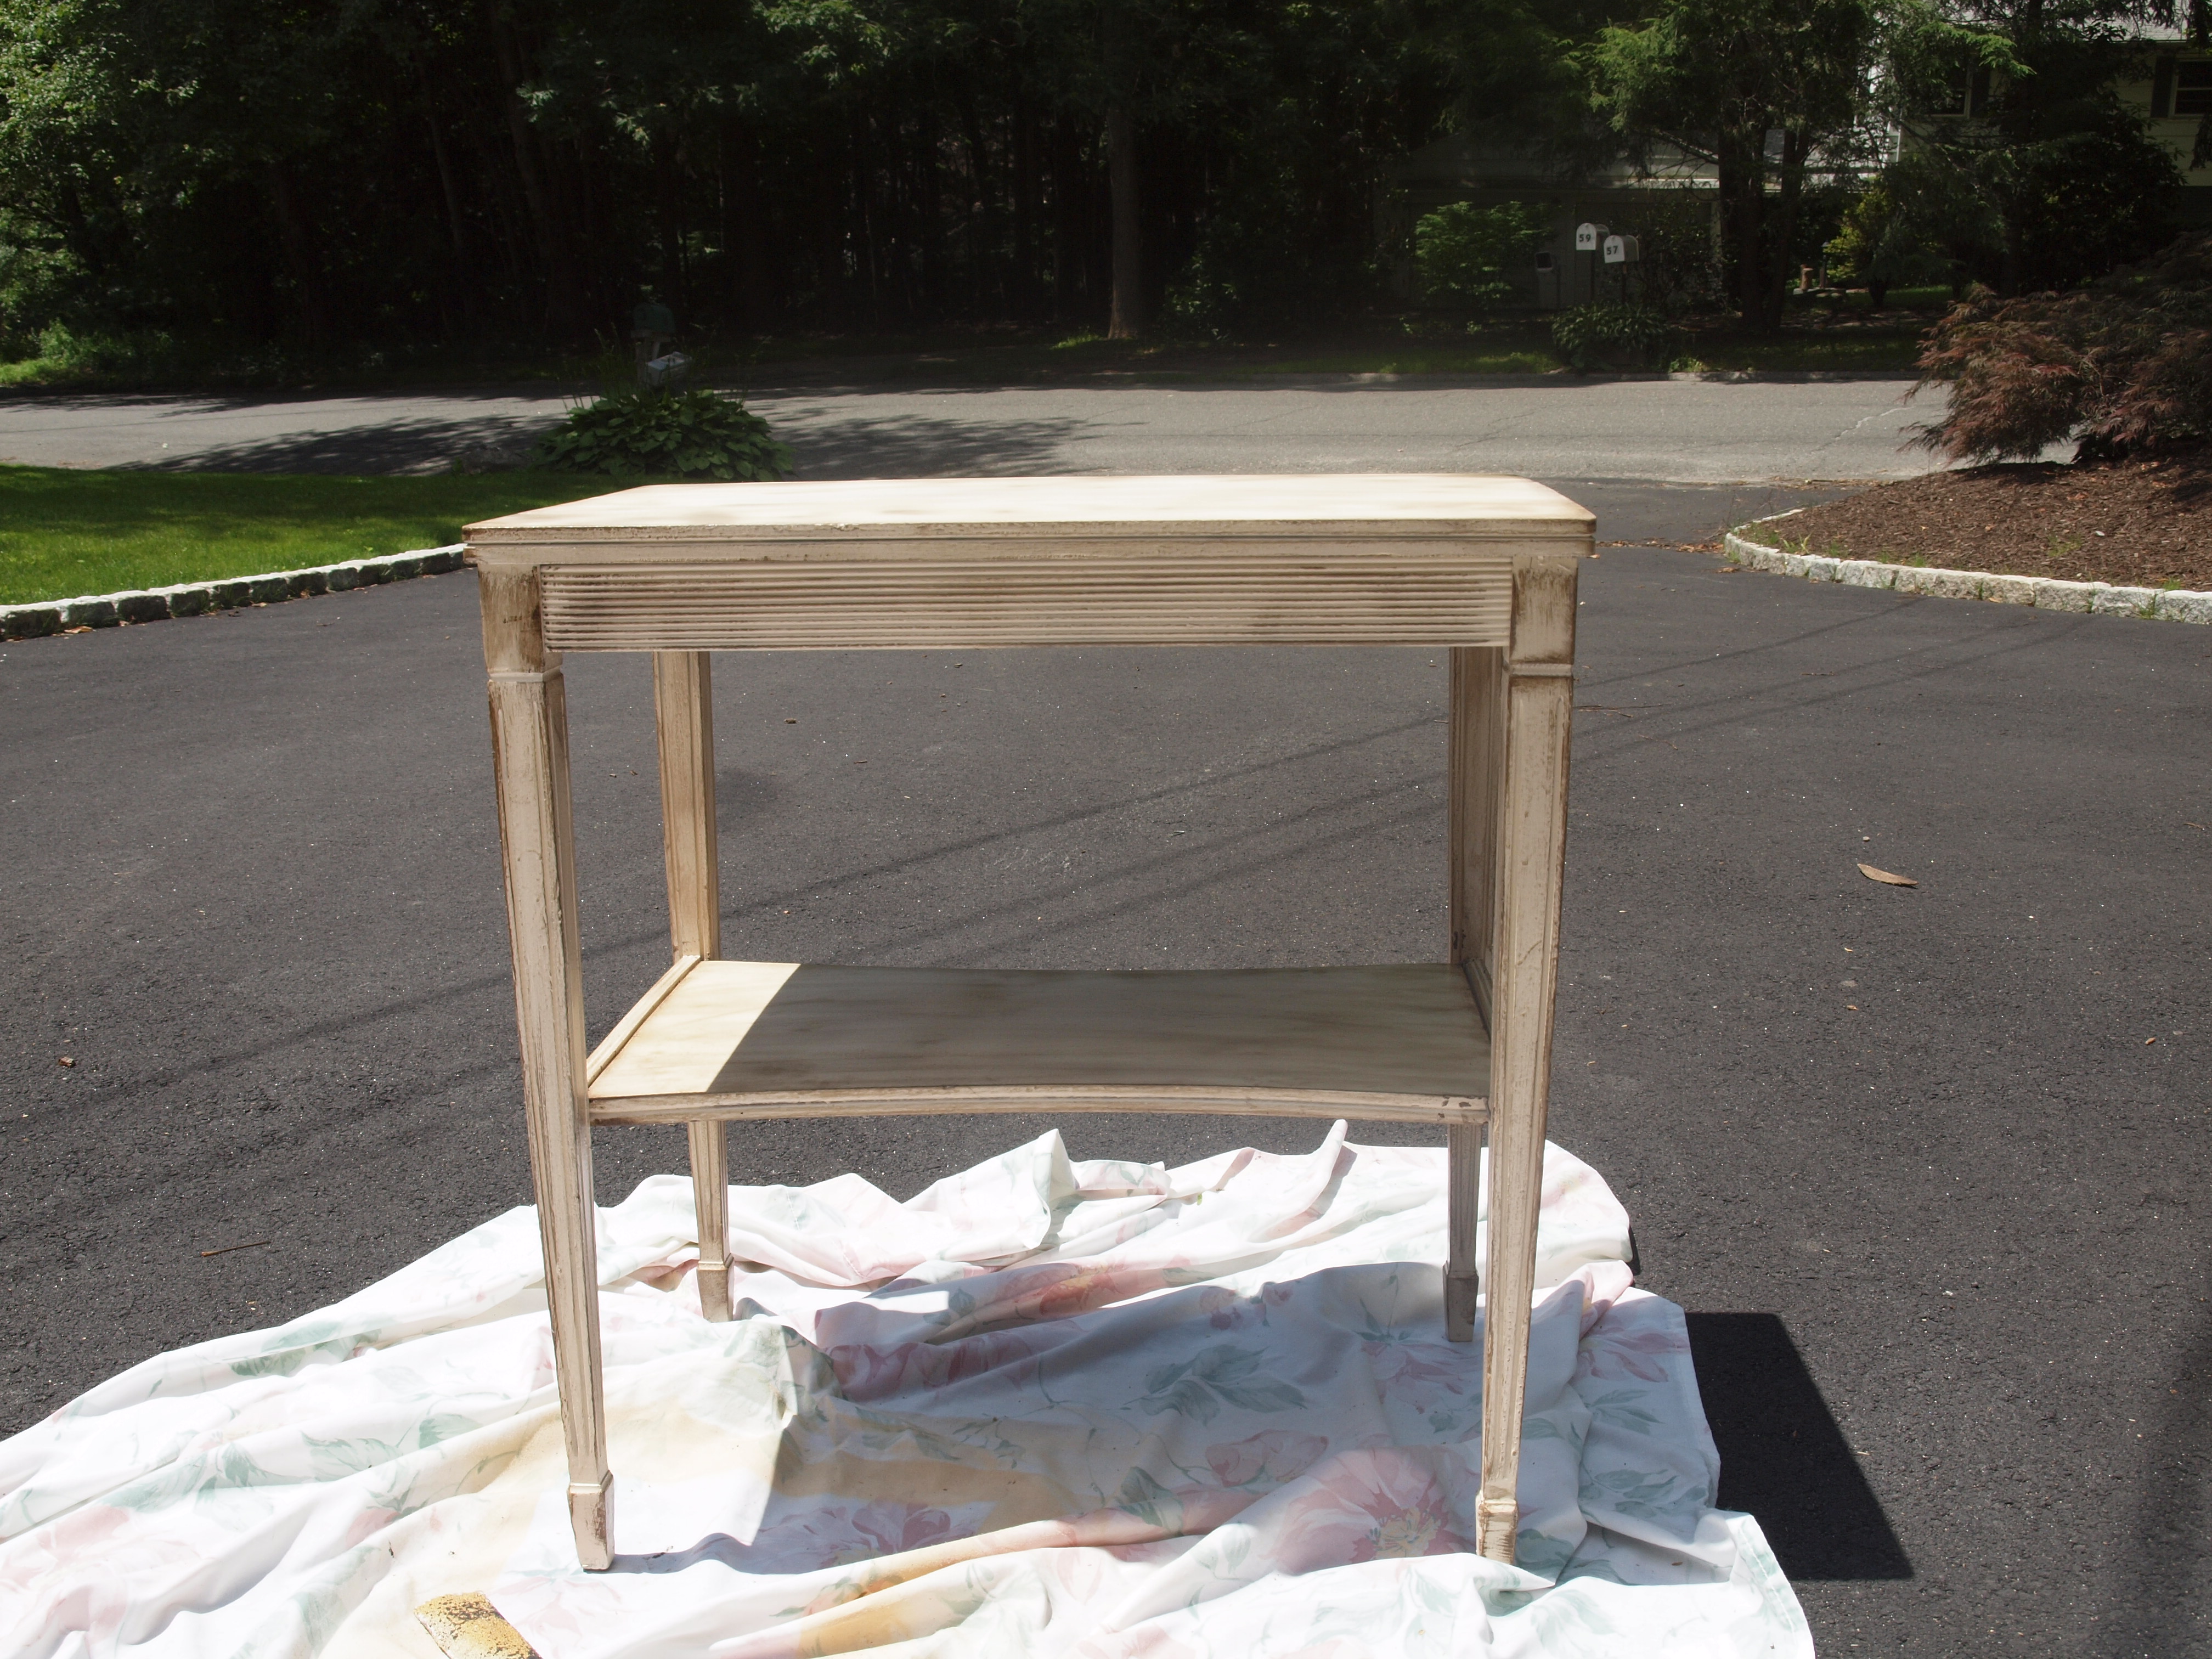
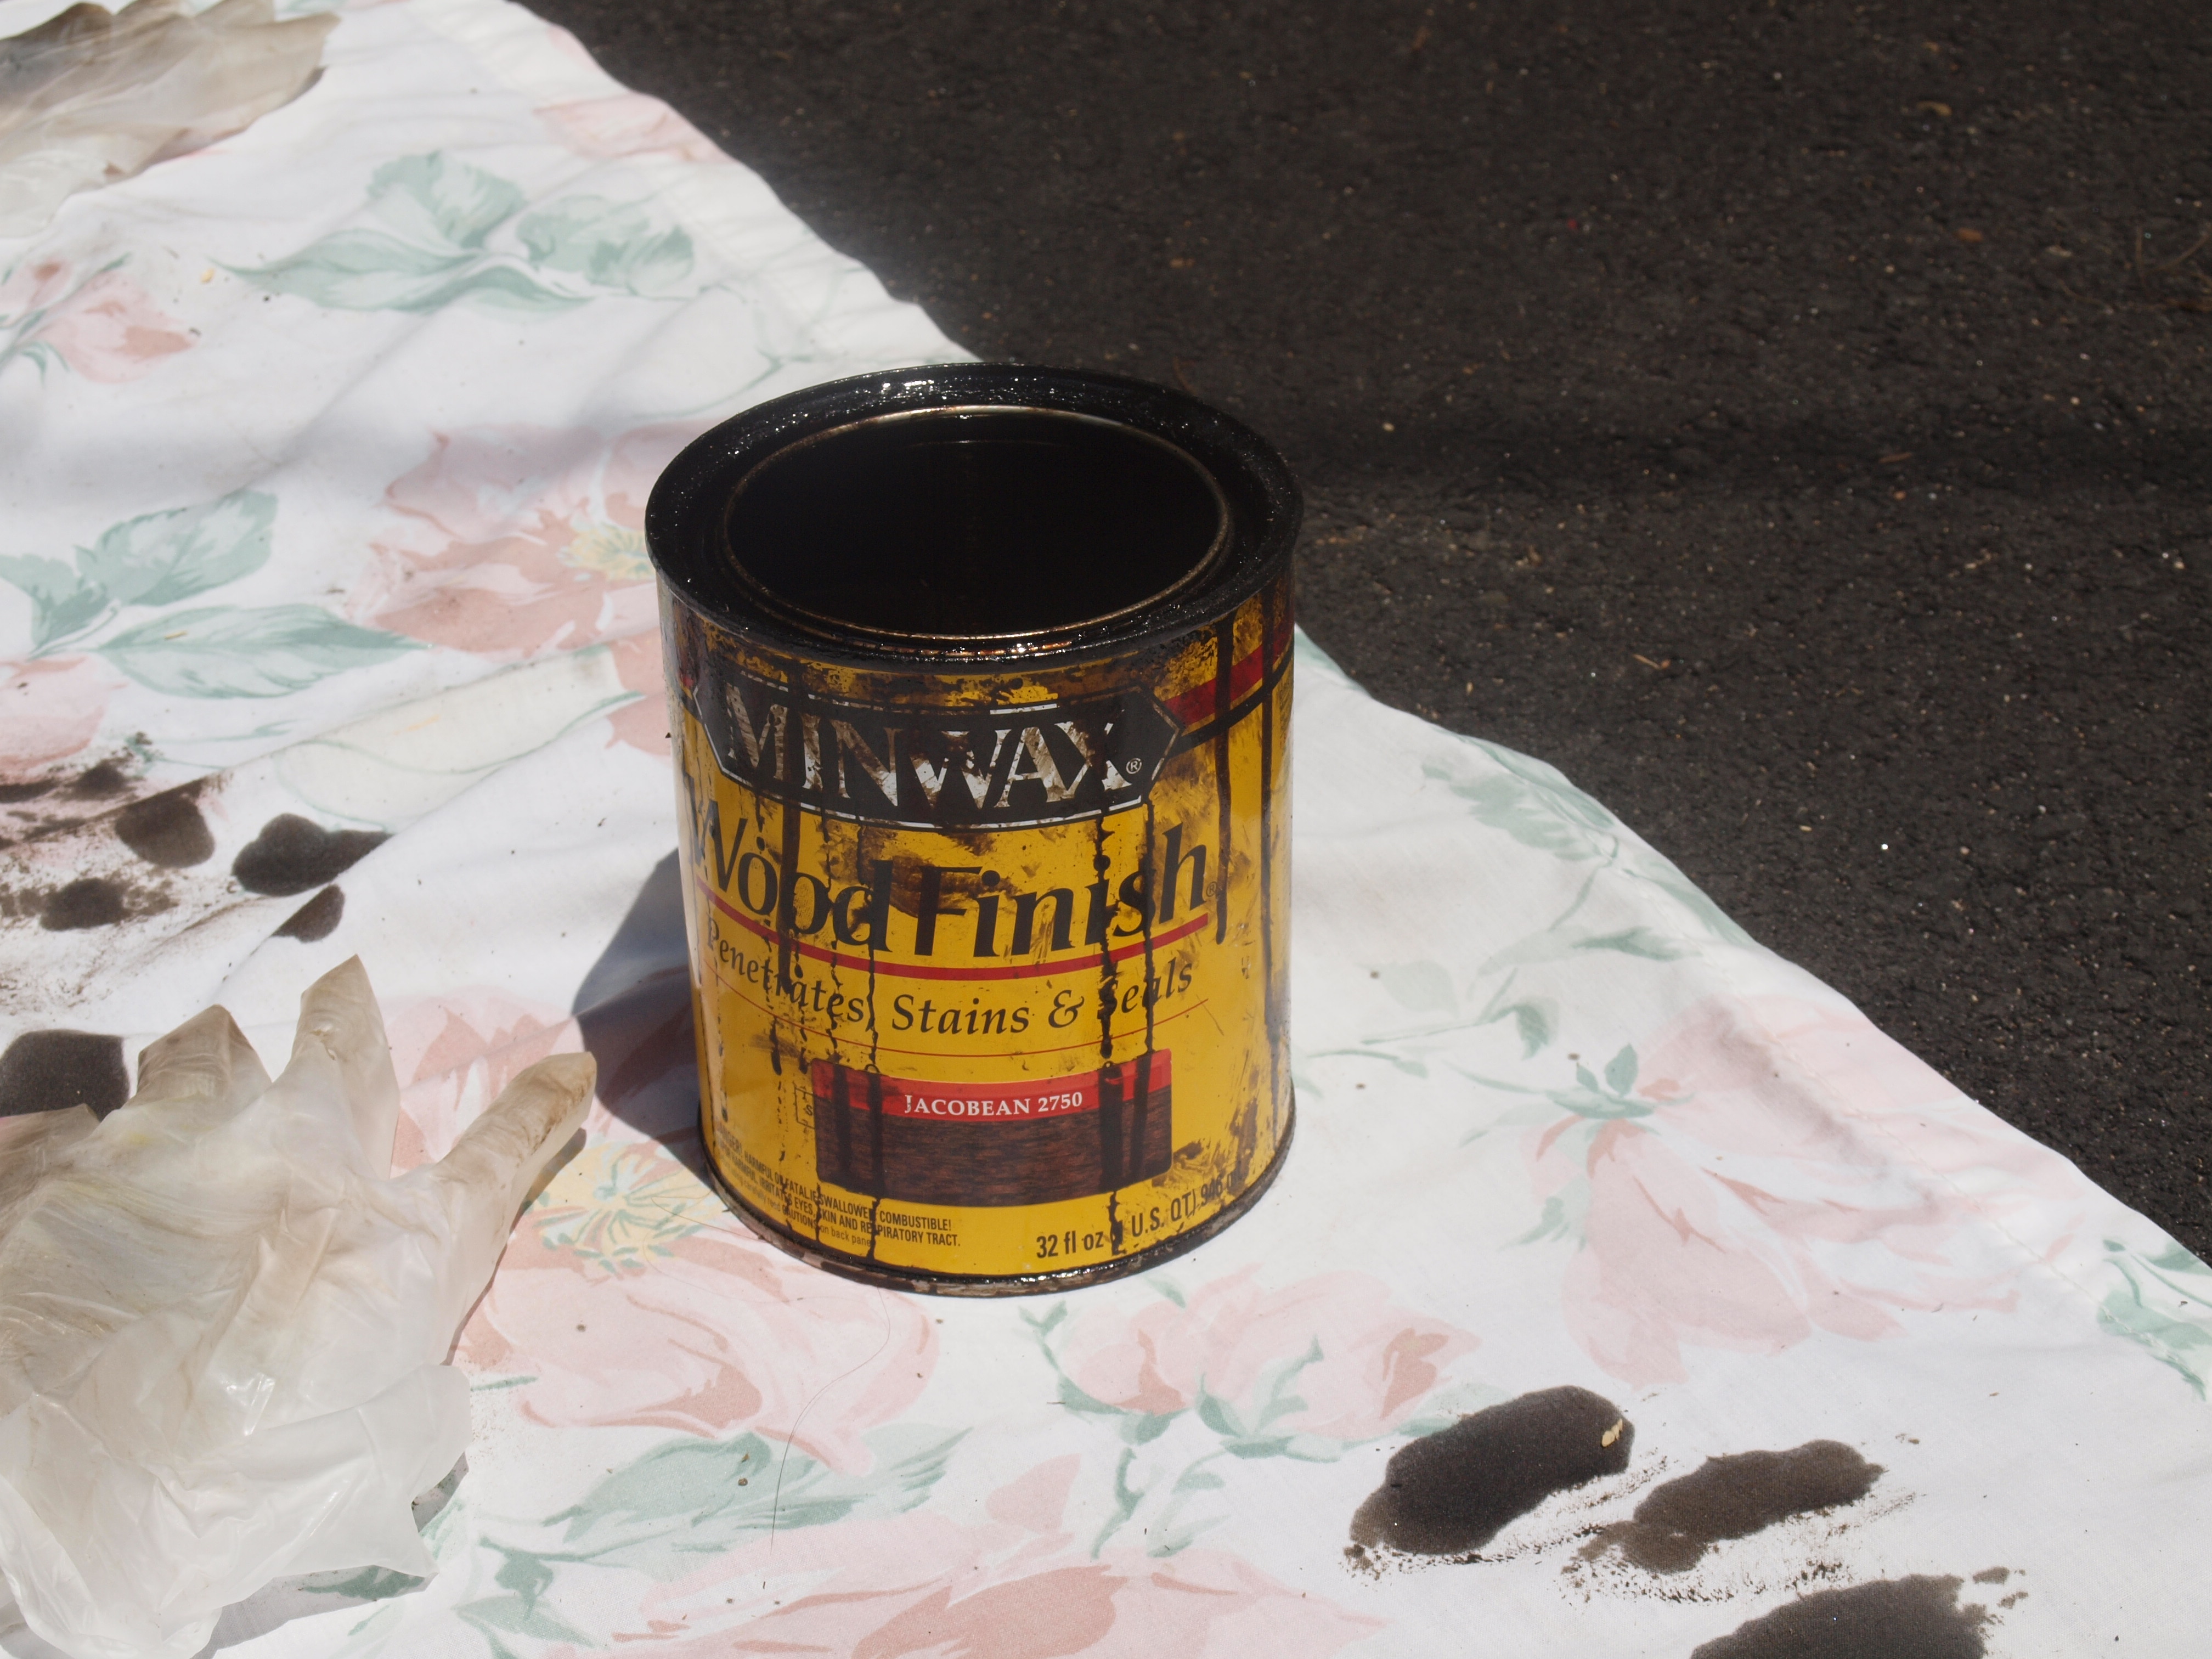
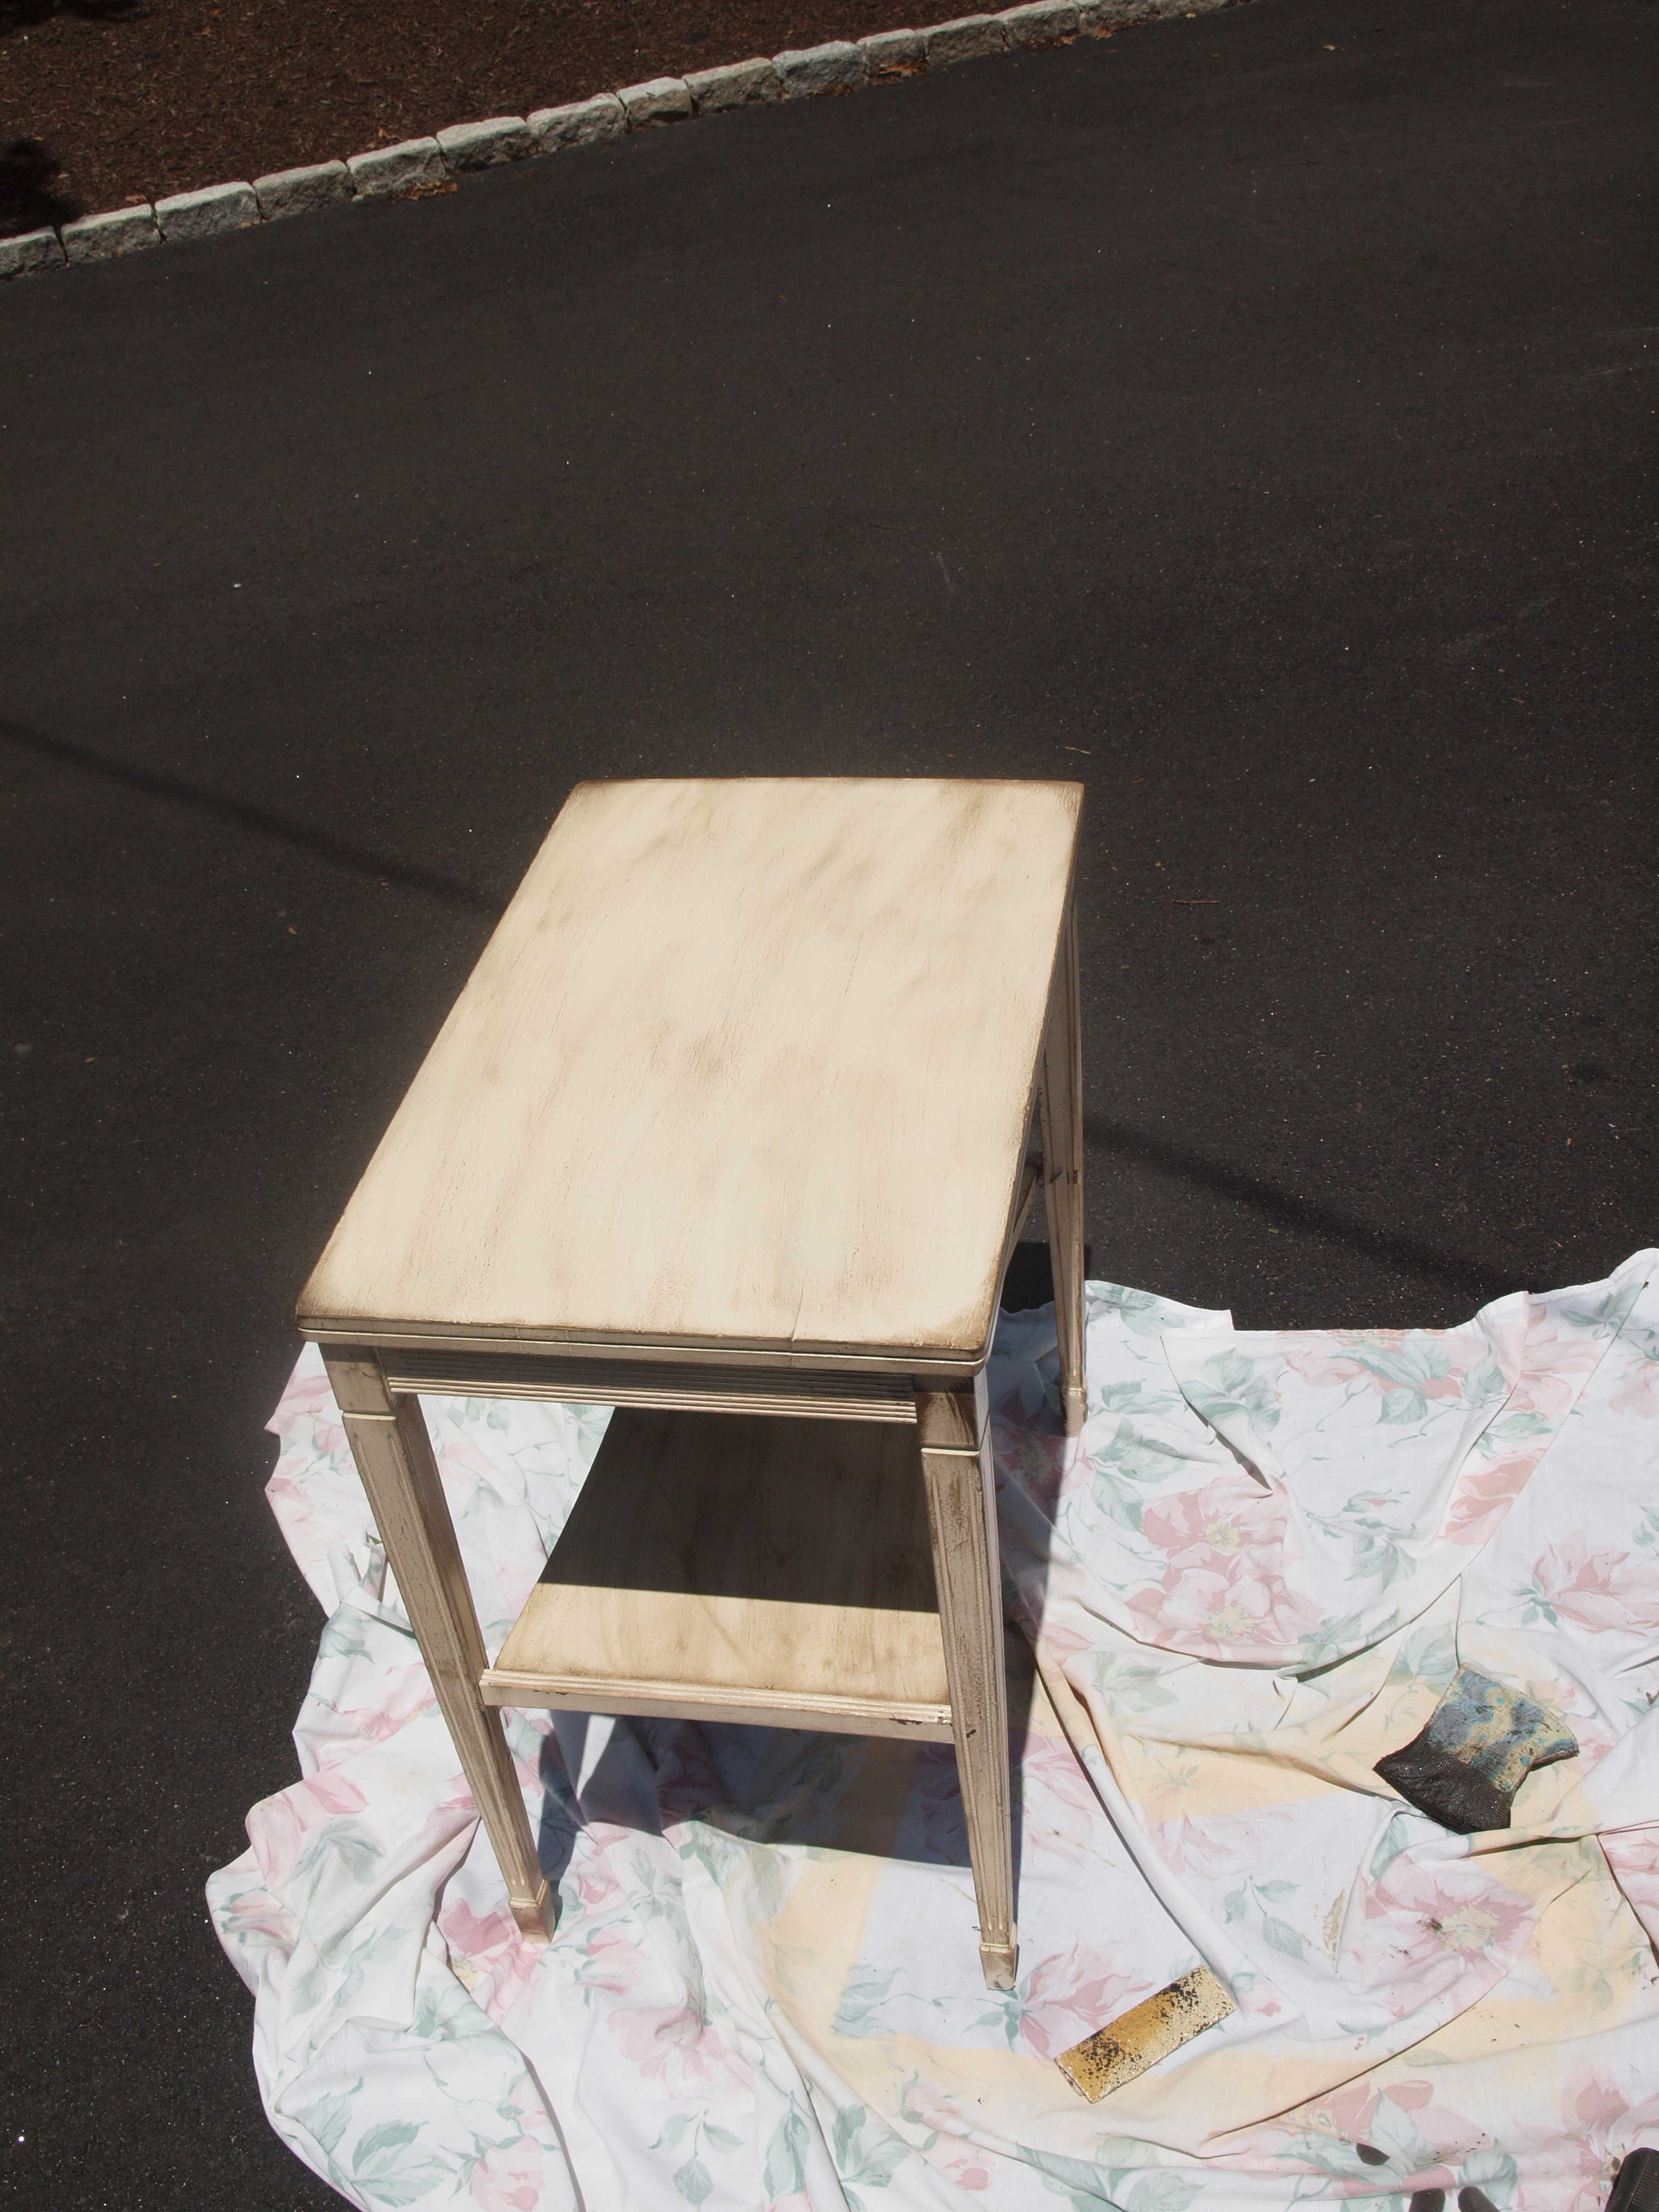
I didnt even have to sand the table.  This spray paint covered very well, I did use 2 coats just   be sure I got all the nooks and crannies.  After the table was completely dry, I used my favorite MinWax stain Jacobean to give it a distressed look.  I used an old dish washing sponge and dipped it in and dabbed the excess off and sponged the corners and edges and then finished it off by rubbing lightly over the table top.  See....
And there ya have it!!  I put the shelf back in and just added an extra nail to secure it back onto the table legs.    I love this table, I admit I have no place to put it, but it makes me feel good that it looks like it costs more the $8.00 now!!
Furniture Redo


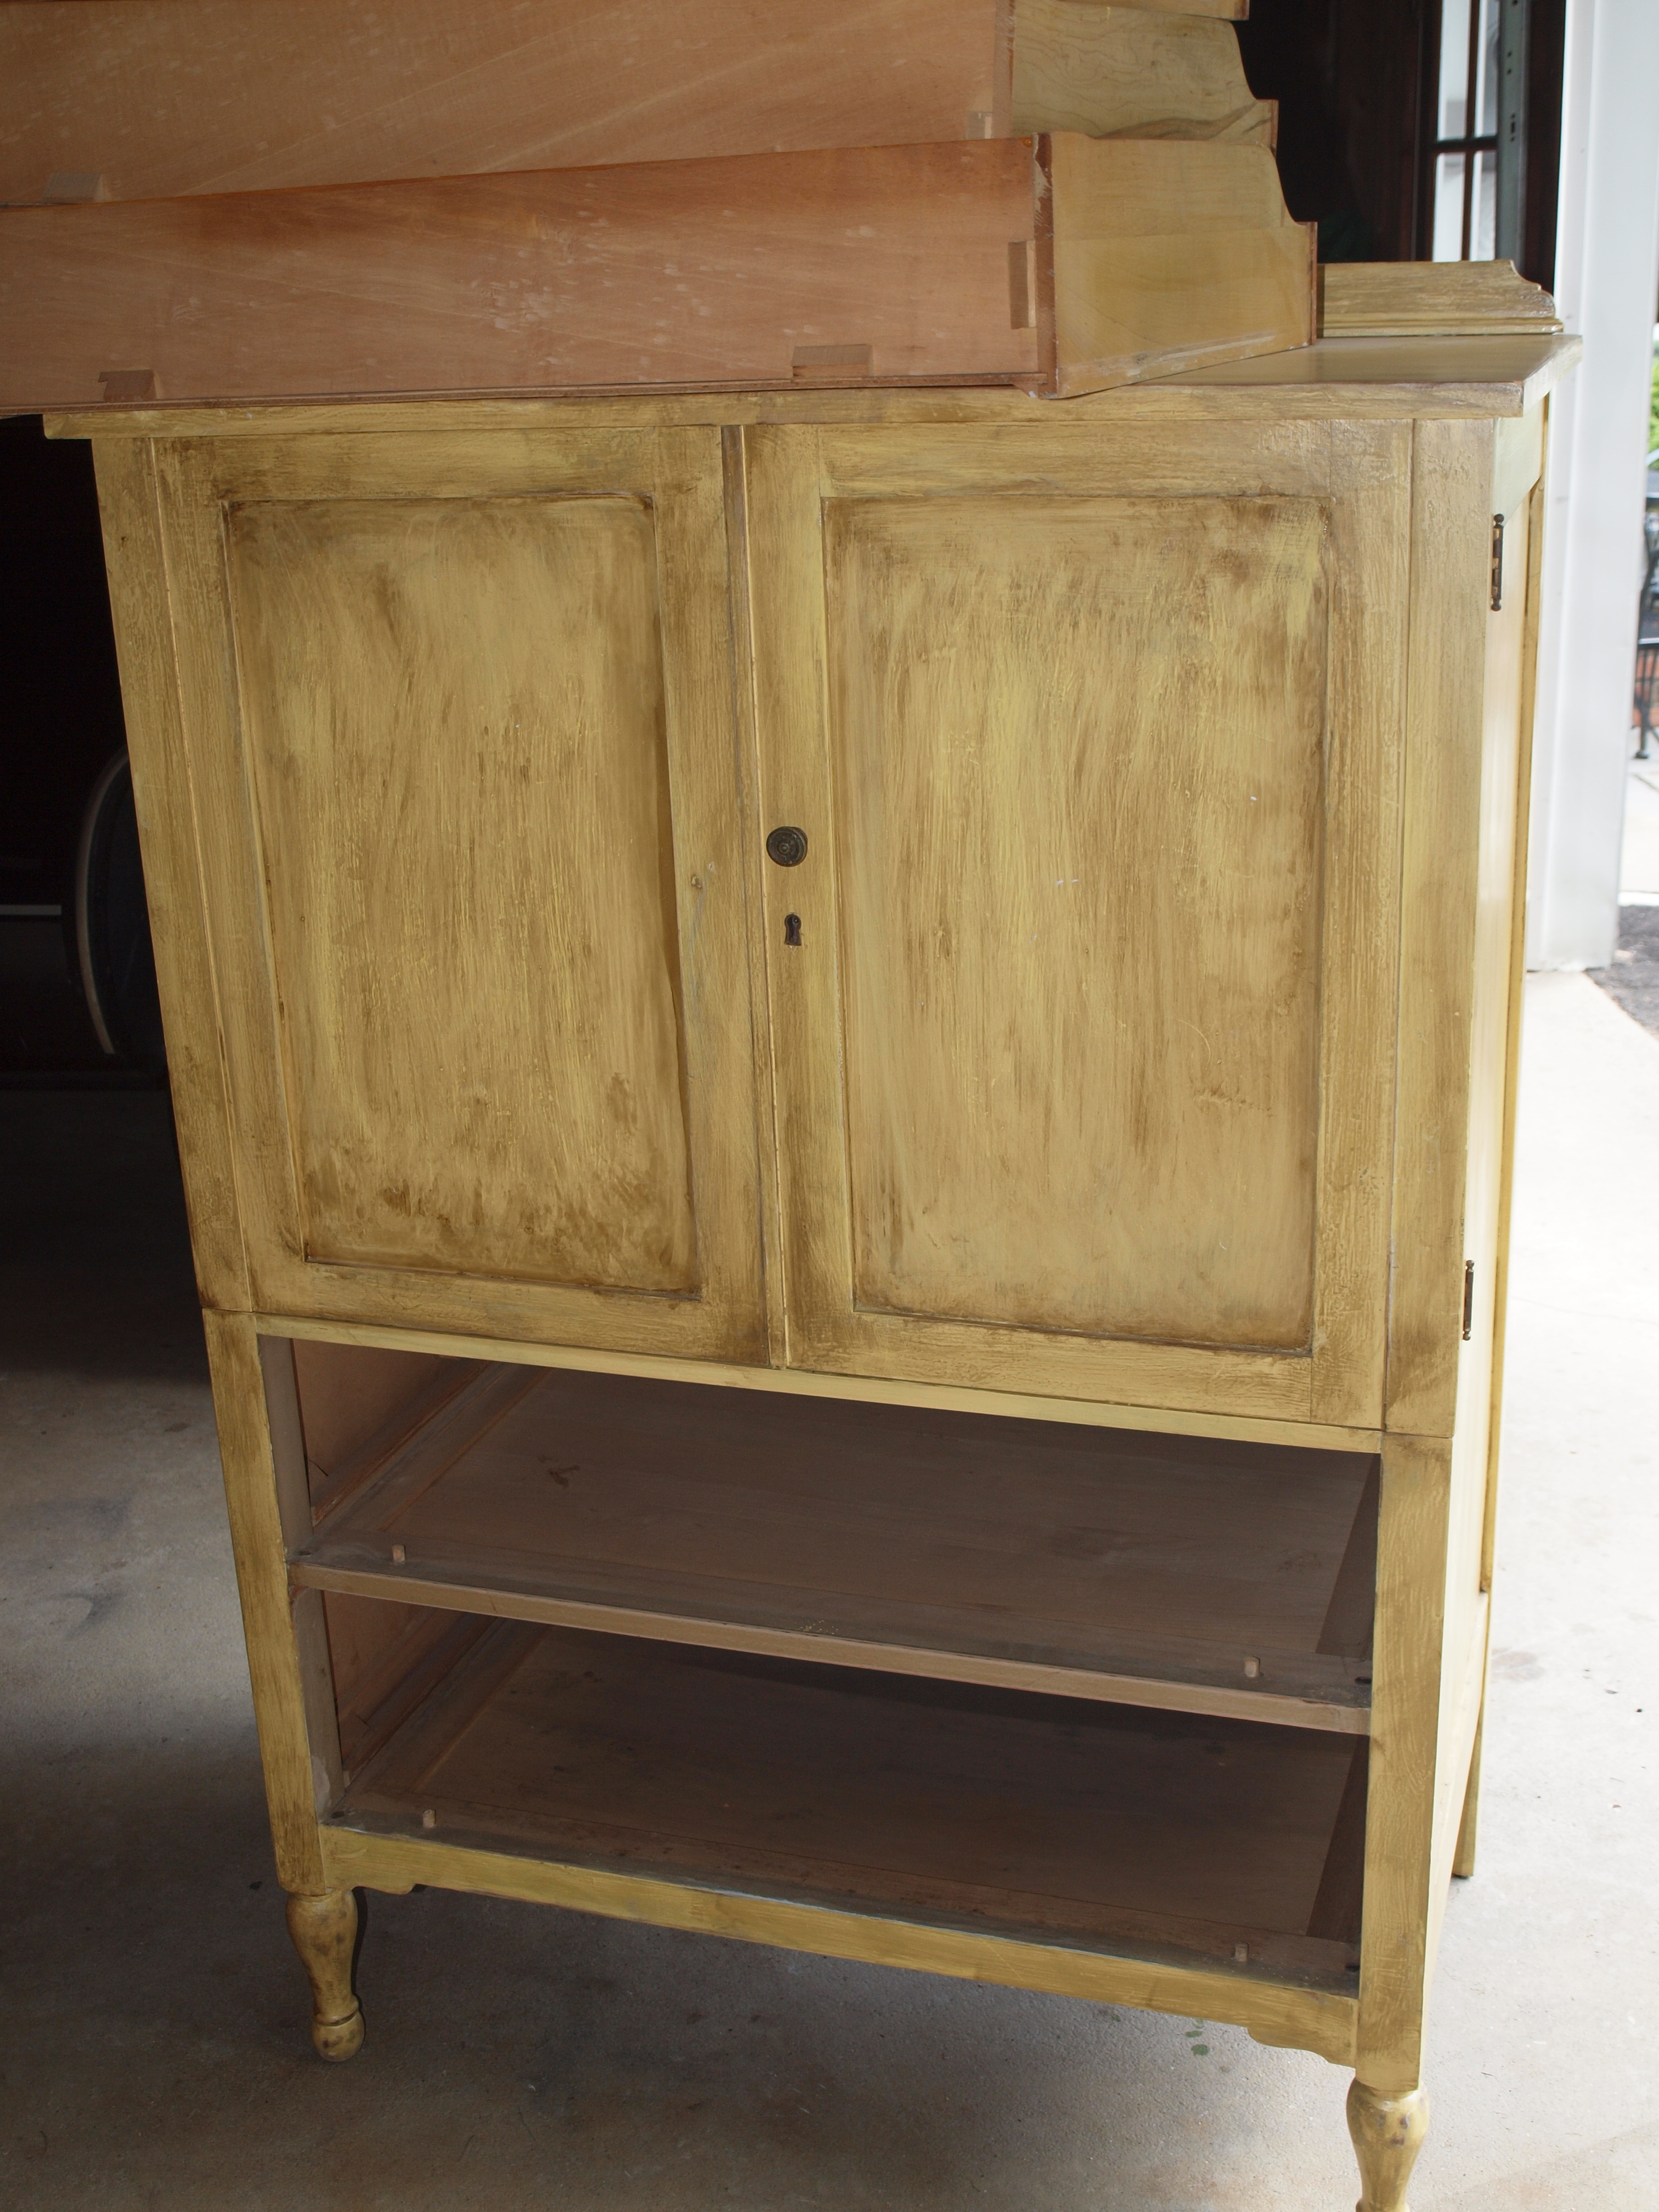
So this is my biggest furniture redo yet.  It was a piece of furniture given to my sons father and in turn he gave it to me.  Actually he gave it to my mom and then she decided to get rid of it.  I took it on as a little challenge.  Here is the before...
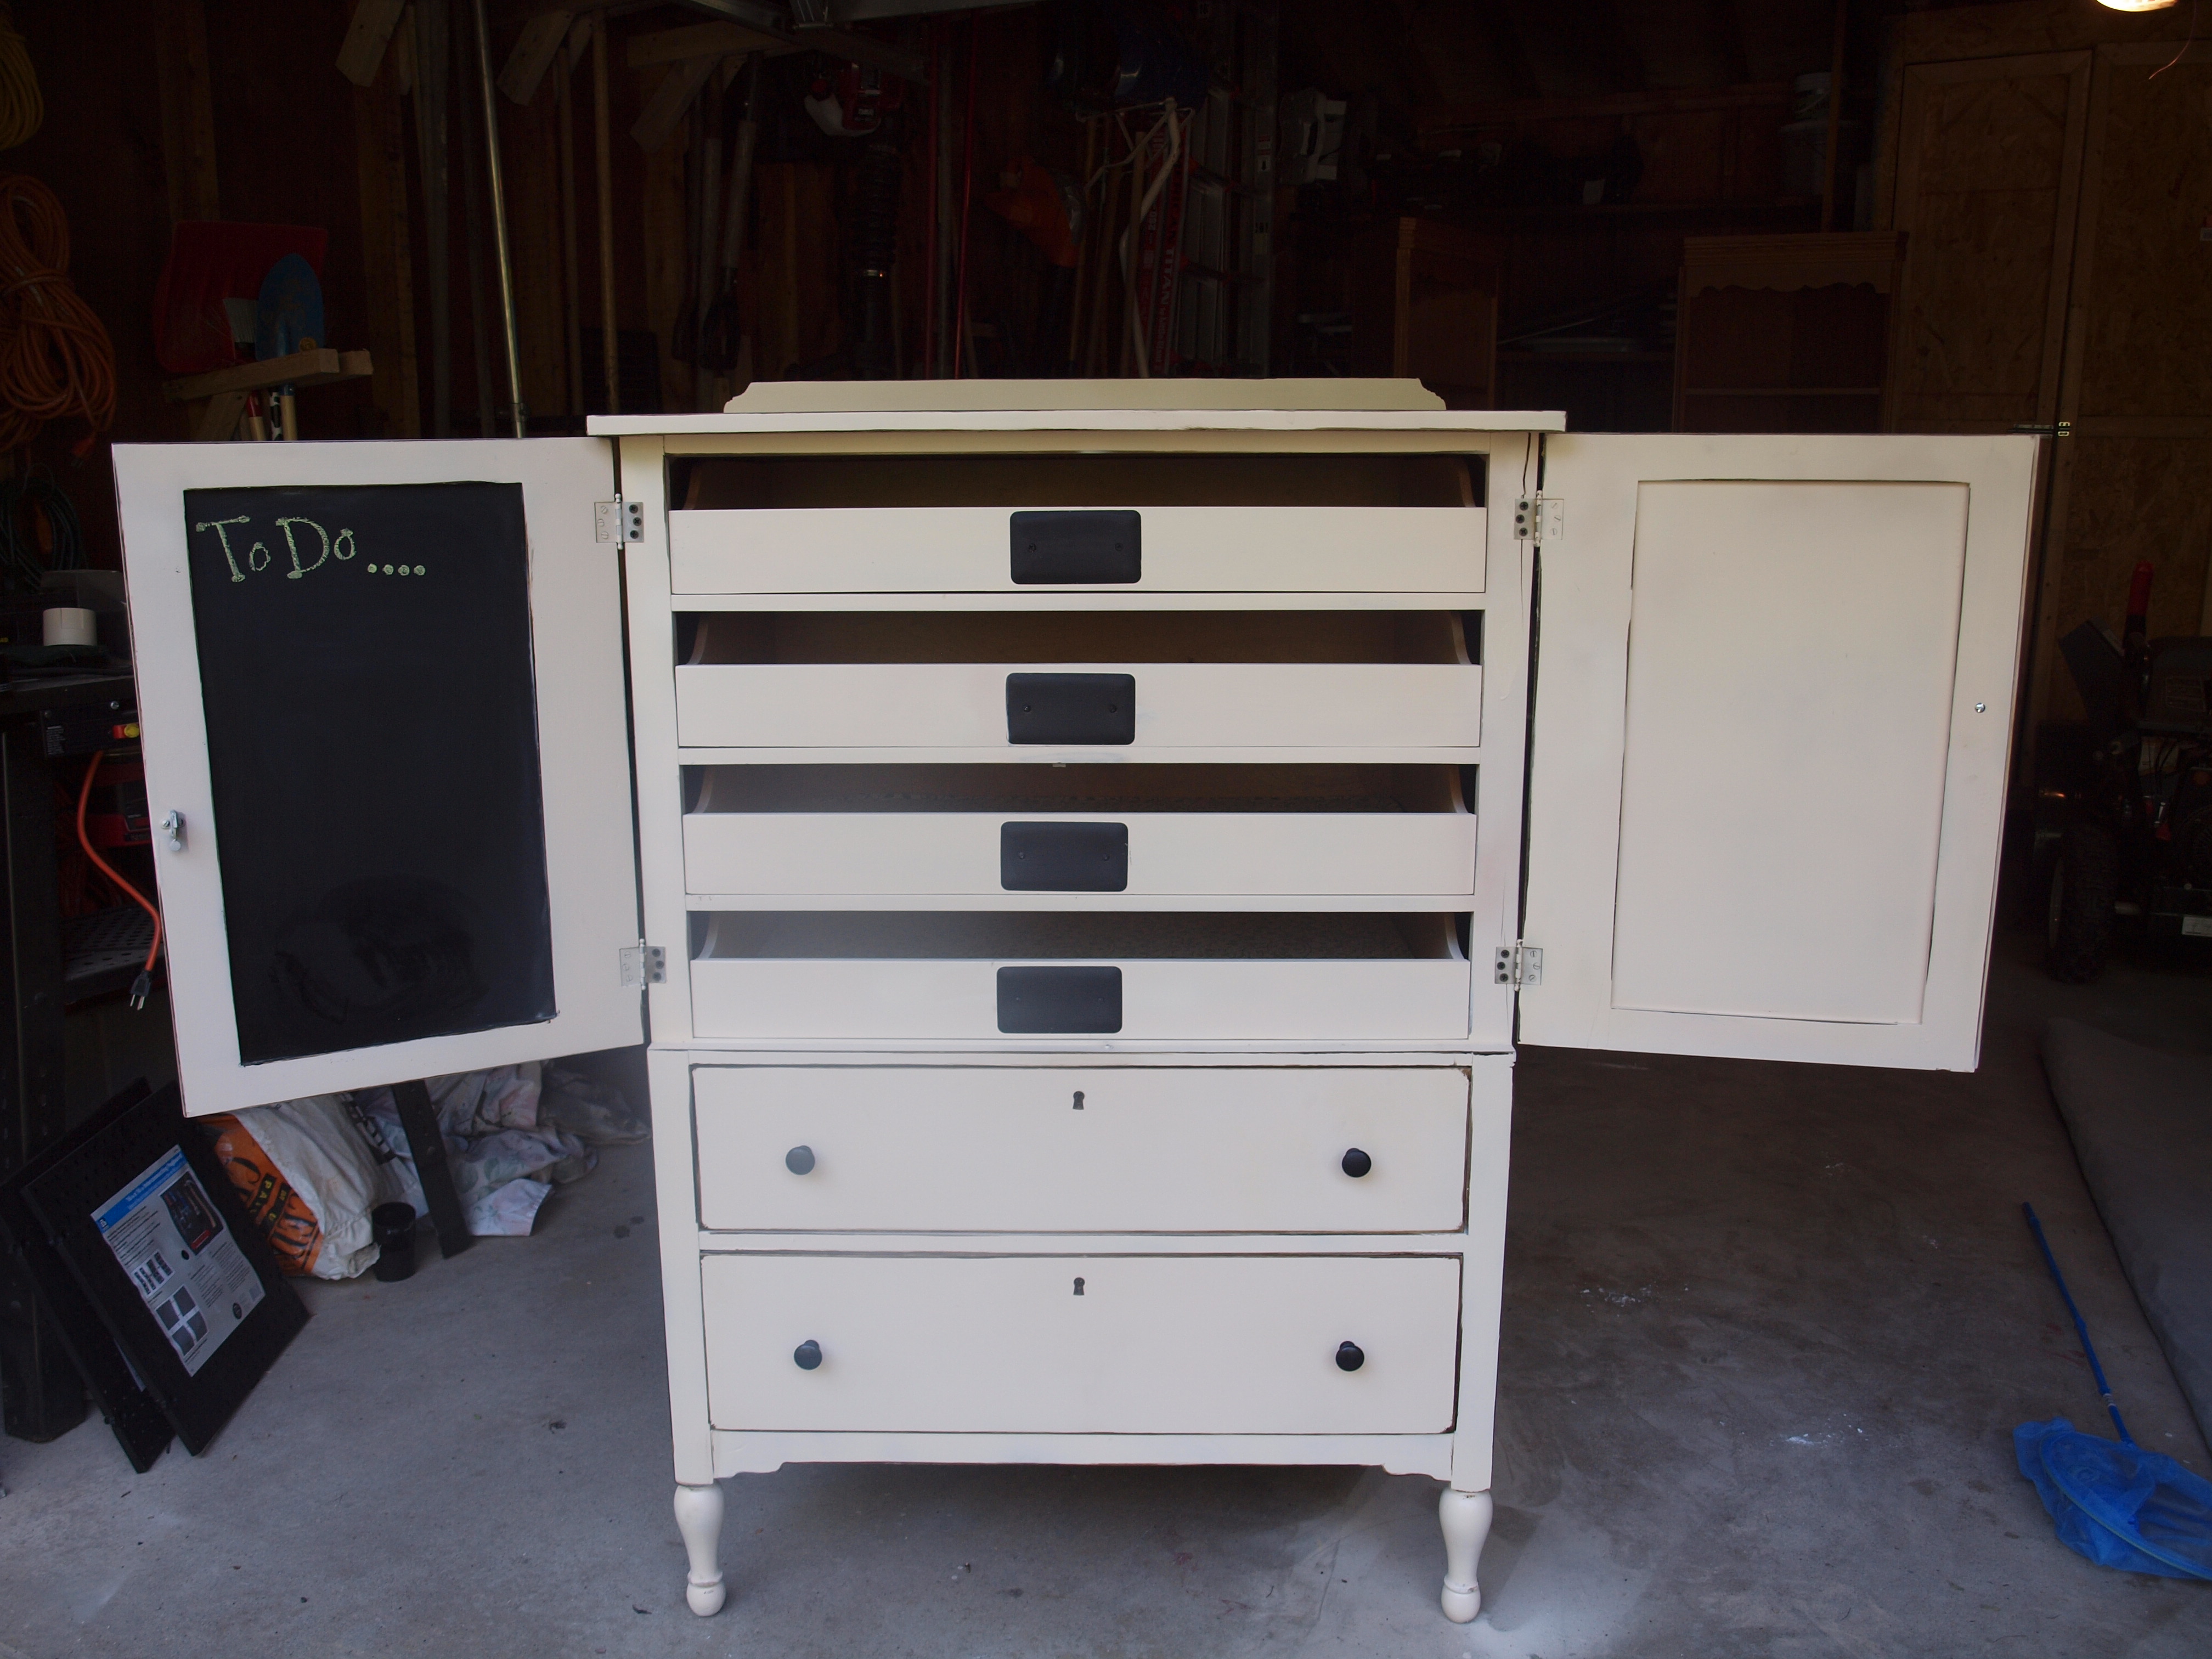
There are actually 2 drawers too, but I got a little too excited and started disassembling before I took the picture!  So anyway, I removed all the hardware (nobs, hinges, and locks) and went to town.  I sanded quickly (it's not a real wood so I was just dulling the shine, I actually have no clue what the heck it's made out of).  Anyway, I used my handy dandy spray paint in Ivory Silk and spray painted everything a couple times and let it dry.  I purchased a pretty contact paper at Home Depot and put it inside the two drawers, along with the 4 drawers inside the doors.  I also bought some newer knobs for the drawers and door.
I added a couple finishing touches that came from the mind of yours truly!!  Inside the left door I used chalkboard paint and made a little chalkboard "craft to do list" or a "craft shopping list"  AND I bought the blank light switch plates and sprayed those with the chalkboard paint too!!!  I used some wood screws along with my handy dandy power drill and drilled those bad boys in, see......
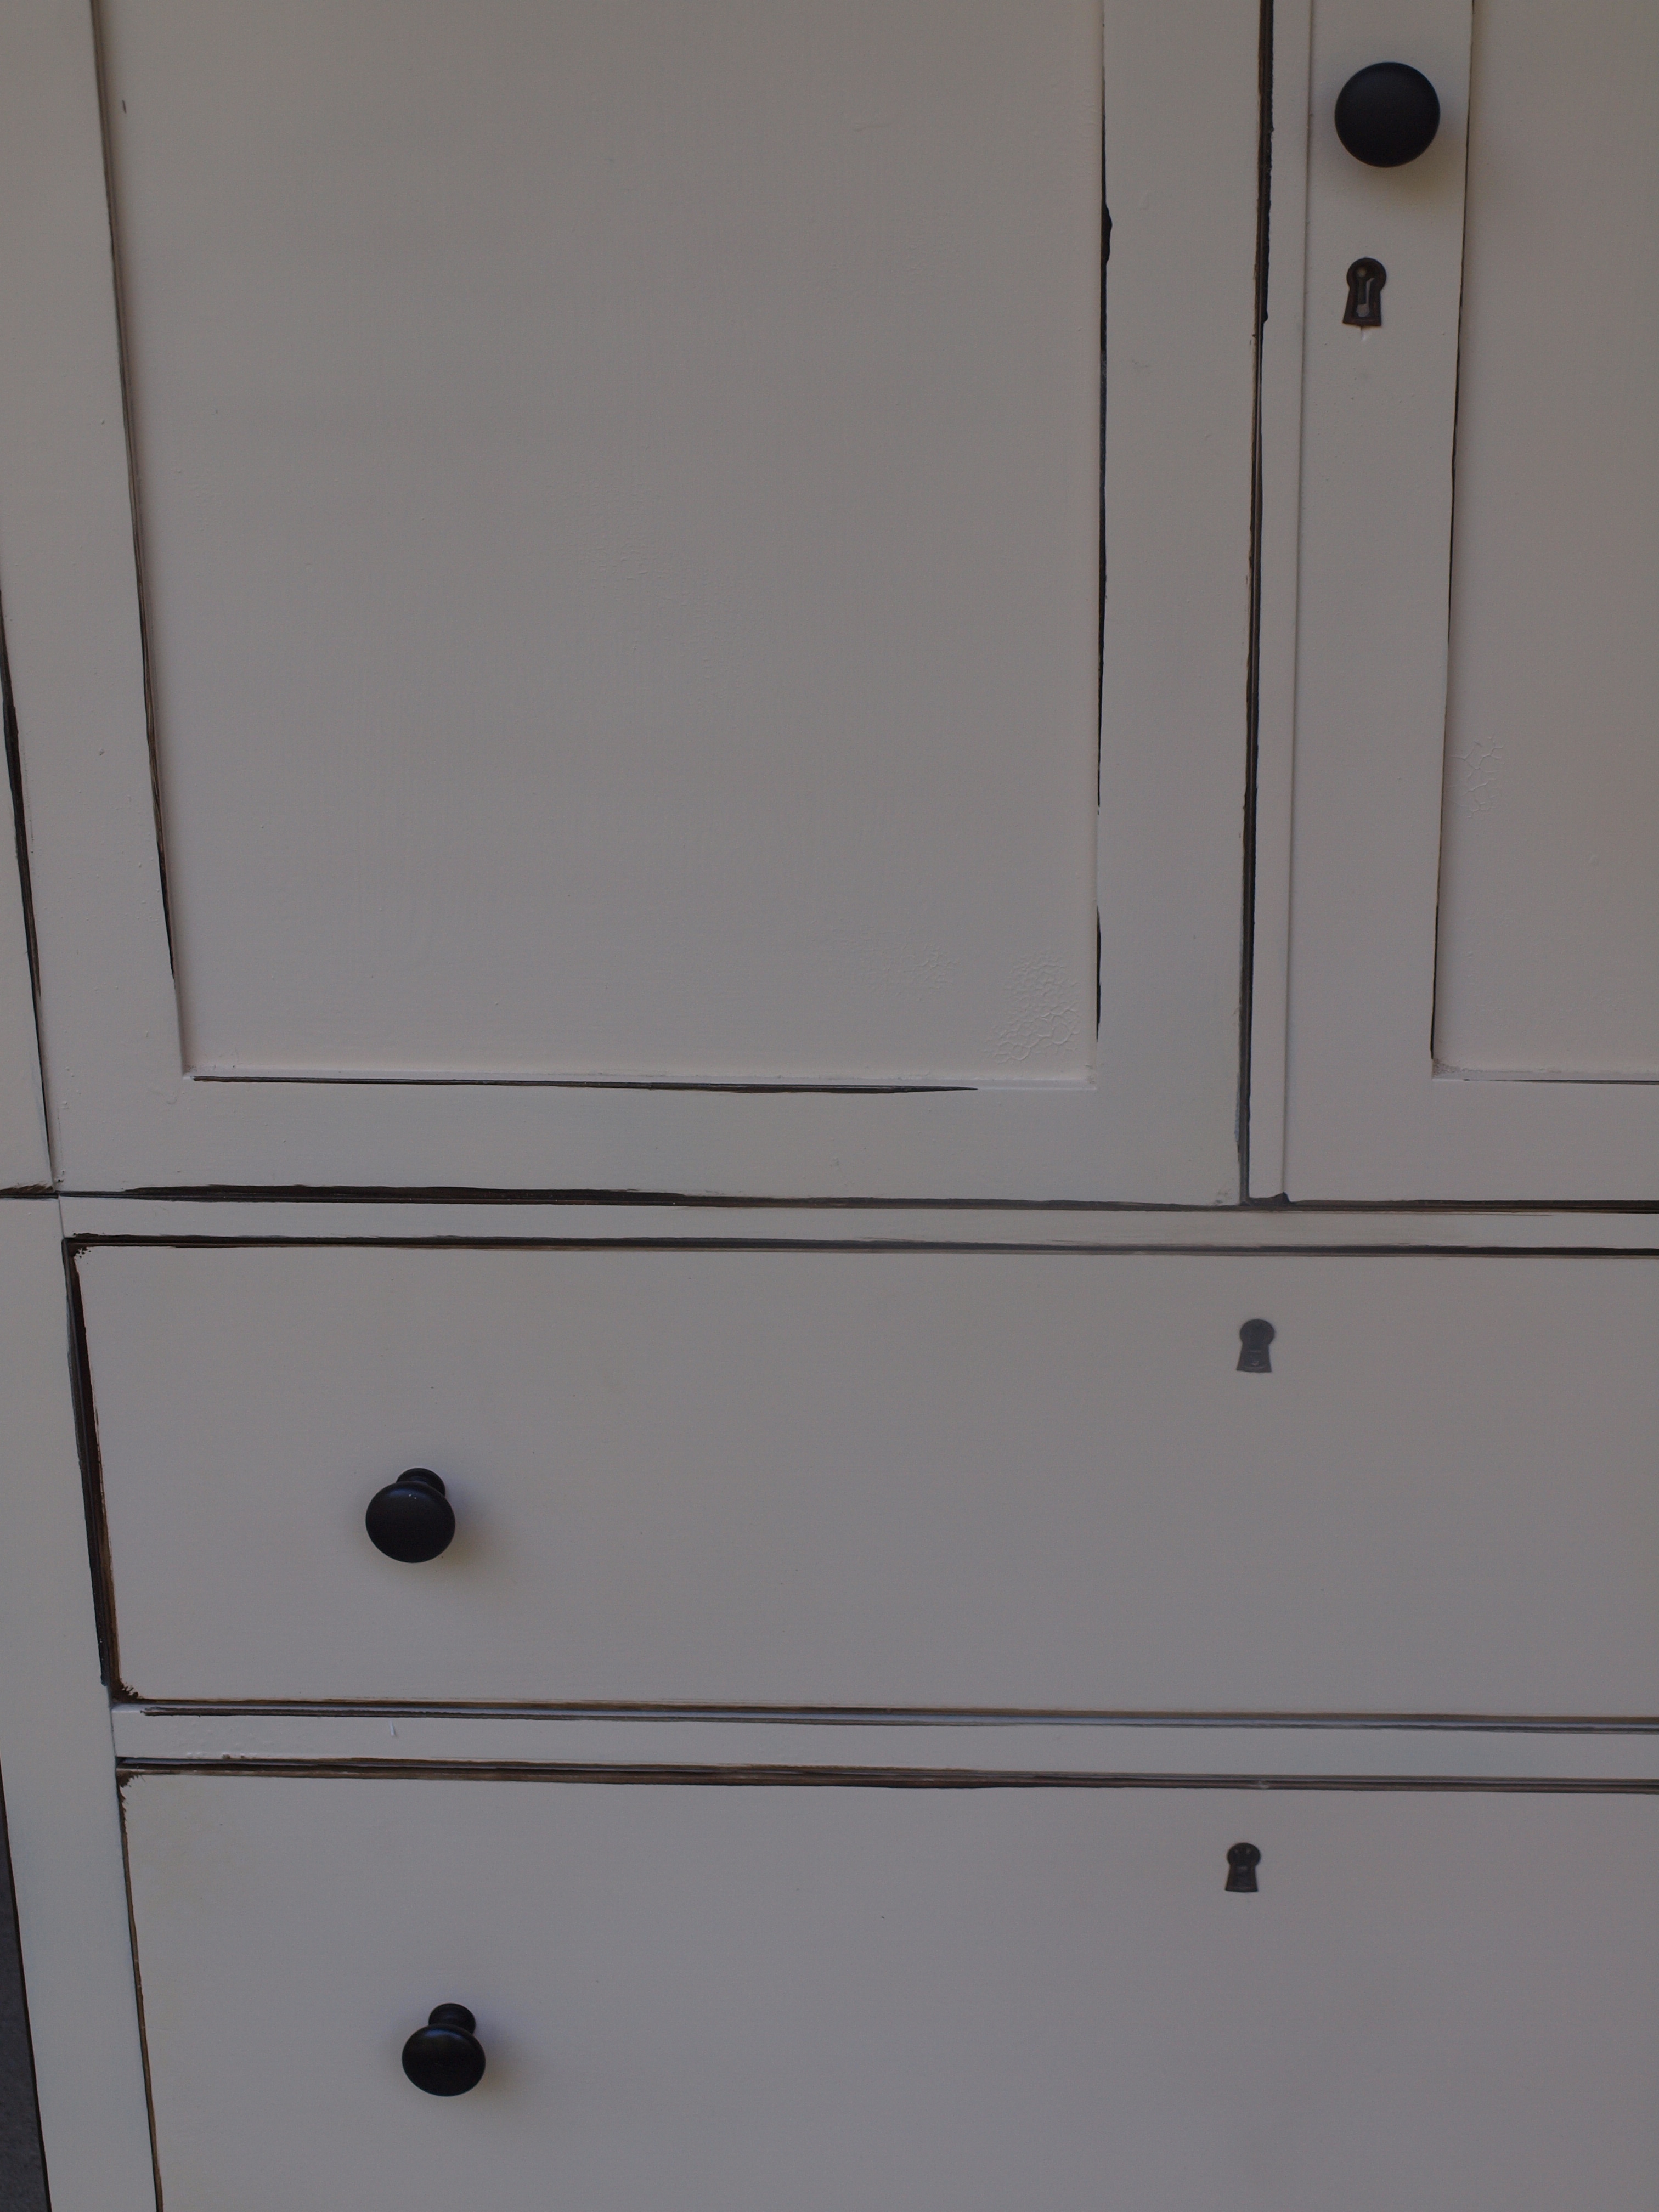
Once I decide what will be in the drawers, I will write it on the plates, and when I decided to change I will erase it and write something else!!  Nice, right?!  I love it! Now, how did I give it the distressed look, you might ask.  Well I used a sponge brush along with the Jacobean stain (my fave!) and I dipped it, I blotted it, and I ran the brush sponge along all the seems, edges, and corners, here's a closer picture...
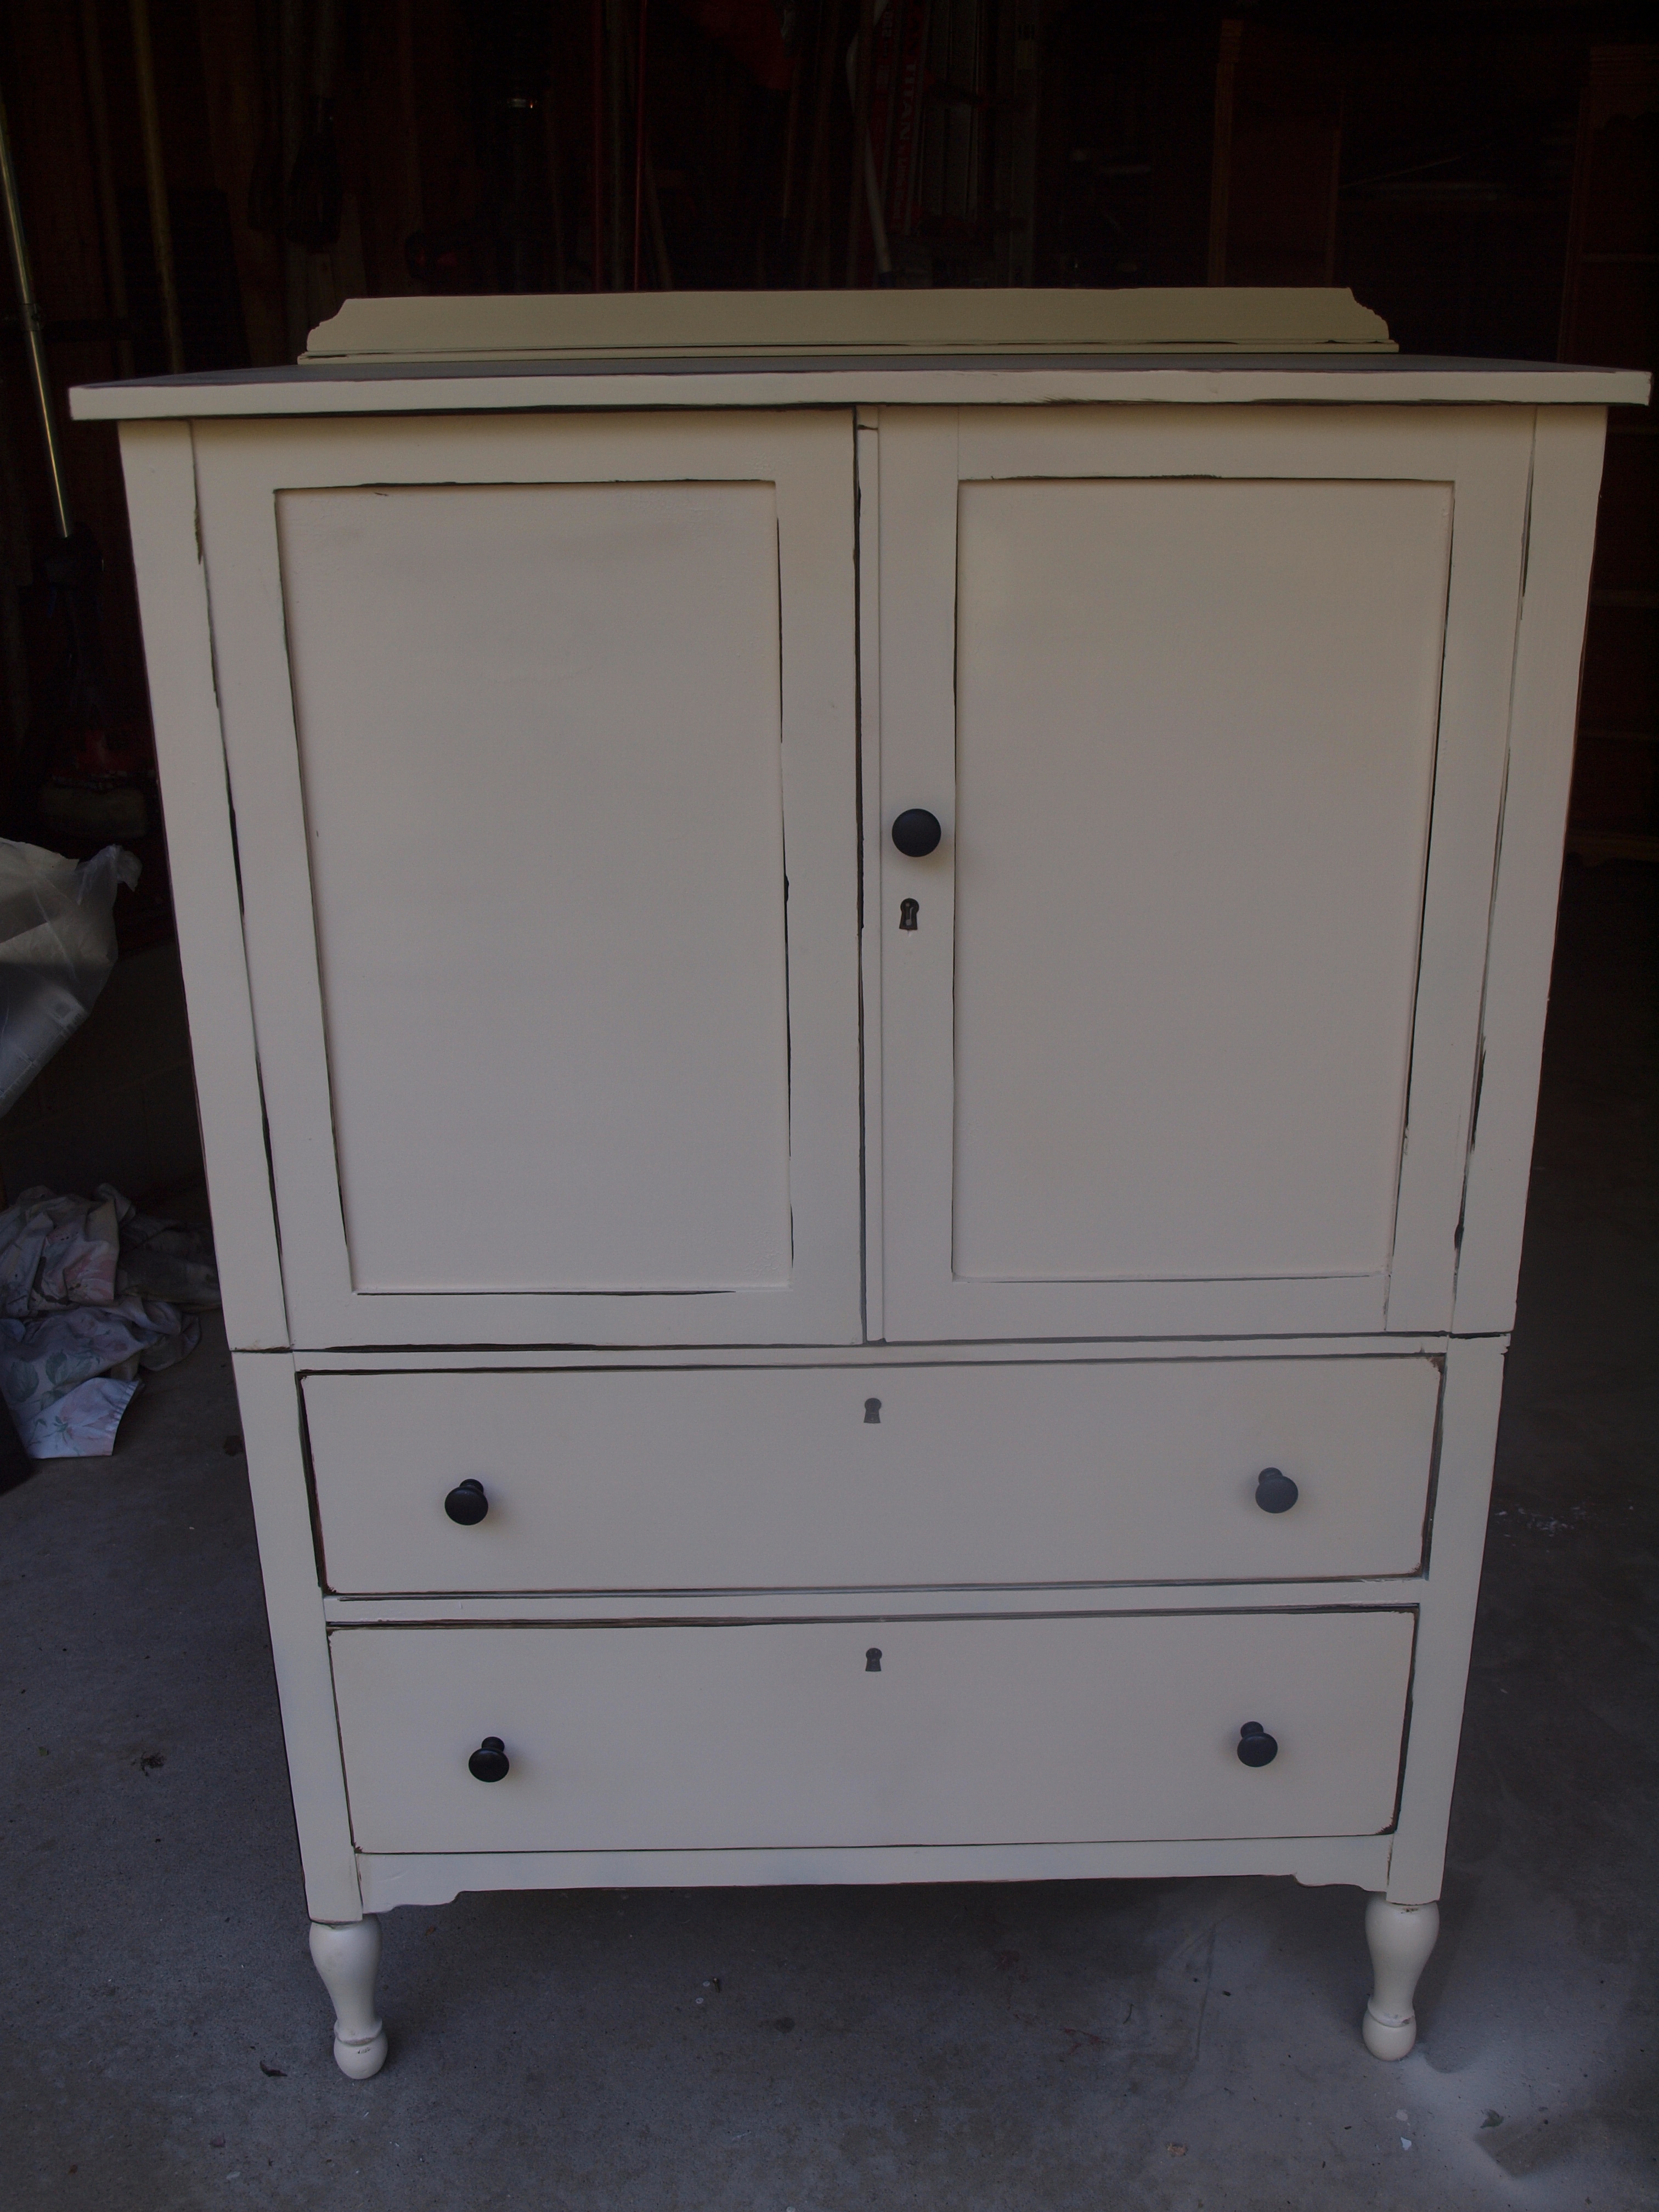
After everything dried I did put a couple coats of a satin polyeurathane to seal it. So now this piece of furniture is sitting in my bedroom holding my fabric, office supplies, scrapbook paper, and other craft supplies.  I'm very happy with the way this baby turned out!!!  So once again here is the before and after....
So much better don't you think!?

Chore Chart


Last night I decided that Jacob needs to do some chores around the house.  He's gonna be 4 years old in a couple weeks and I think every child should have some kind of responsibilities around their home.  After all, they are living in it just as much as you are!!  I googled a couple chore lists to see what is appropriate for a four year old, and I came up with
  1. clean up toys
  2. make your bed
  3. help take out trash
I think that'll work for now and I will start adding things like....
  1. putting his laundry away
  2. putting clean dishes (def not the glass ones)/silverware away
  3. setting or unsetting the table
  4. sweeping
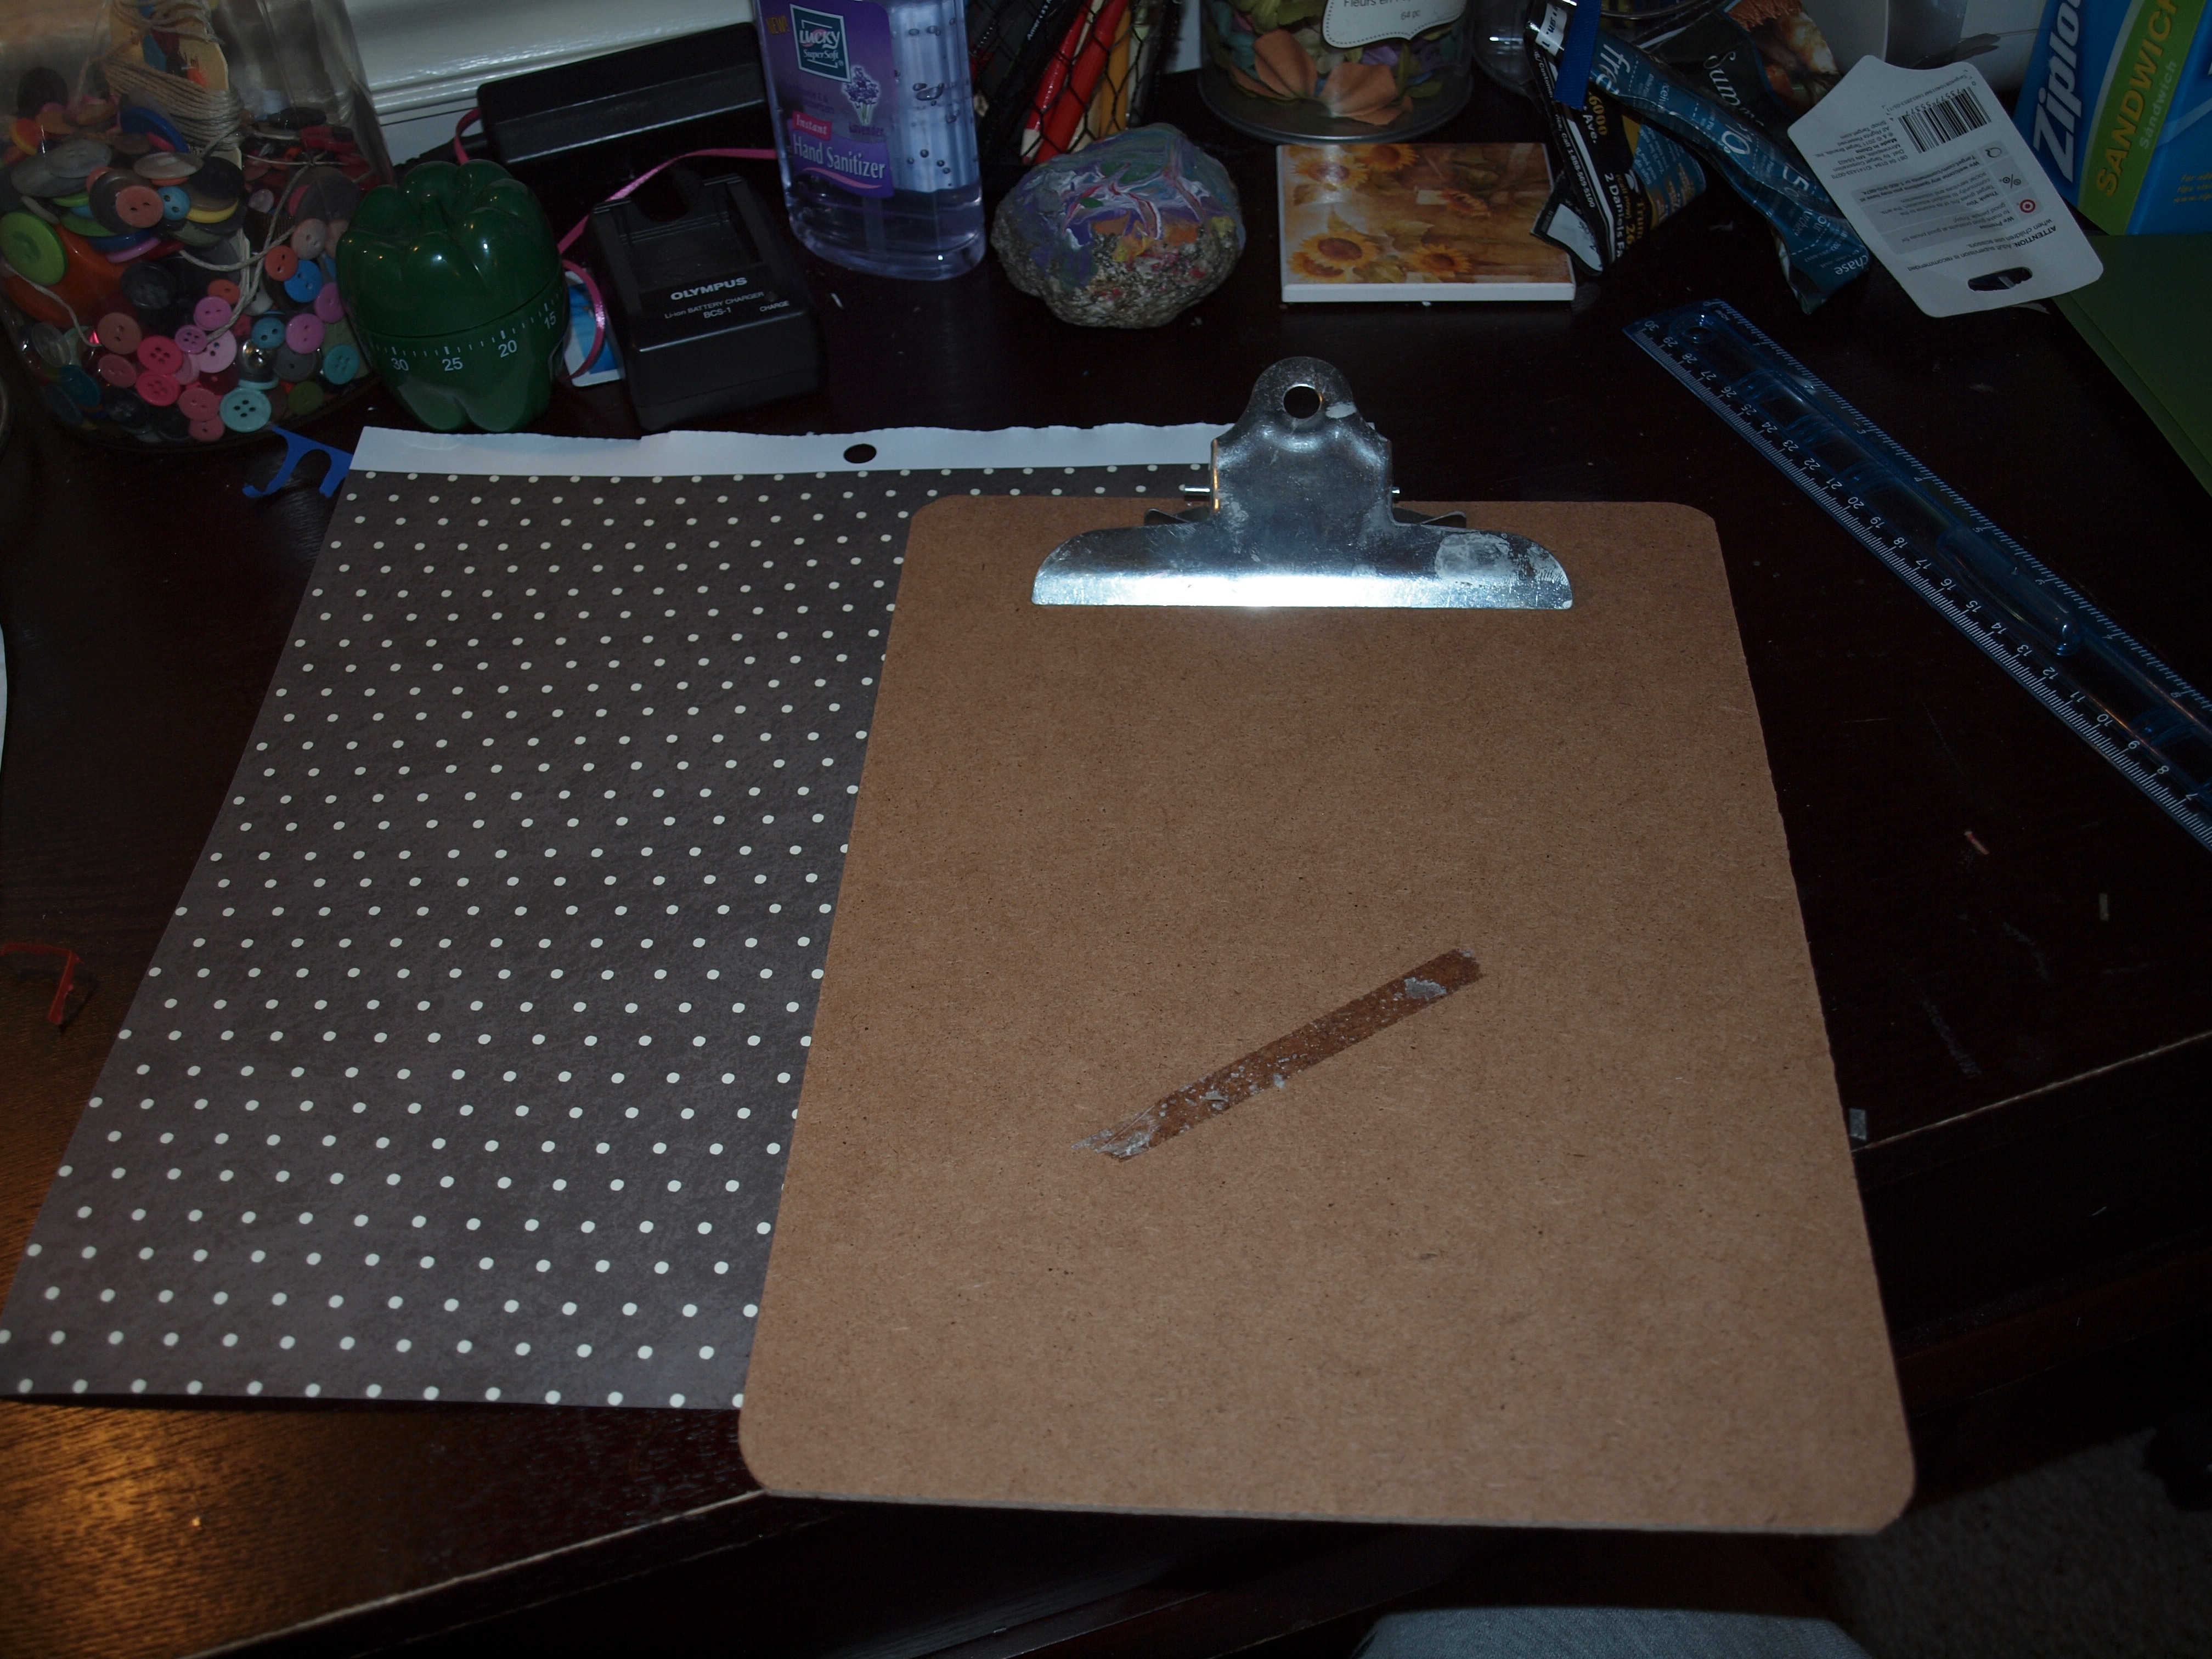
those are a few examples that I saw while googlng.  Anyway, I had a clipboard hanging around and I didn't know exactly what to do with it, until now.
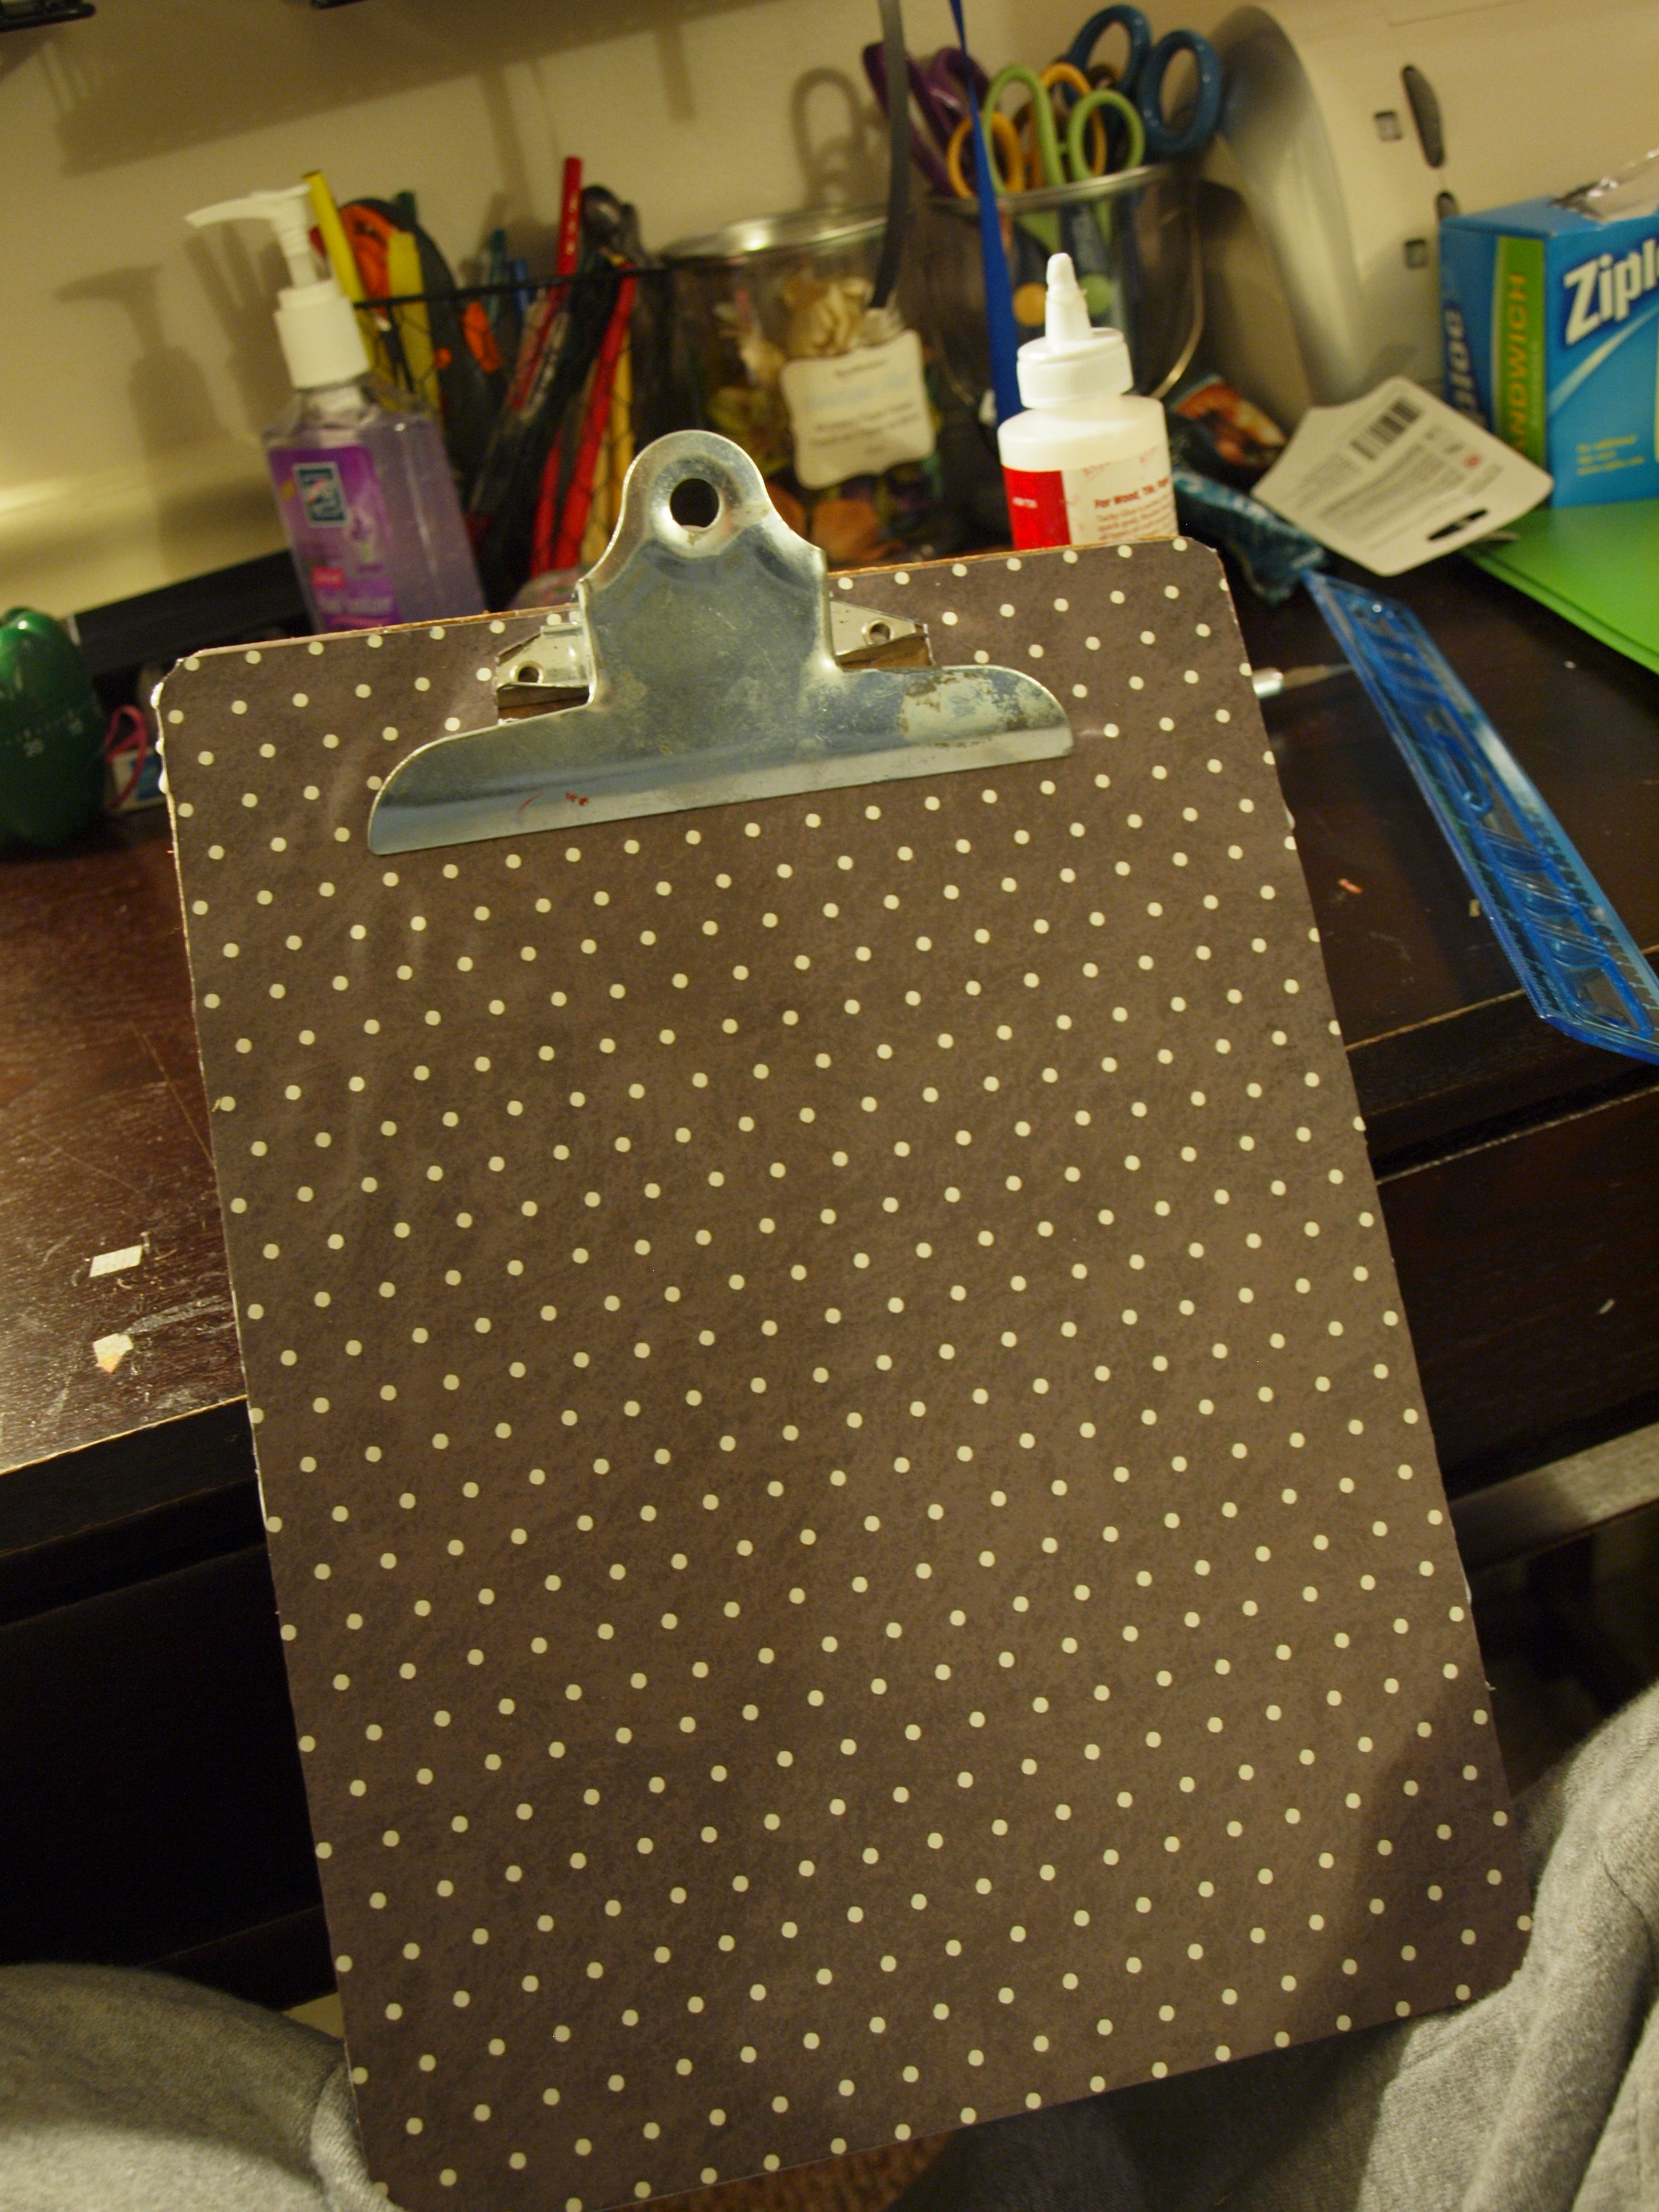
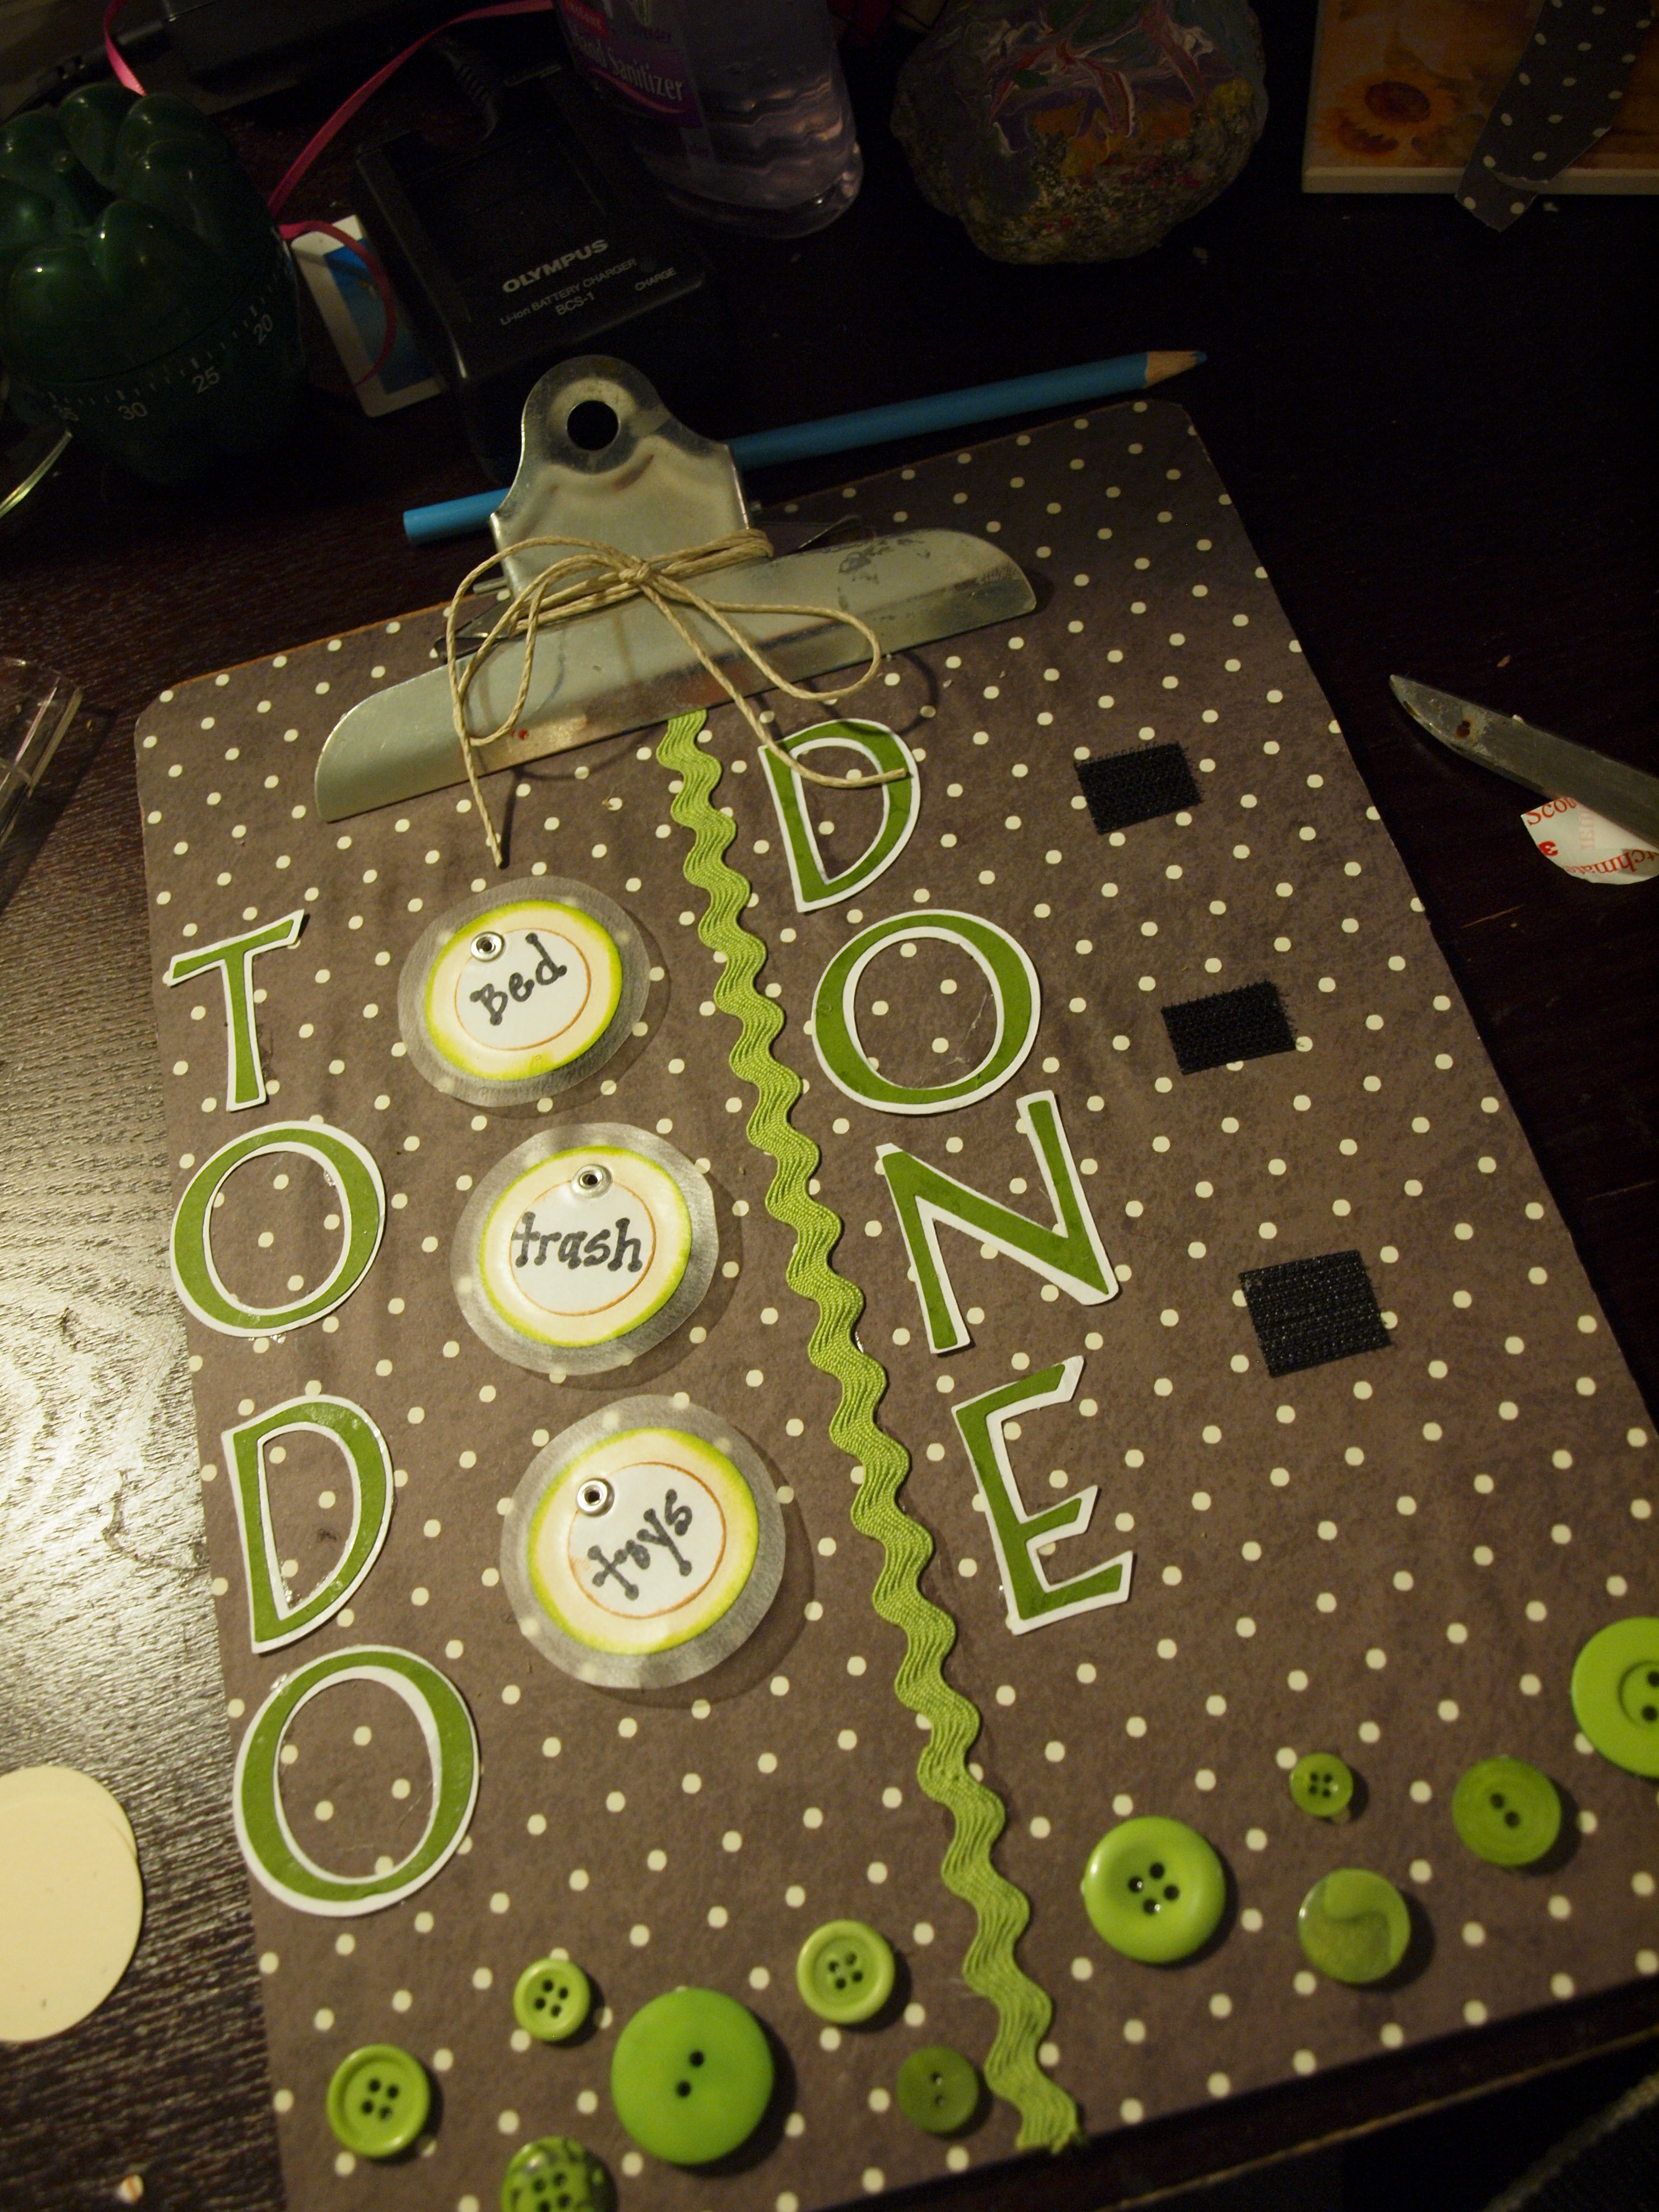
I chose paper that I liked from a 12x12 K&Company pad I had and glued the paper to the clipboard and trimmed off the excess with my handy dandy exacto knife.  Yup that's right, I own a knife other then the ones used in the kitchen!  On the top under the metal clip is a little tricky to trim around but just eye ball it and you'll be fine.
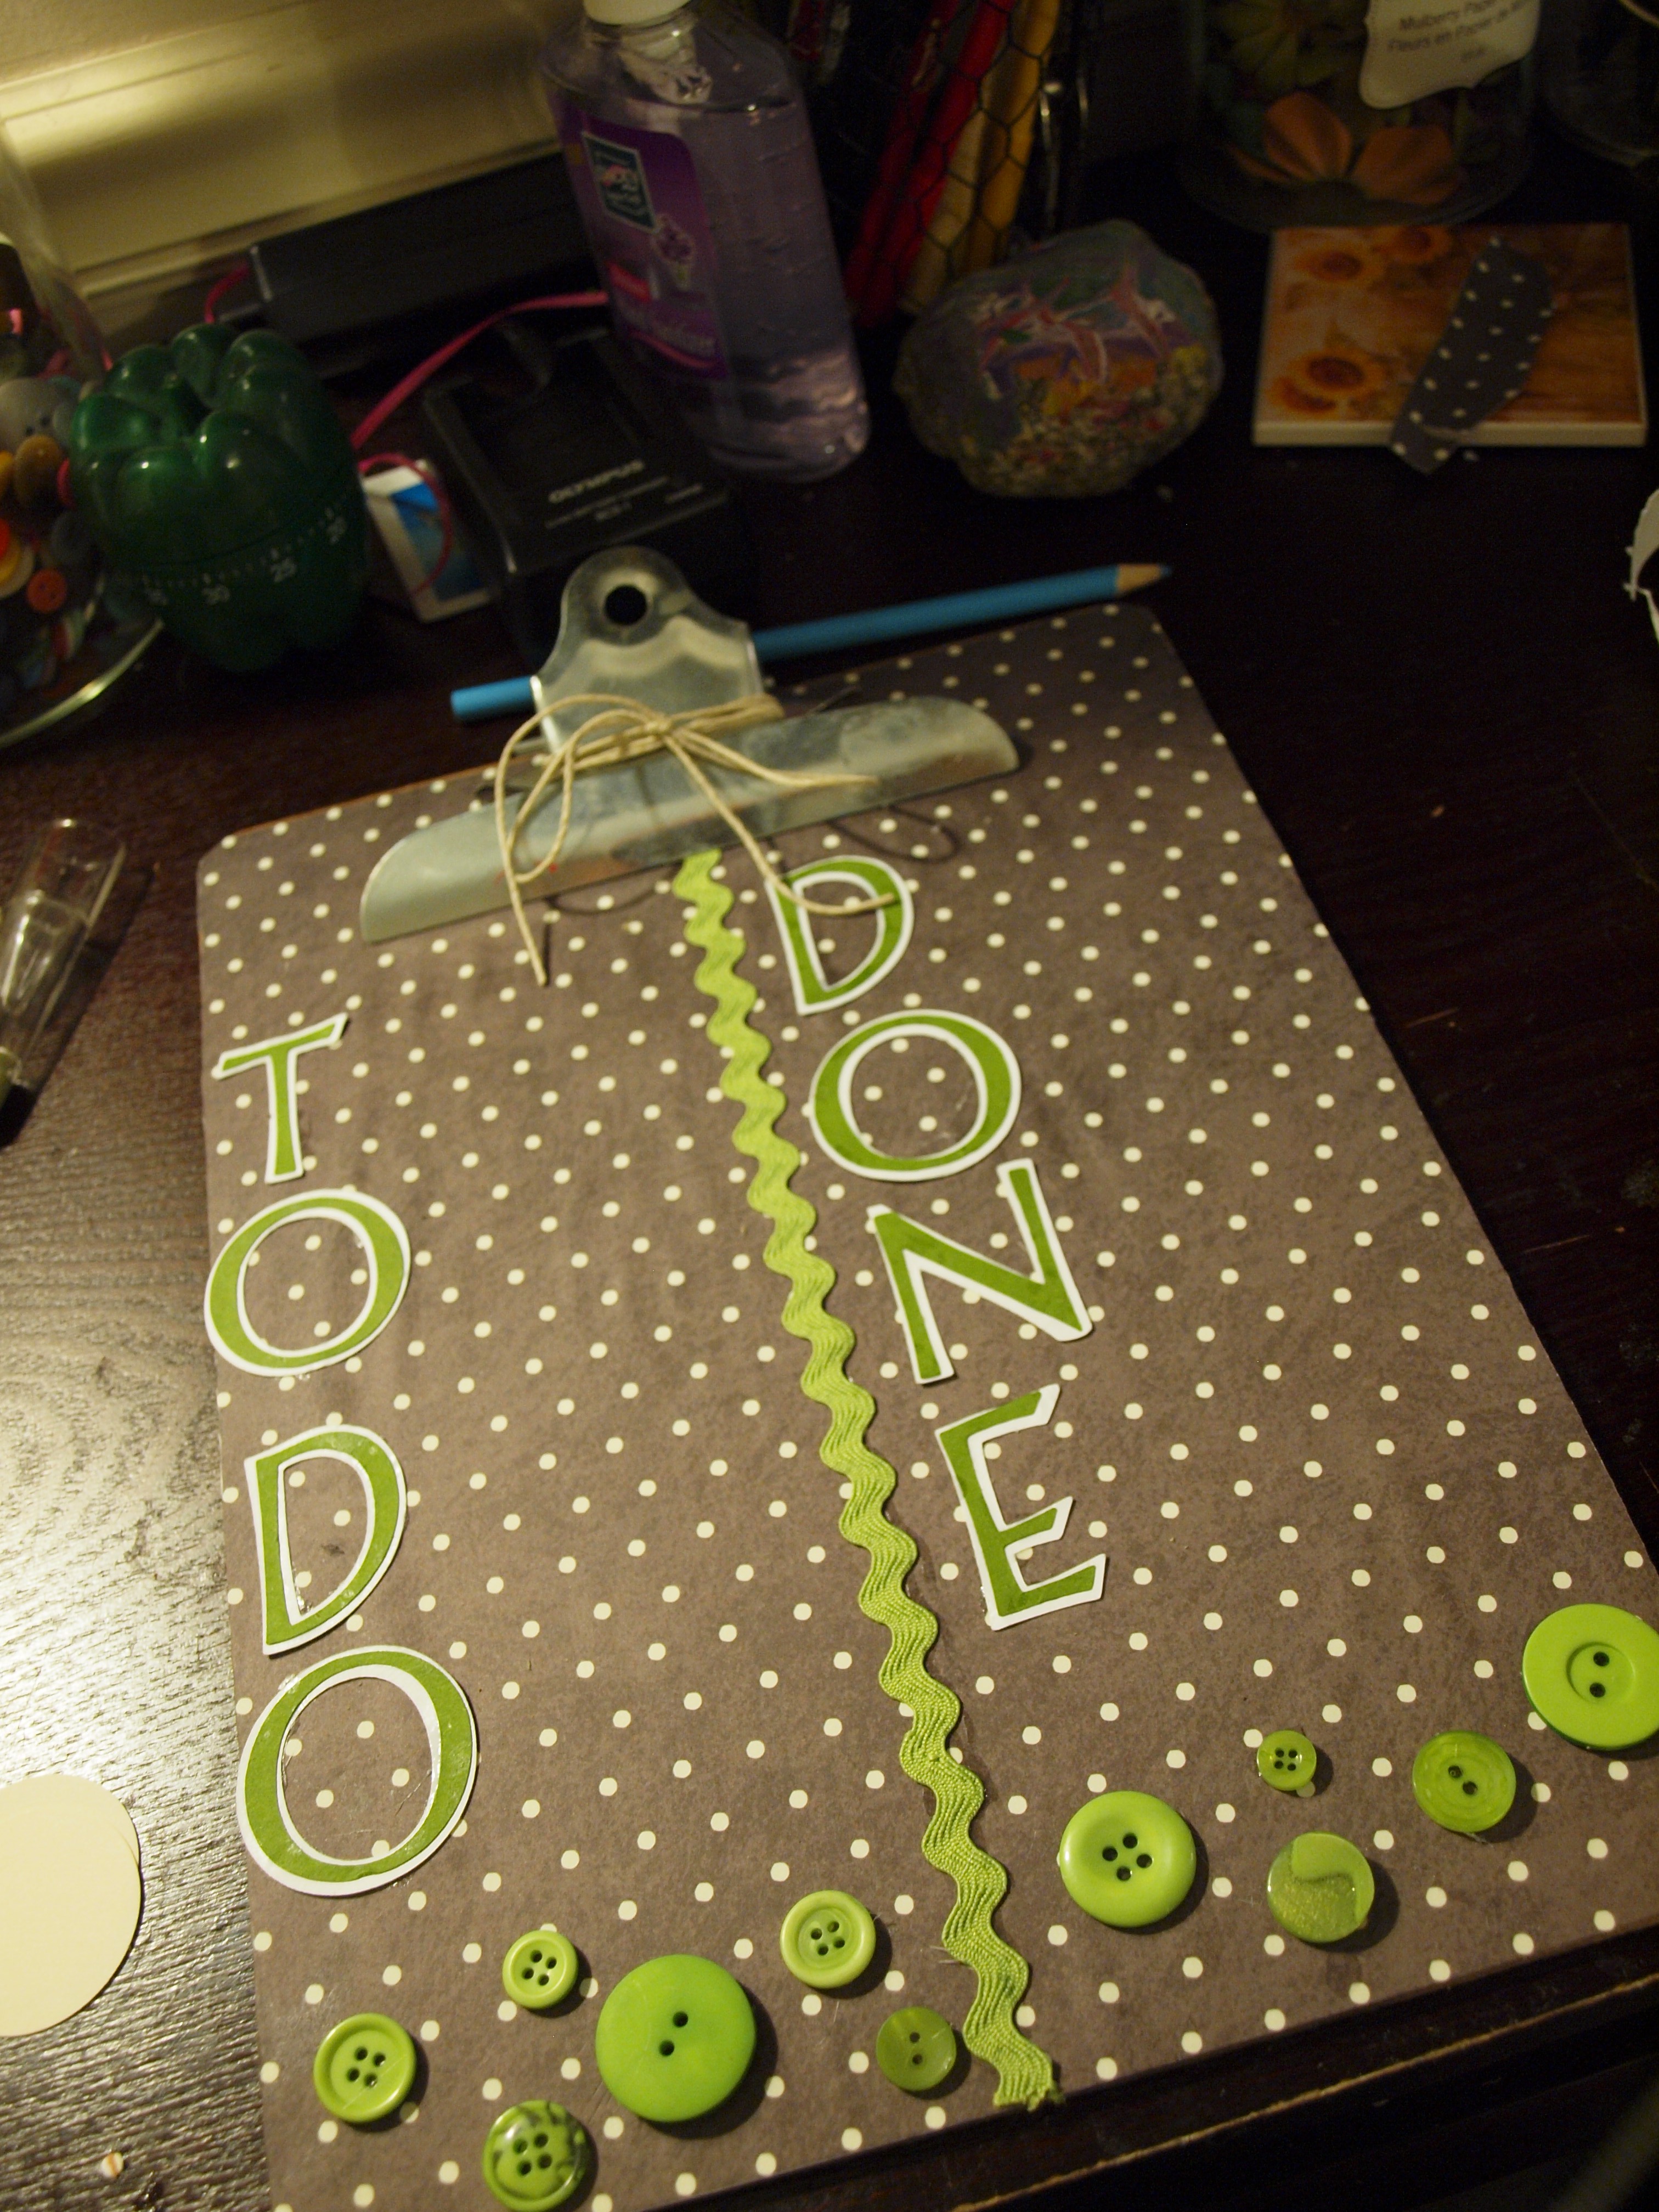
I used the cricut to cut out TO DO and DONE using the George Basic Shapes Cartridge and pasted them on either side of the board and found some green buttons to match and  a few other embellishments I had lying around.
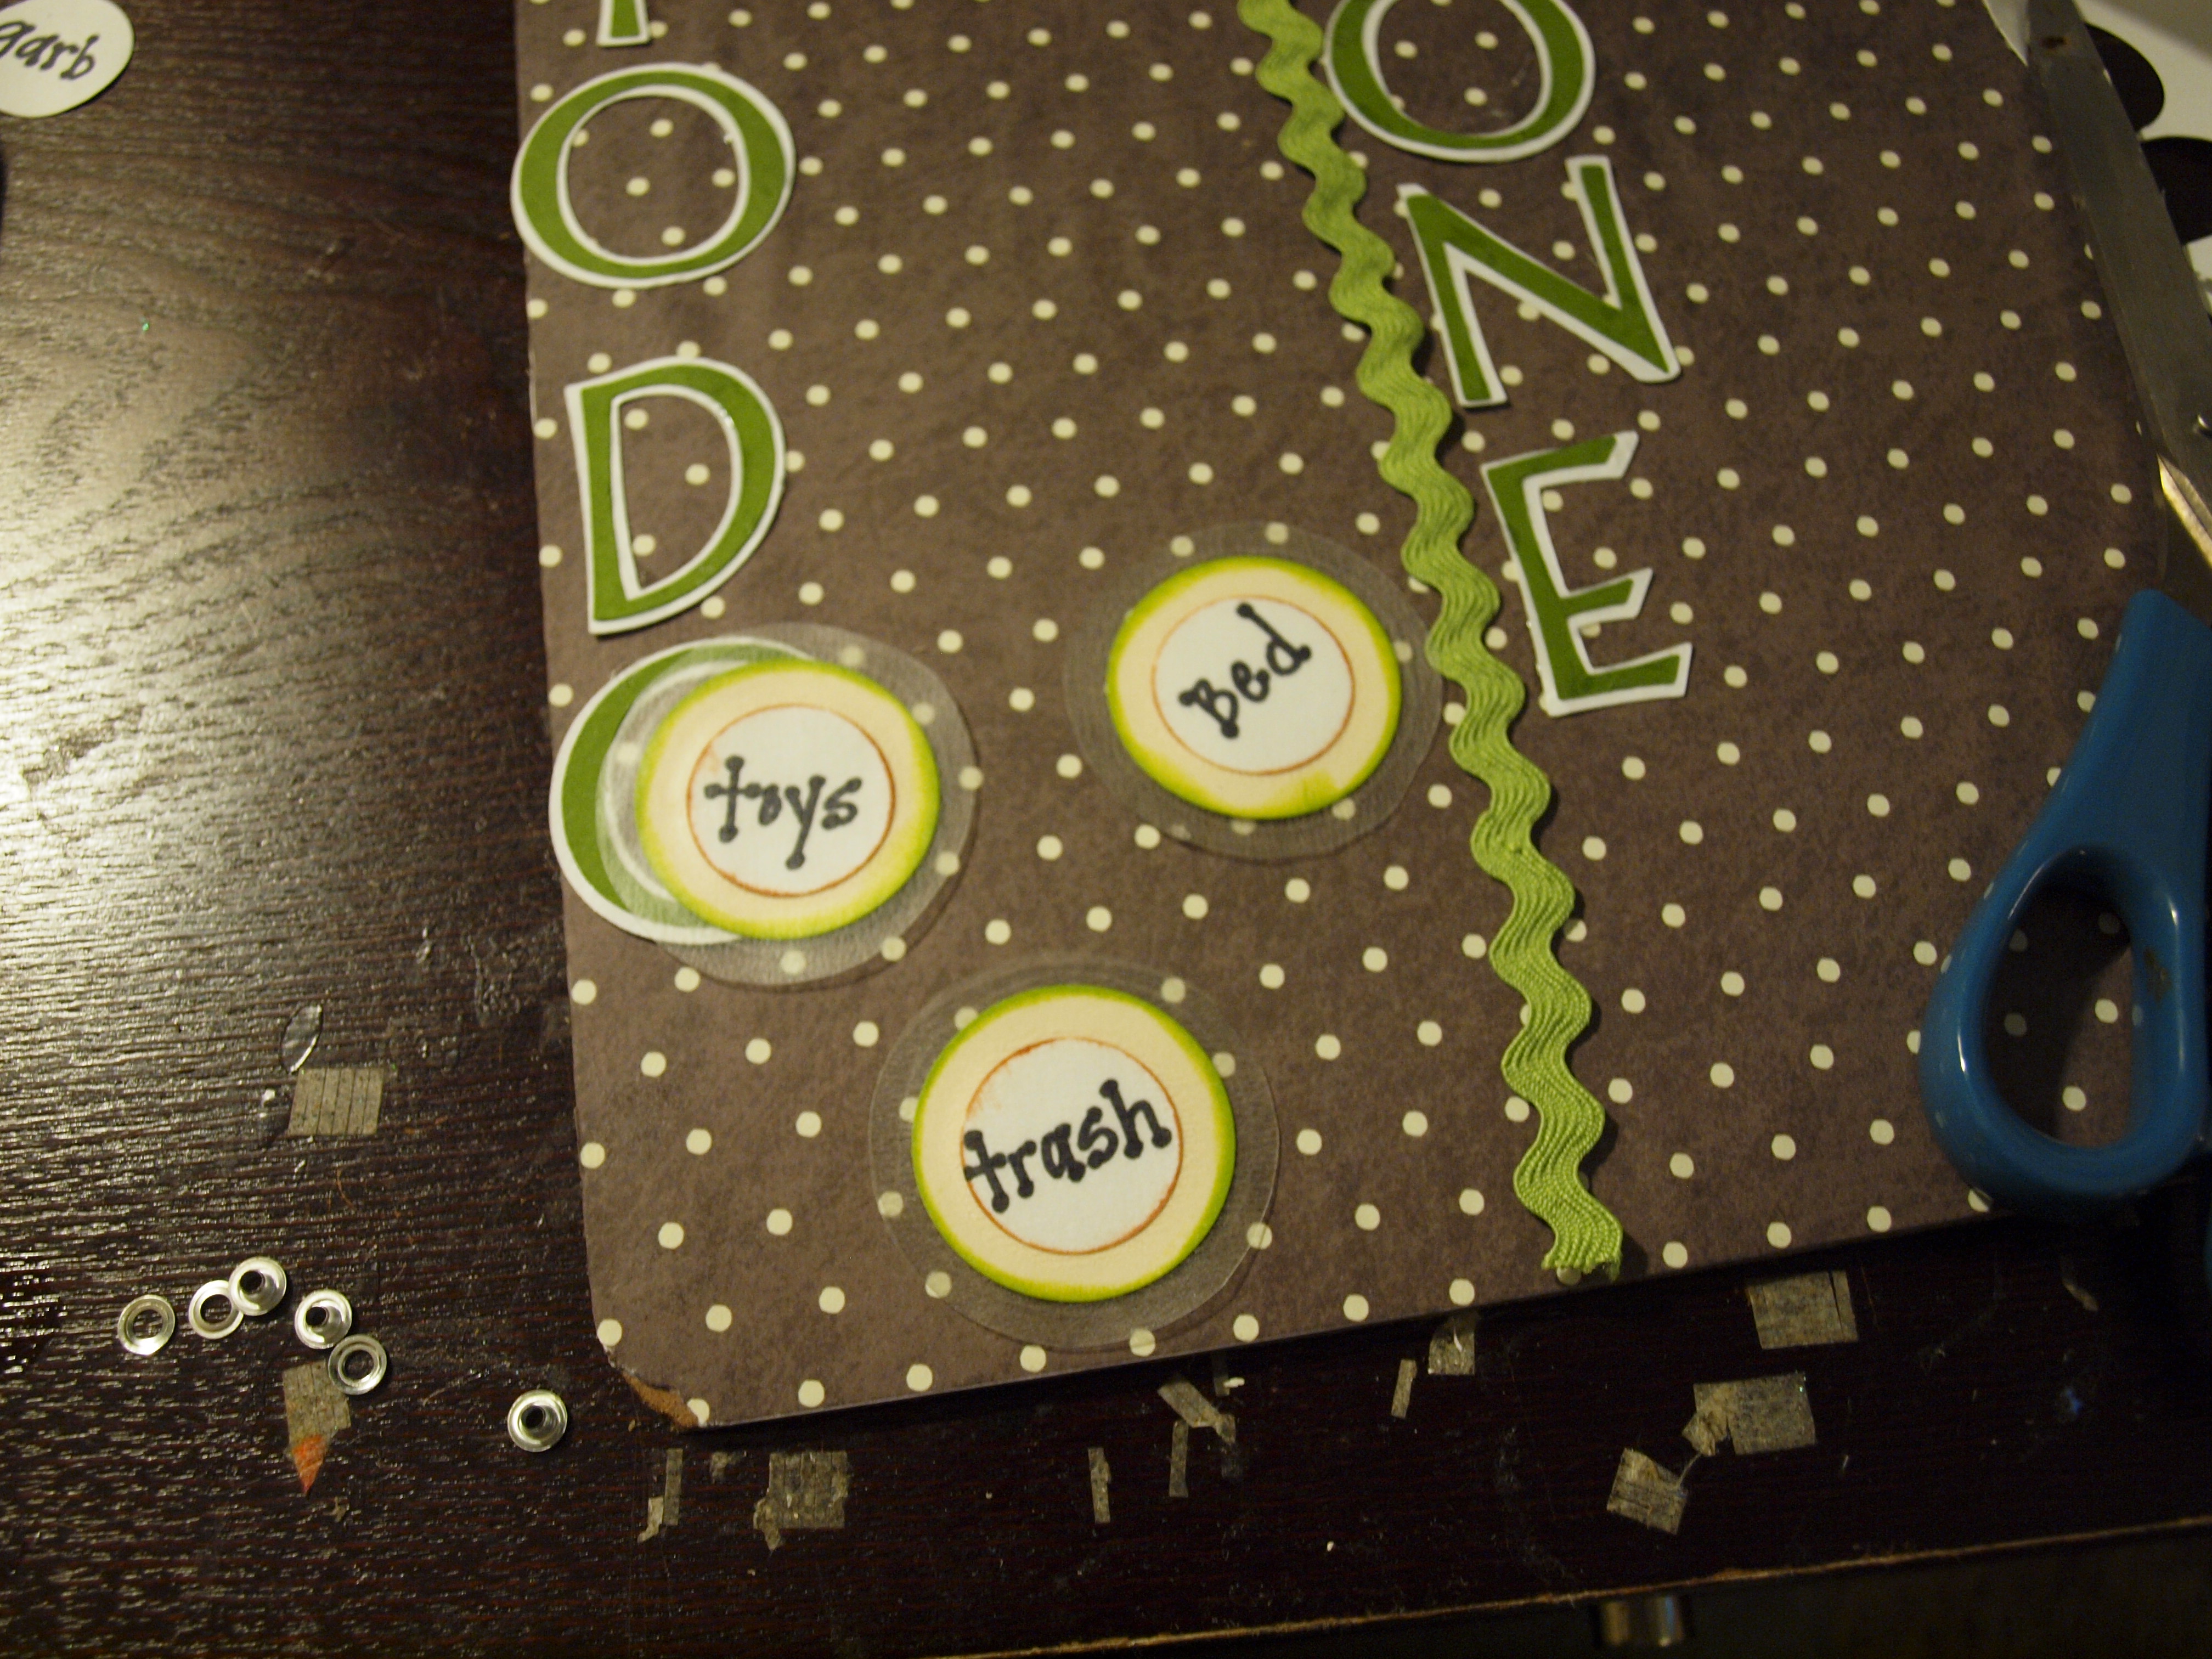
I love the way the green and brown looks together.   Now for the chores....... I used my hole punches and stamped the edges (one with green and the other with brown), I wrote BED on one, I wrote TOYS on another, and I wrote TRASH on the last one and glued the 2 circles together and laminated them and trimmed the excess.  I used my crop-o-dile to attach a little silver eyelet on the top of each one.
I attached velcro to the back of each chore circle.  I put extra velcro on the DONE side too so Jacob can move them over himself when he has completed them!  I'm a firm believer that Jacob does not need to be paid after he does chores.  Chores are to be  done as long as he lives under this roof, which will be FOREVER! :) j/k.  That'll be his way of helping out around the house.  And for right now, he's as pleased as pie to complete the tasks and help mommy and to move the chores over to the DONE side.  He's the best!

It's a Party my Hearty!


A post from last year

Sadly enough, the love of my life is turning 4 next weekend.  Birthday parties are the only event I really get to host, so I like to make it special.  Especially because he is the coolest kid you'll ever meet, I know all moms say that, but I'm being serious!!  I decided to do a pirate themed birthday party, so of course the first thing I did was I googled it to get some ideas.  Nothing really jumped out at me, but then my sister found these on clearance at William Sonoma....
well she only found the centerpiece and the banner, but I went ahead and bought the goody bags, the napkins and the plates to make it complete.  Cute, huh?!
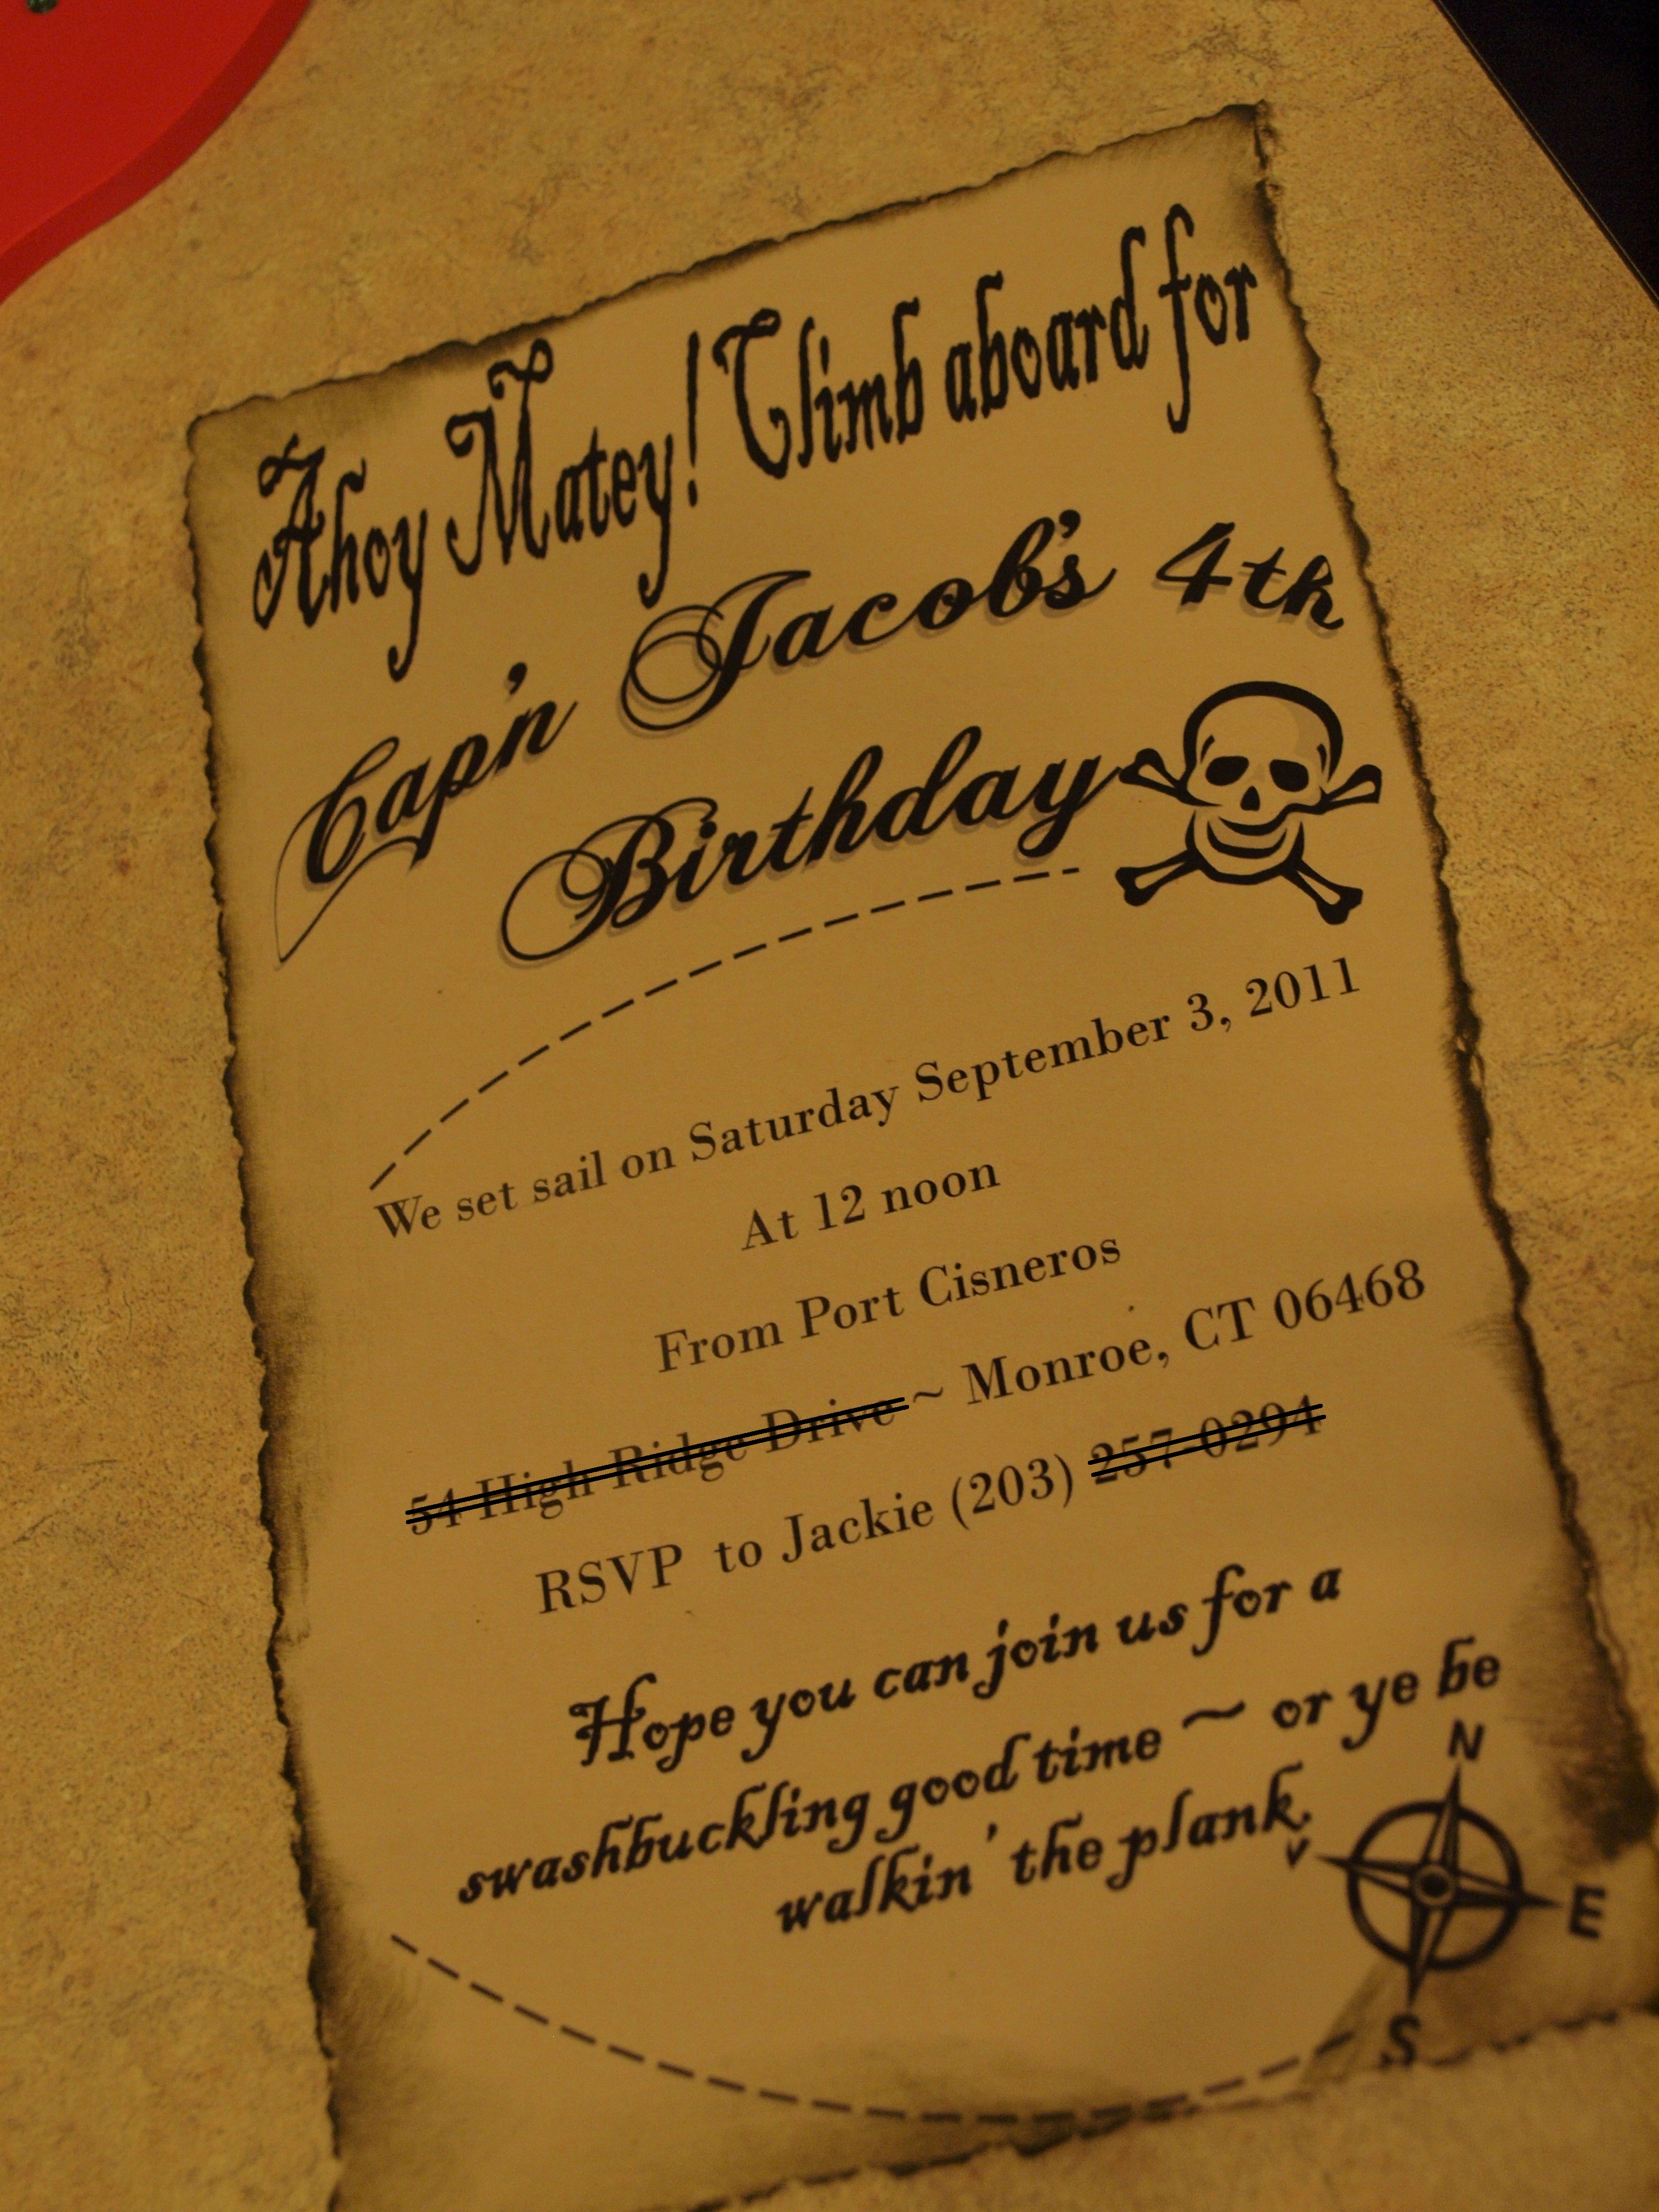
I designed the invitation myself by googling "pirate lingo" here's what I came up with
I designed it on Microsoft Word and printed them out on cardstock and used my scissors to cut the ripped edge look and then sponged the edge with my ink pad.
And then onto the party...
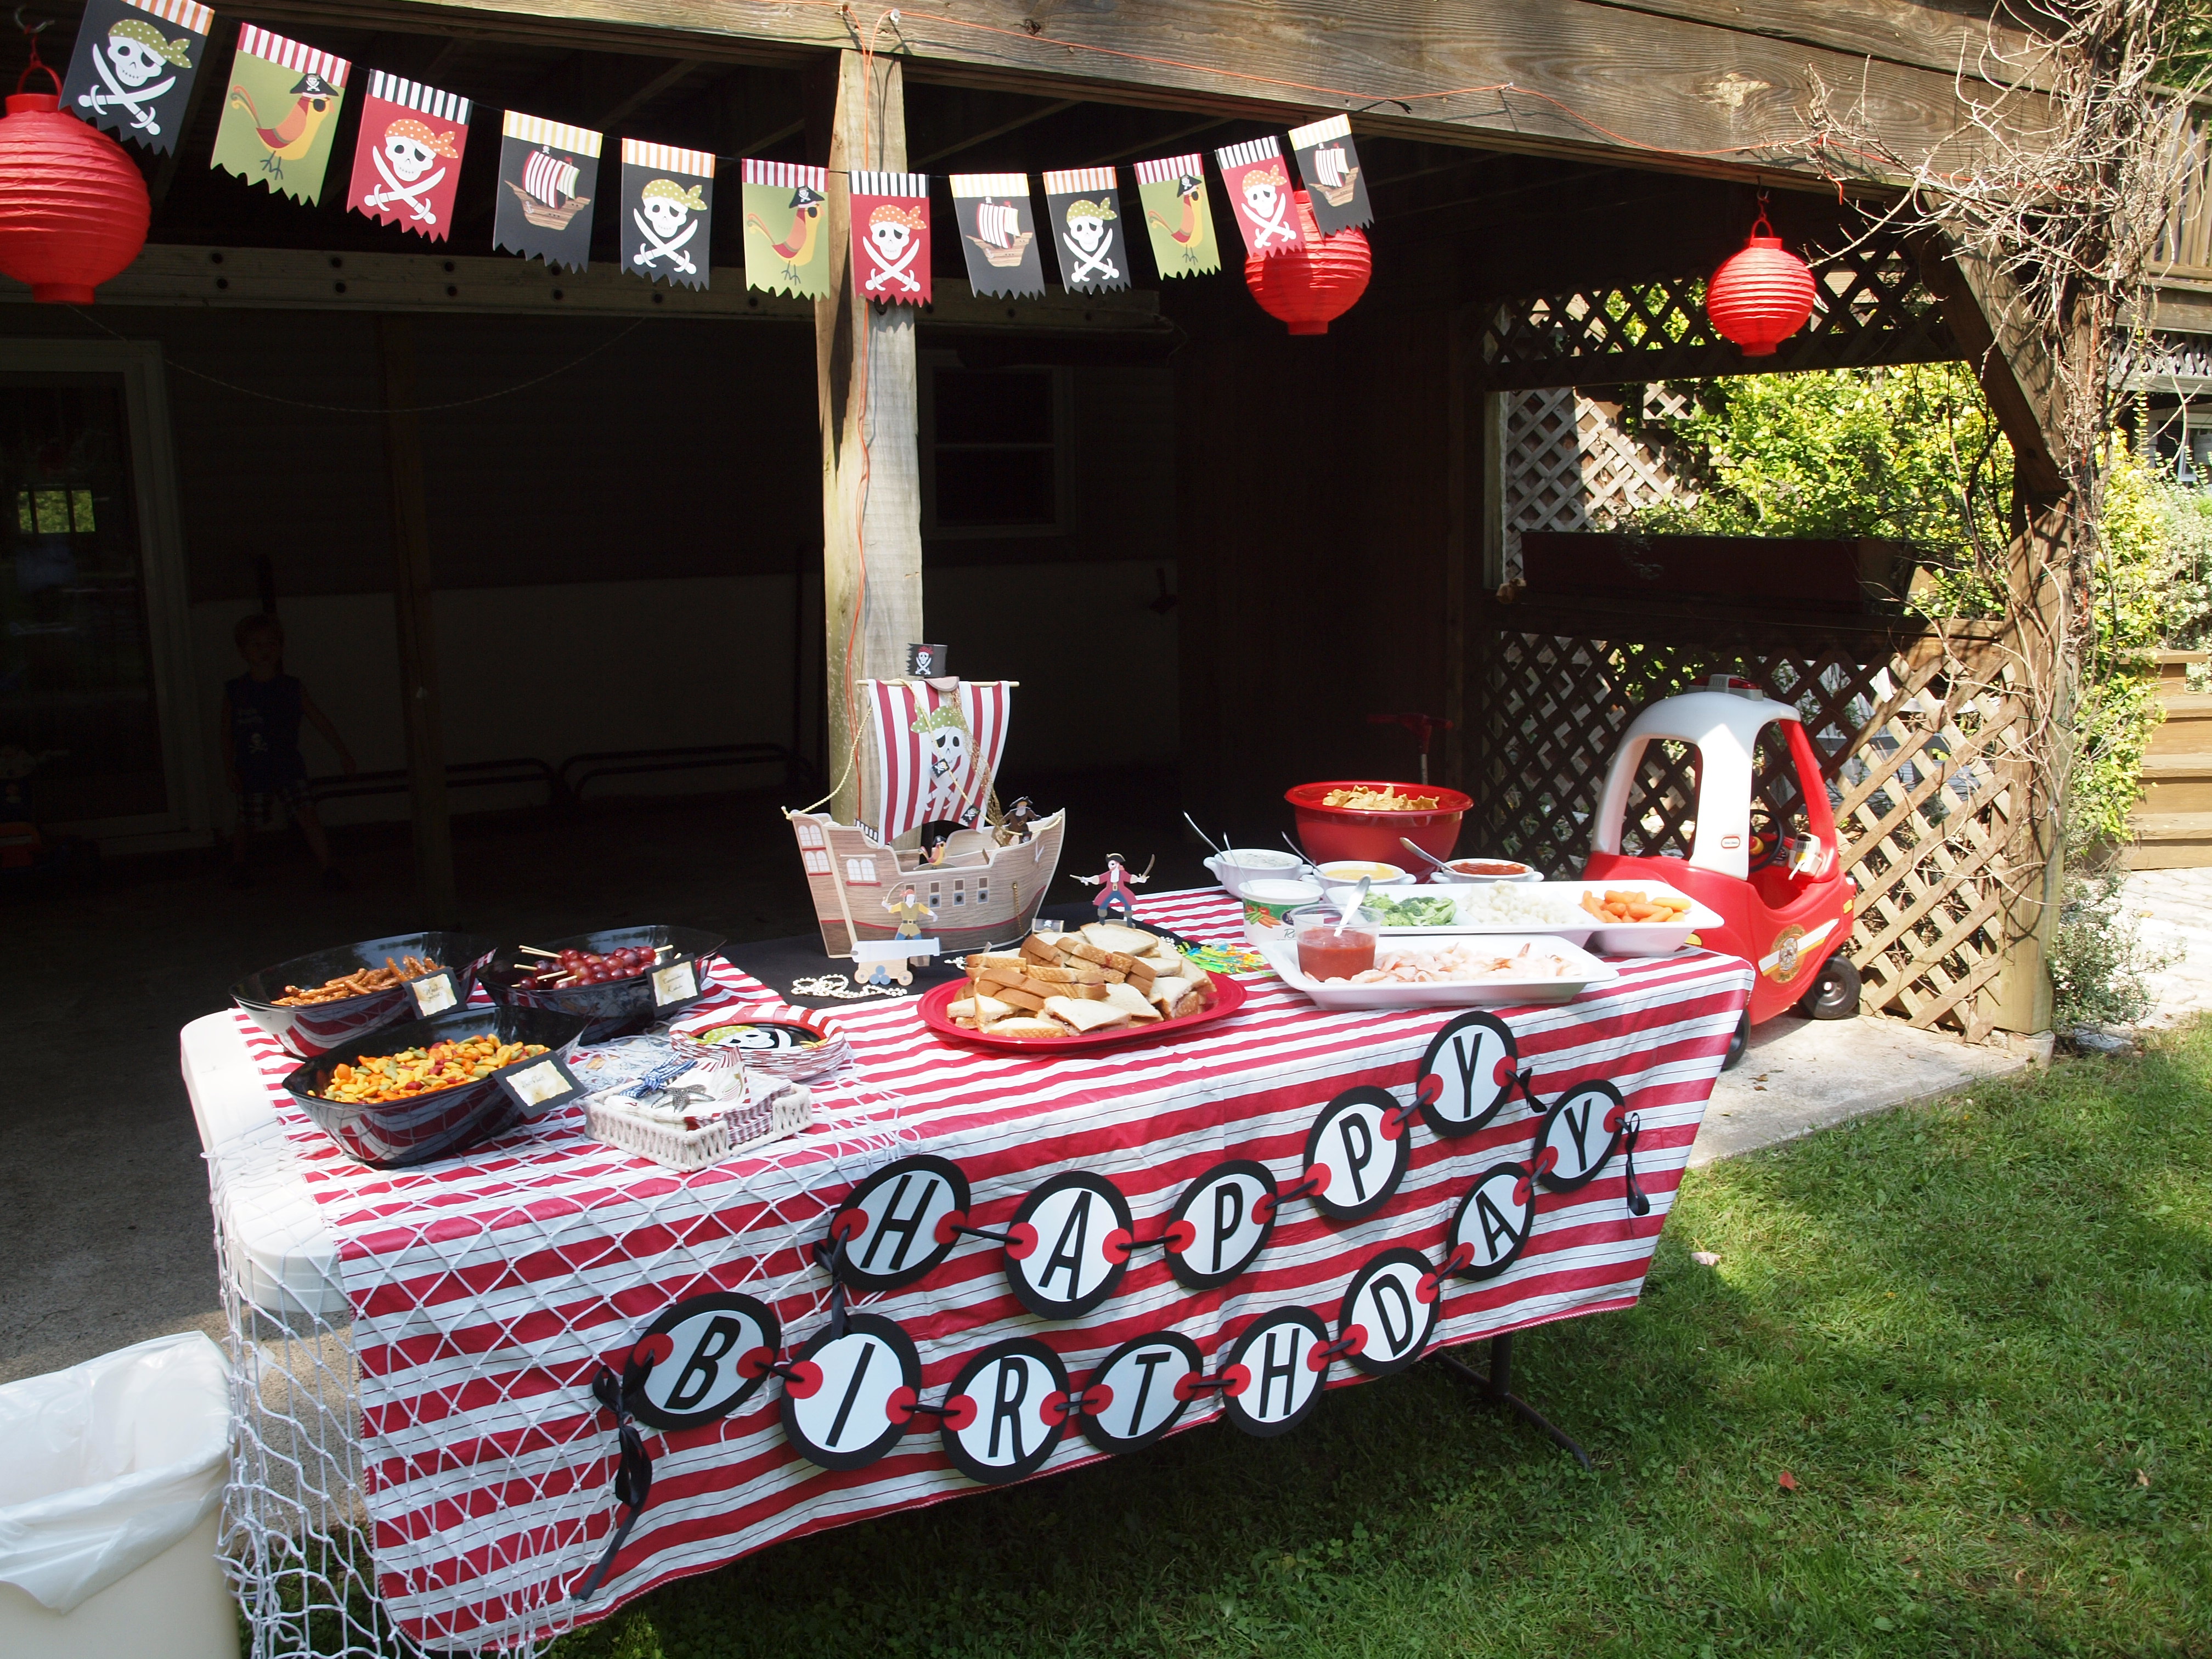
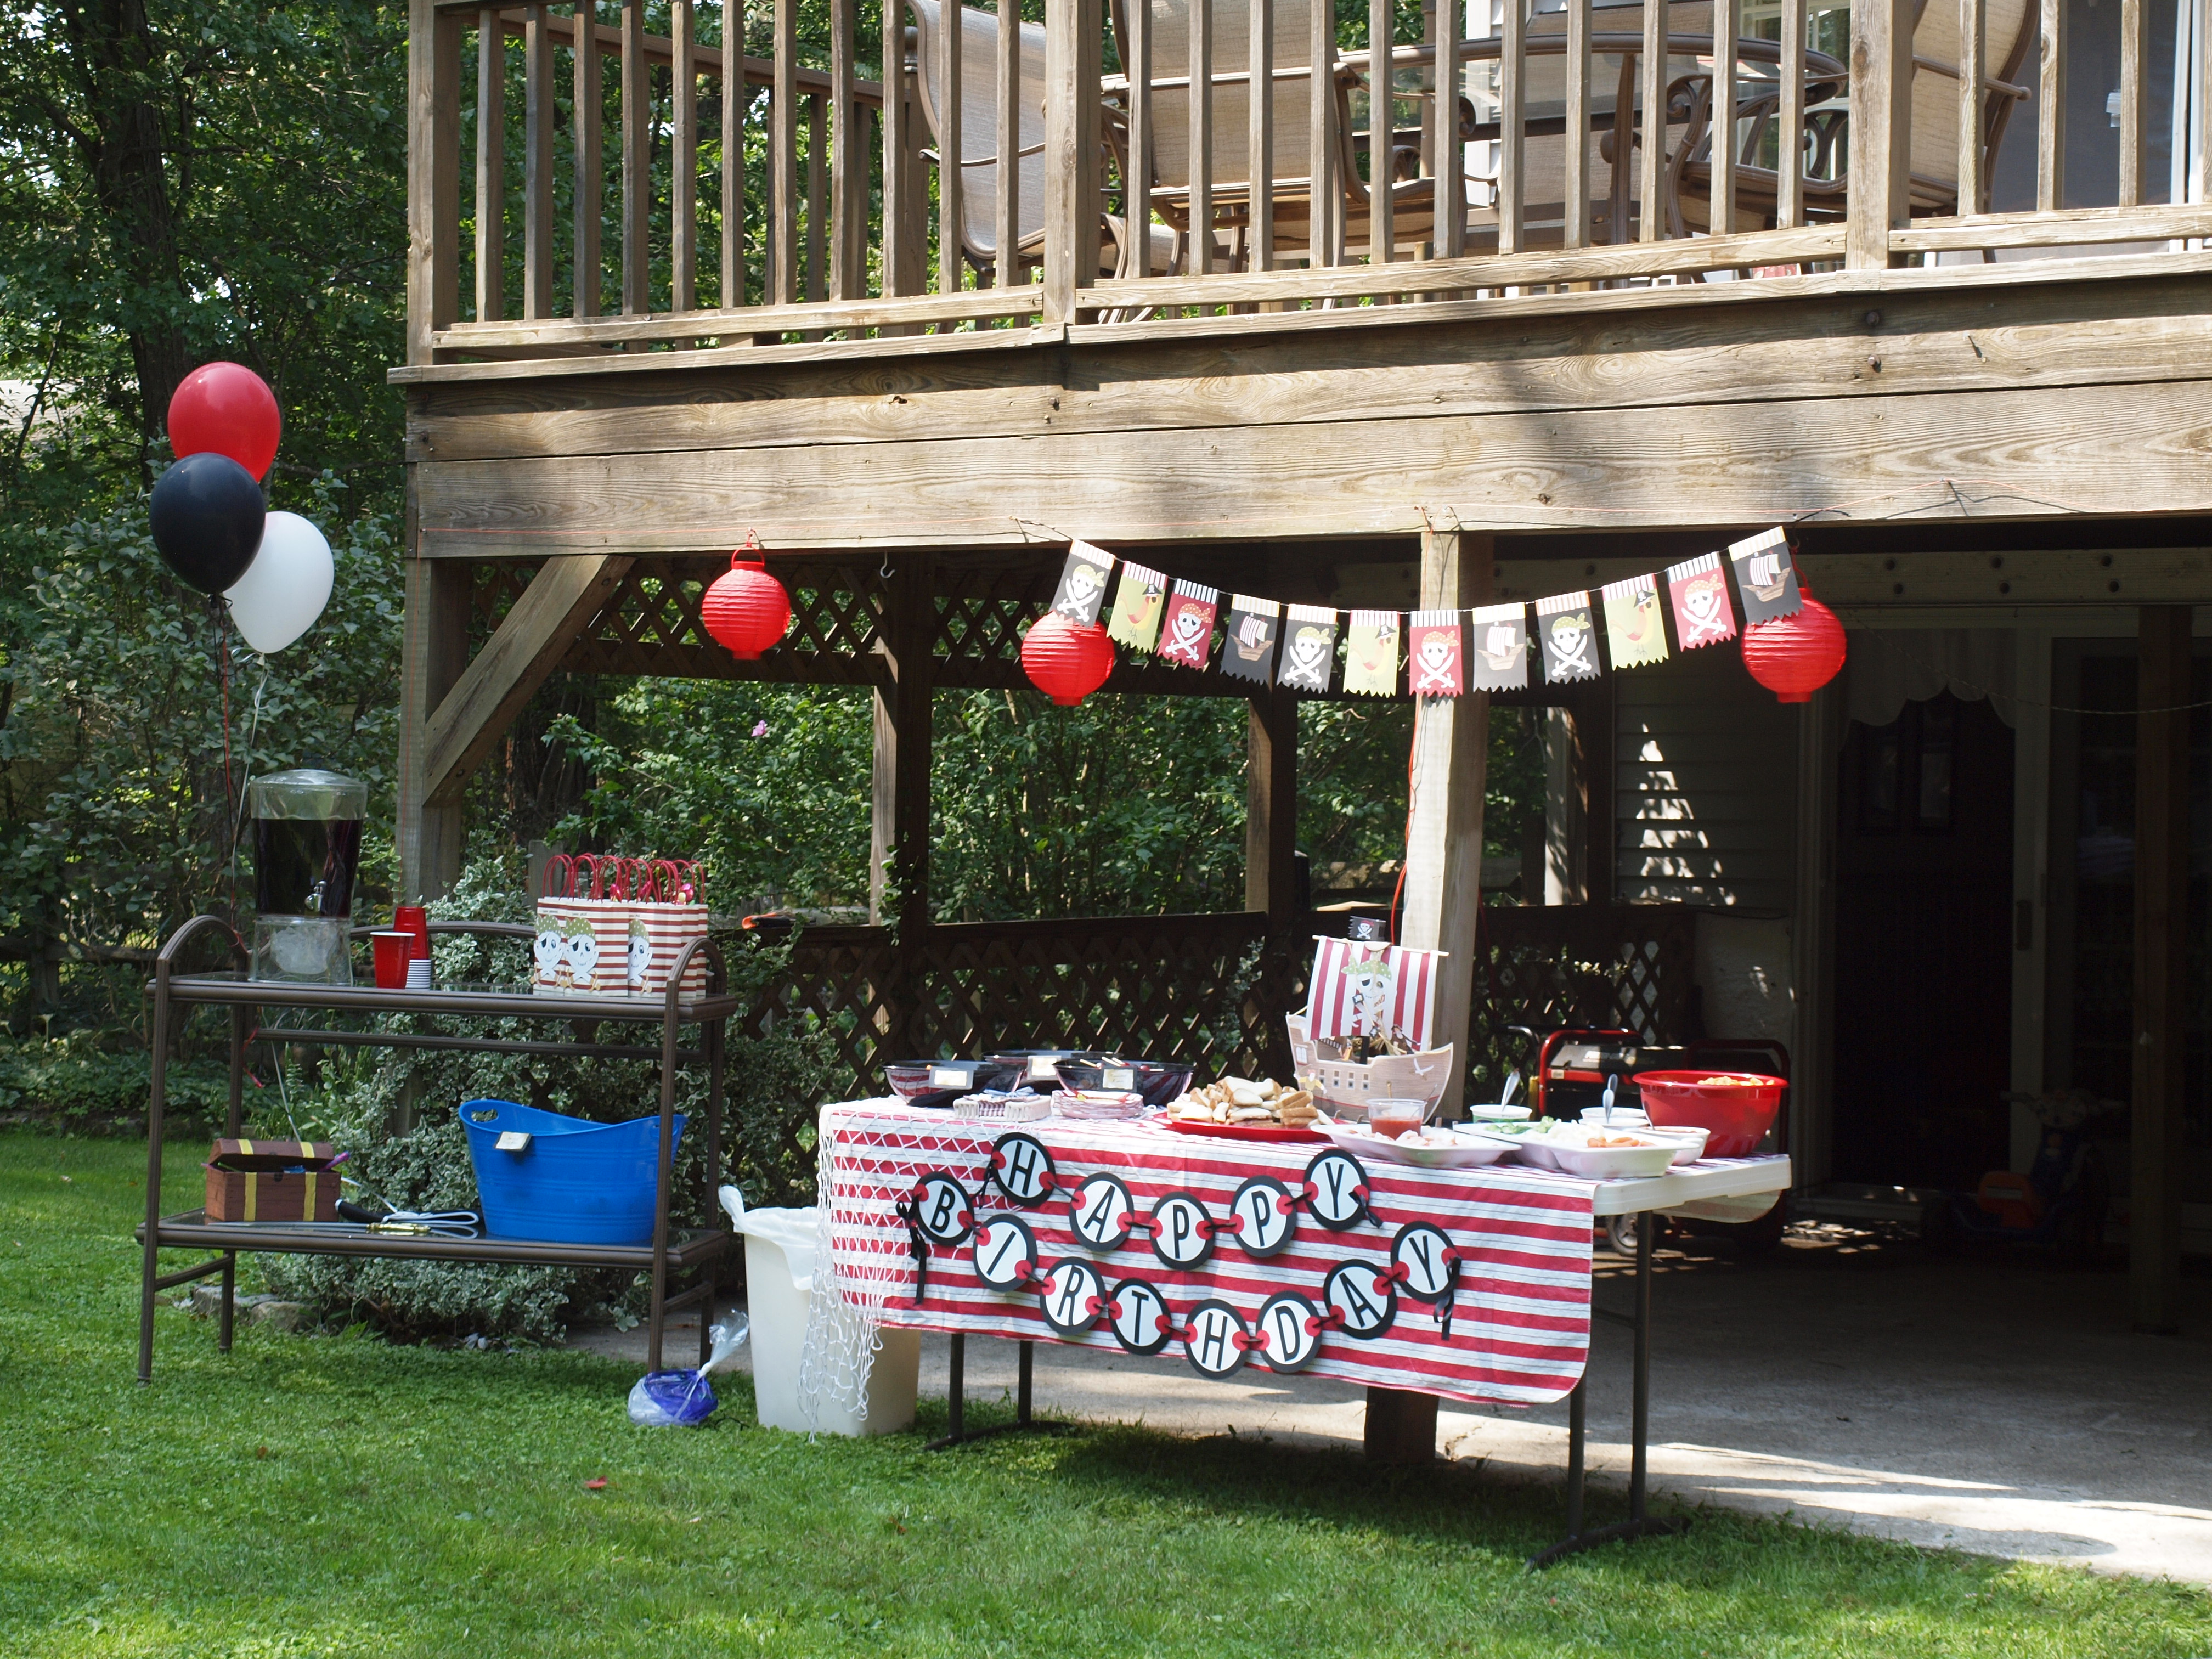
I bought the tablecloth from Christmas Tree Shop, the "fish net" was from one of Jacob's soccer goals that broke, I made the Happy Birthday banner with my Cricut Personal Cutter, and I bought the napkin holder was from Christmas Tree Shop.
The snacks were all pirate themed as well...
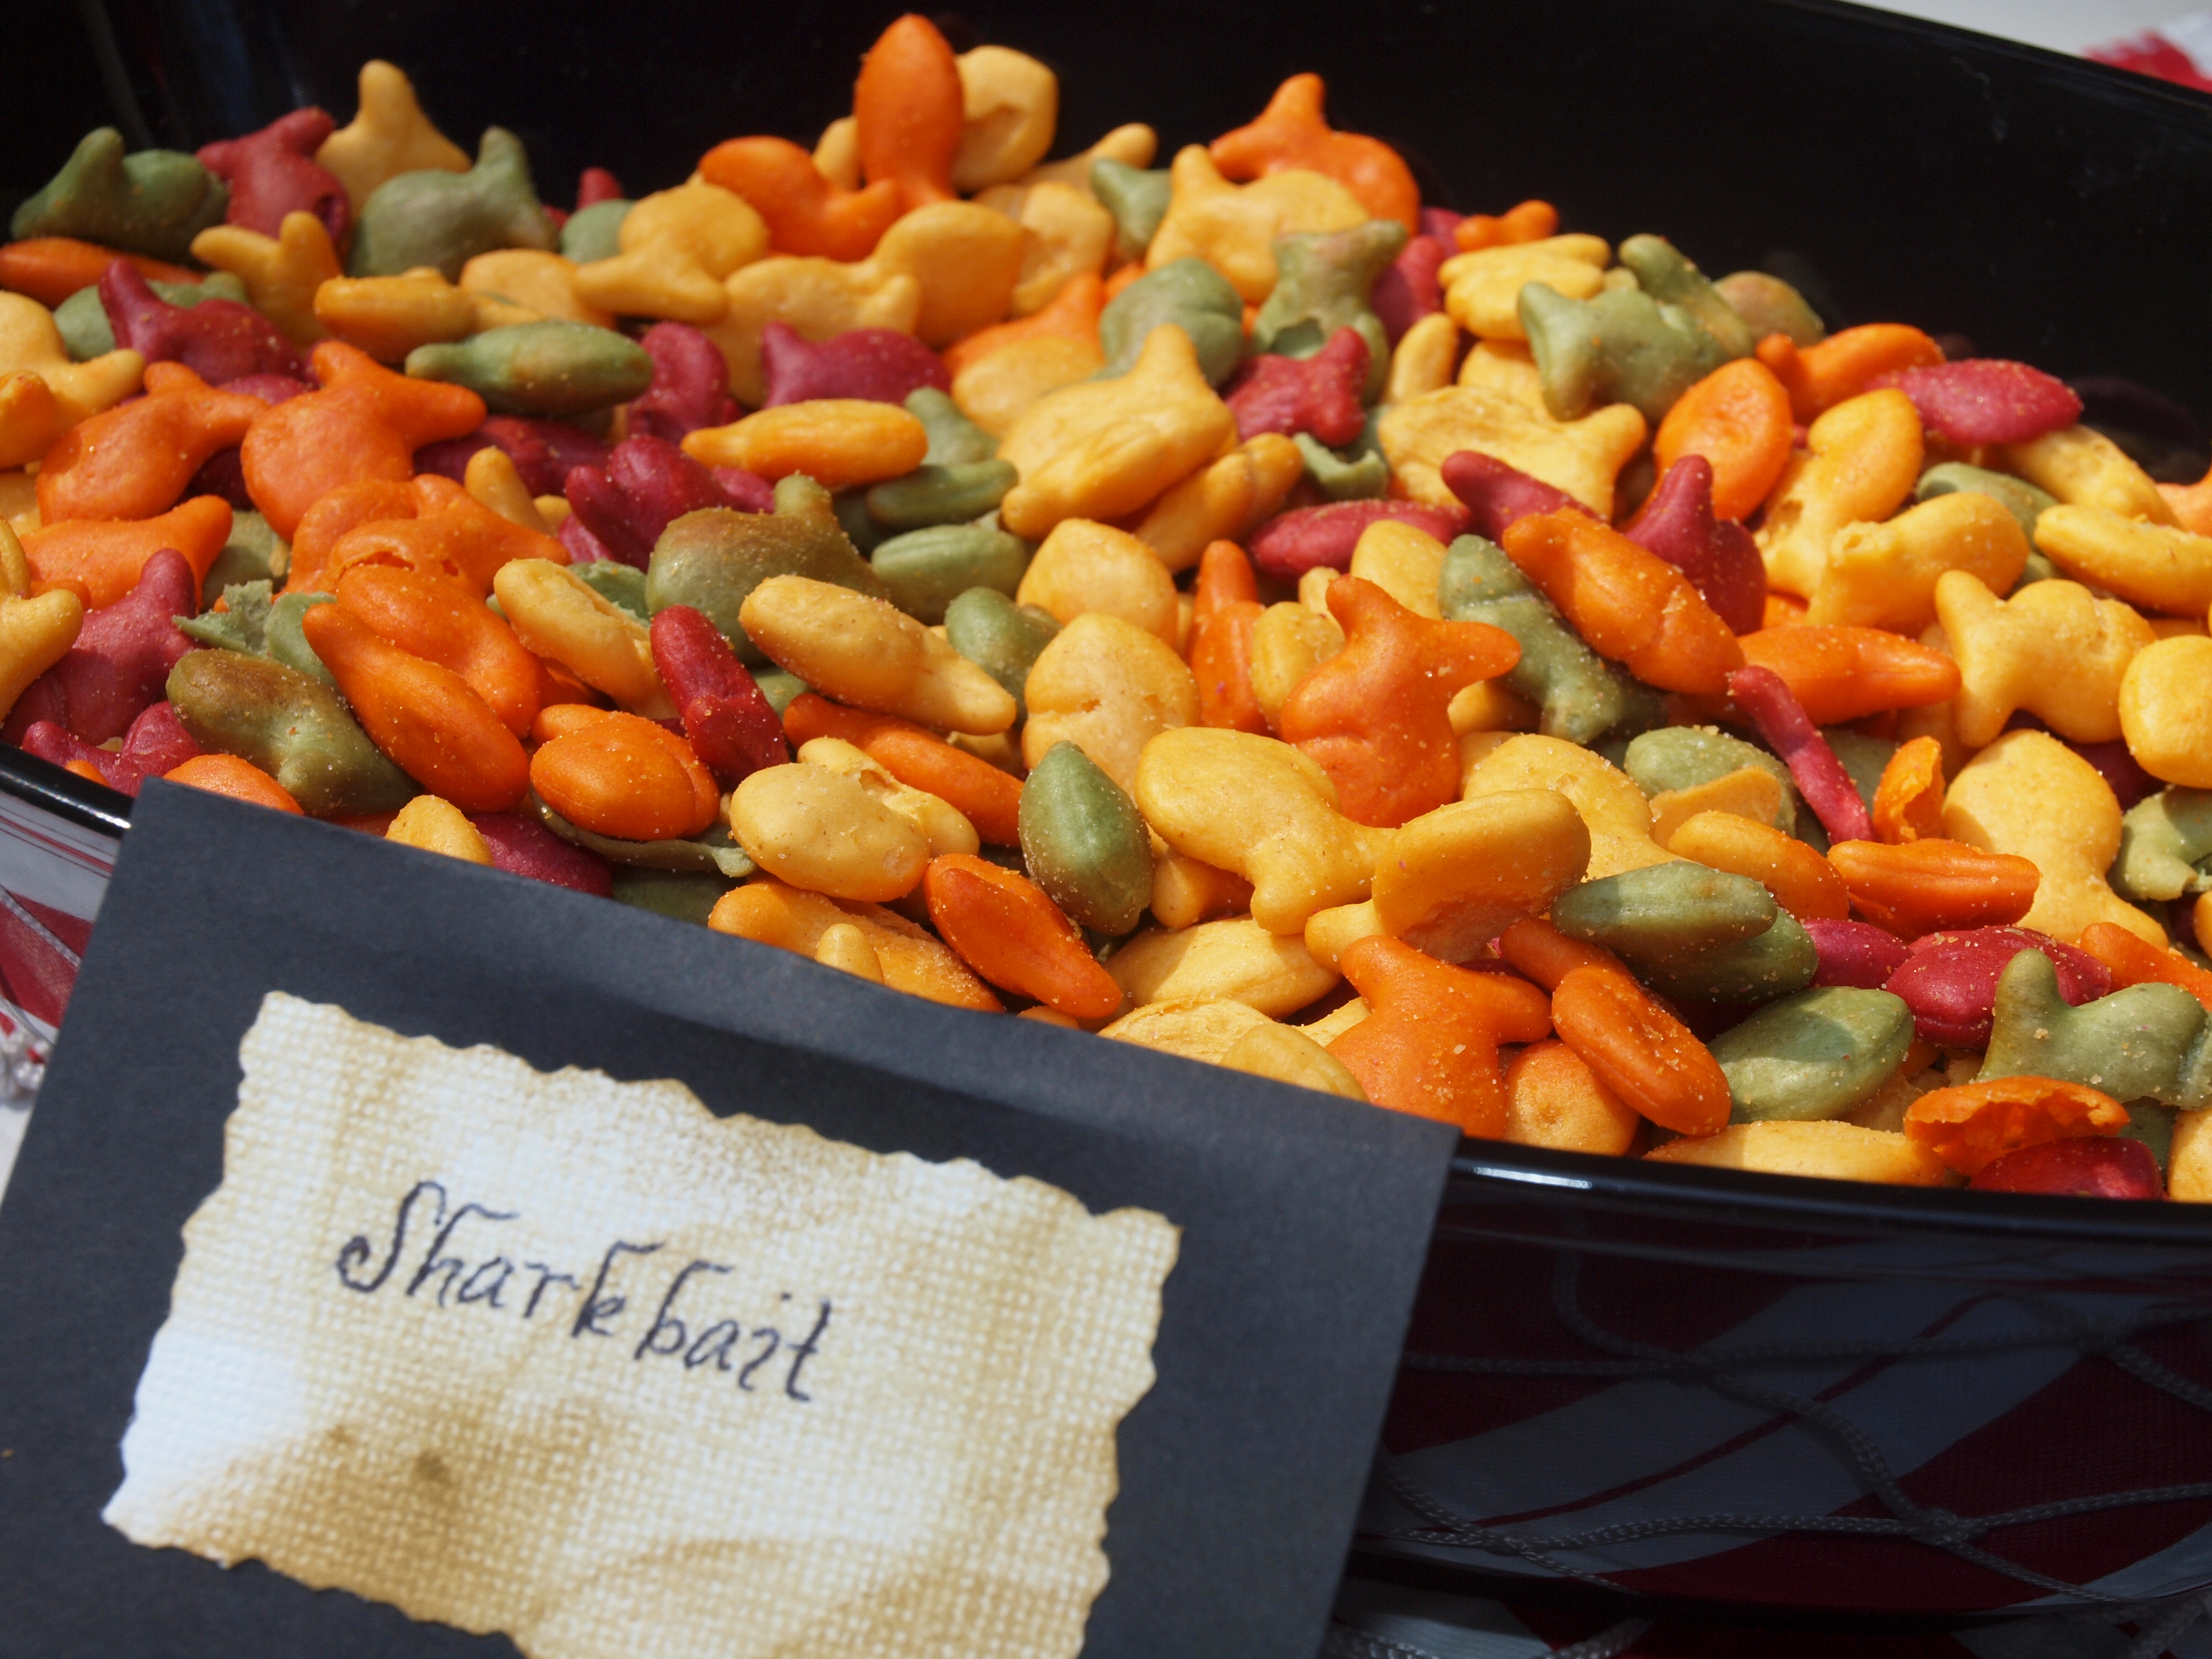
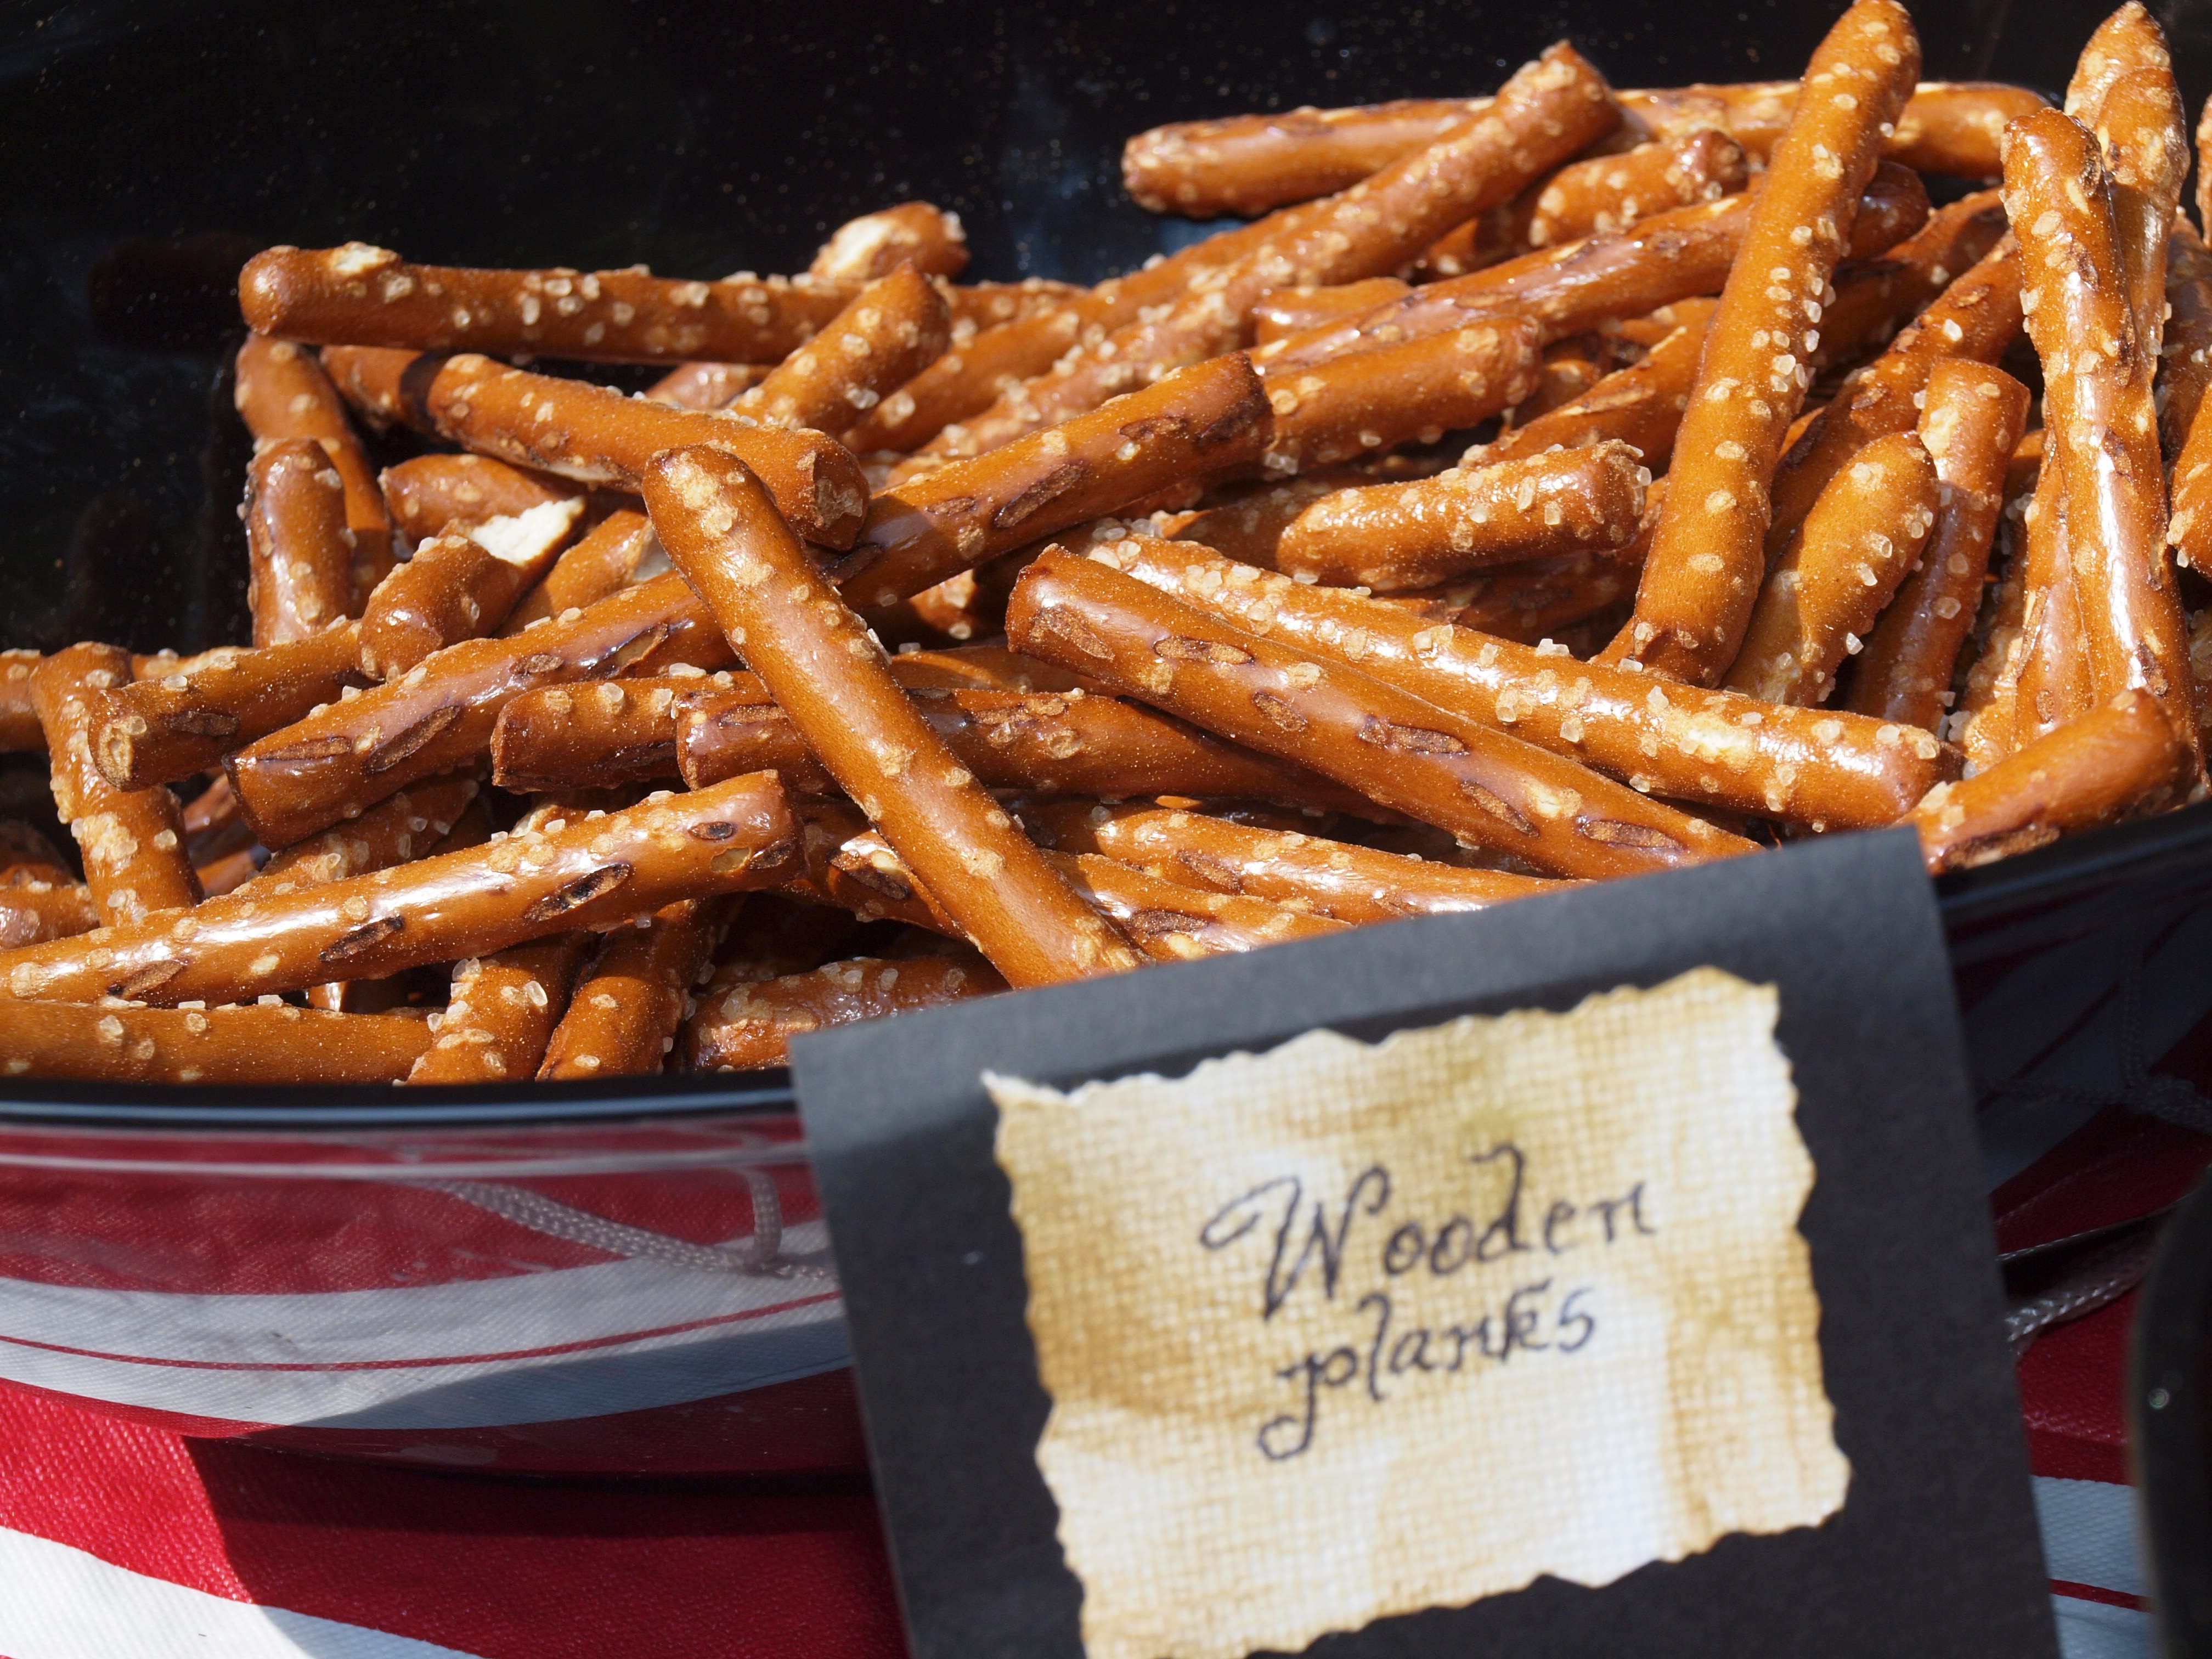
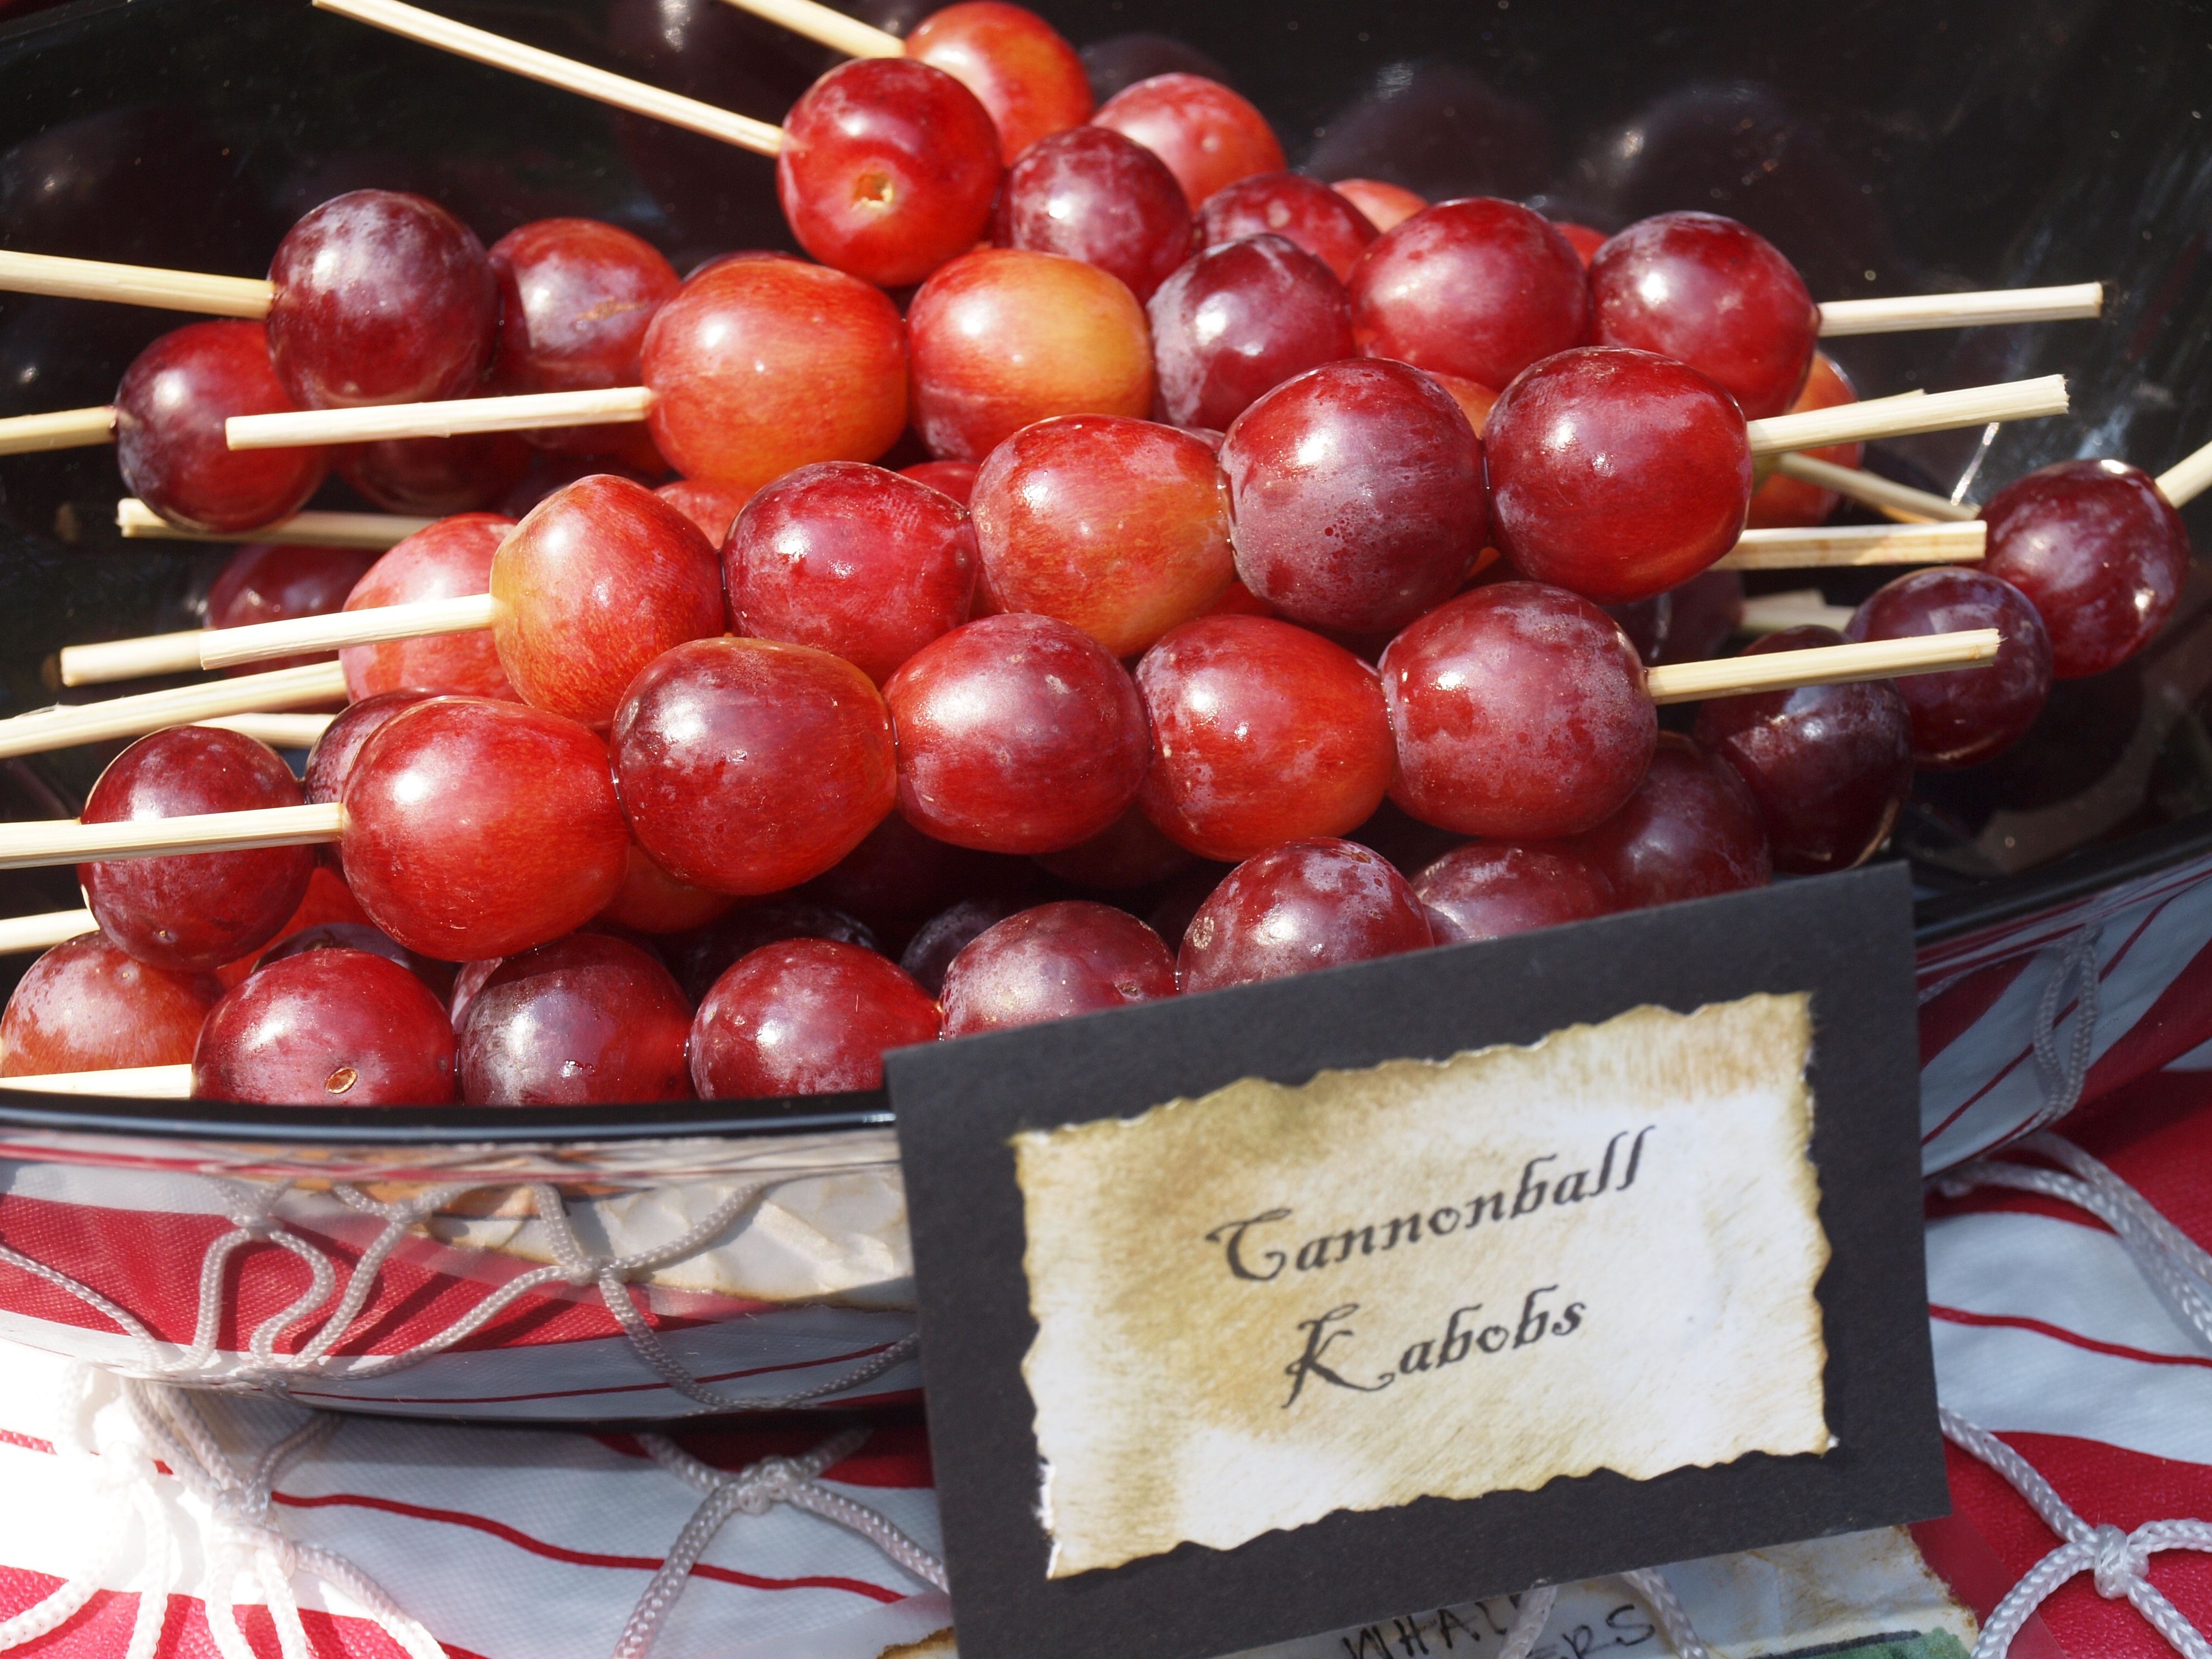
Golfish crackers were sharkbait, pretzel sticks were wooden planks, and grapes were cannonball kabobs.
I had peanut butter and jelly sandwiches also (I made sure that there were no peanut allergies beforehand.)
The snacks for the parents (that stayed) were not pirate themed but were just as delicious!I also had snacks for the parents that stayed
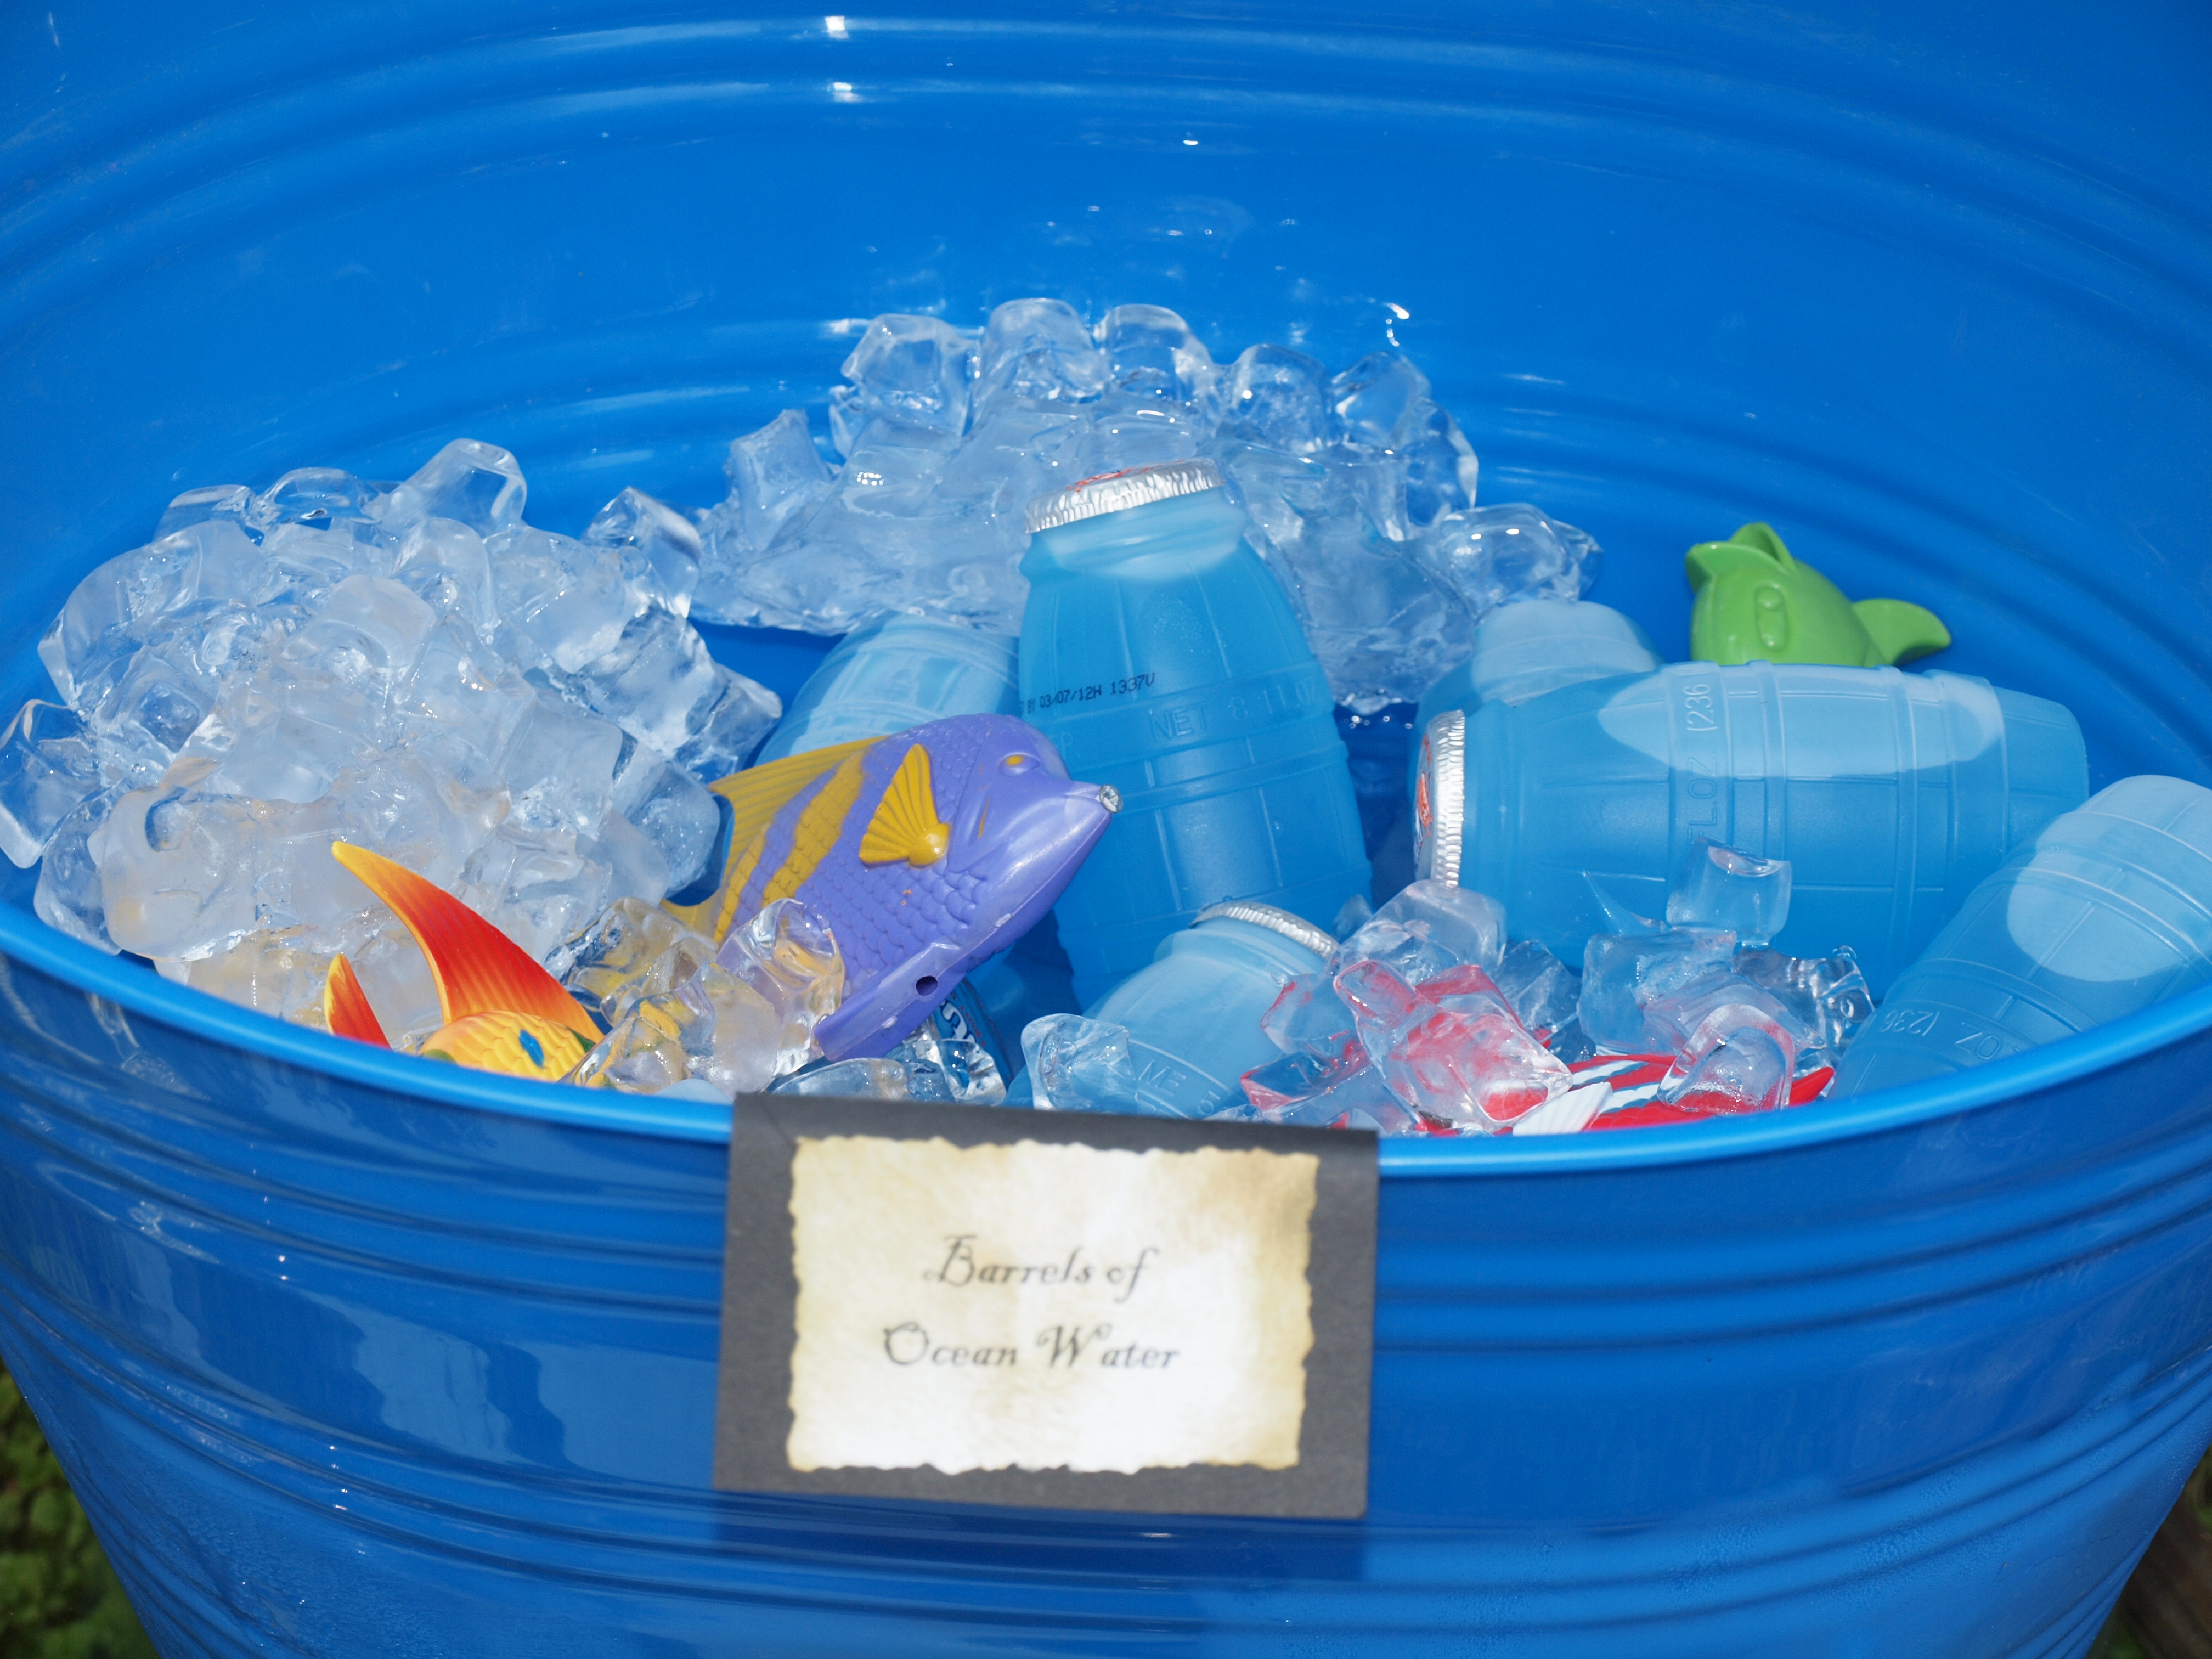
Drinks were "Barrels of Ocean Water".  The fish were just a cute little extra from one of Jacob's fishing games that he has.
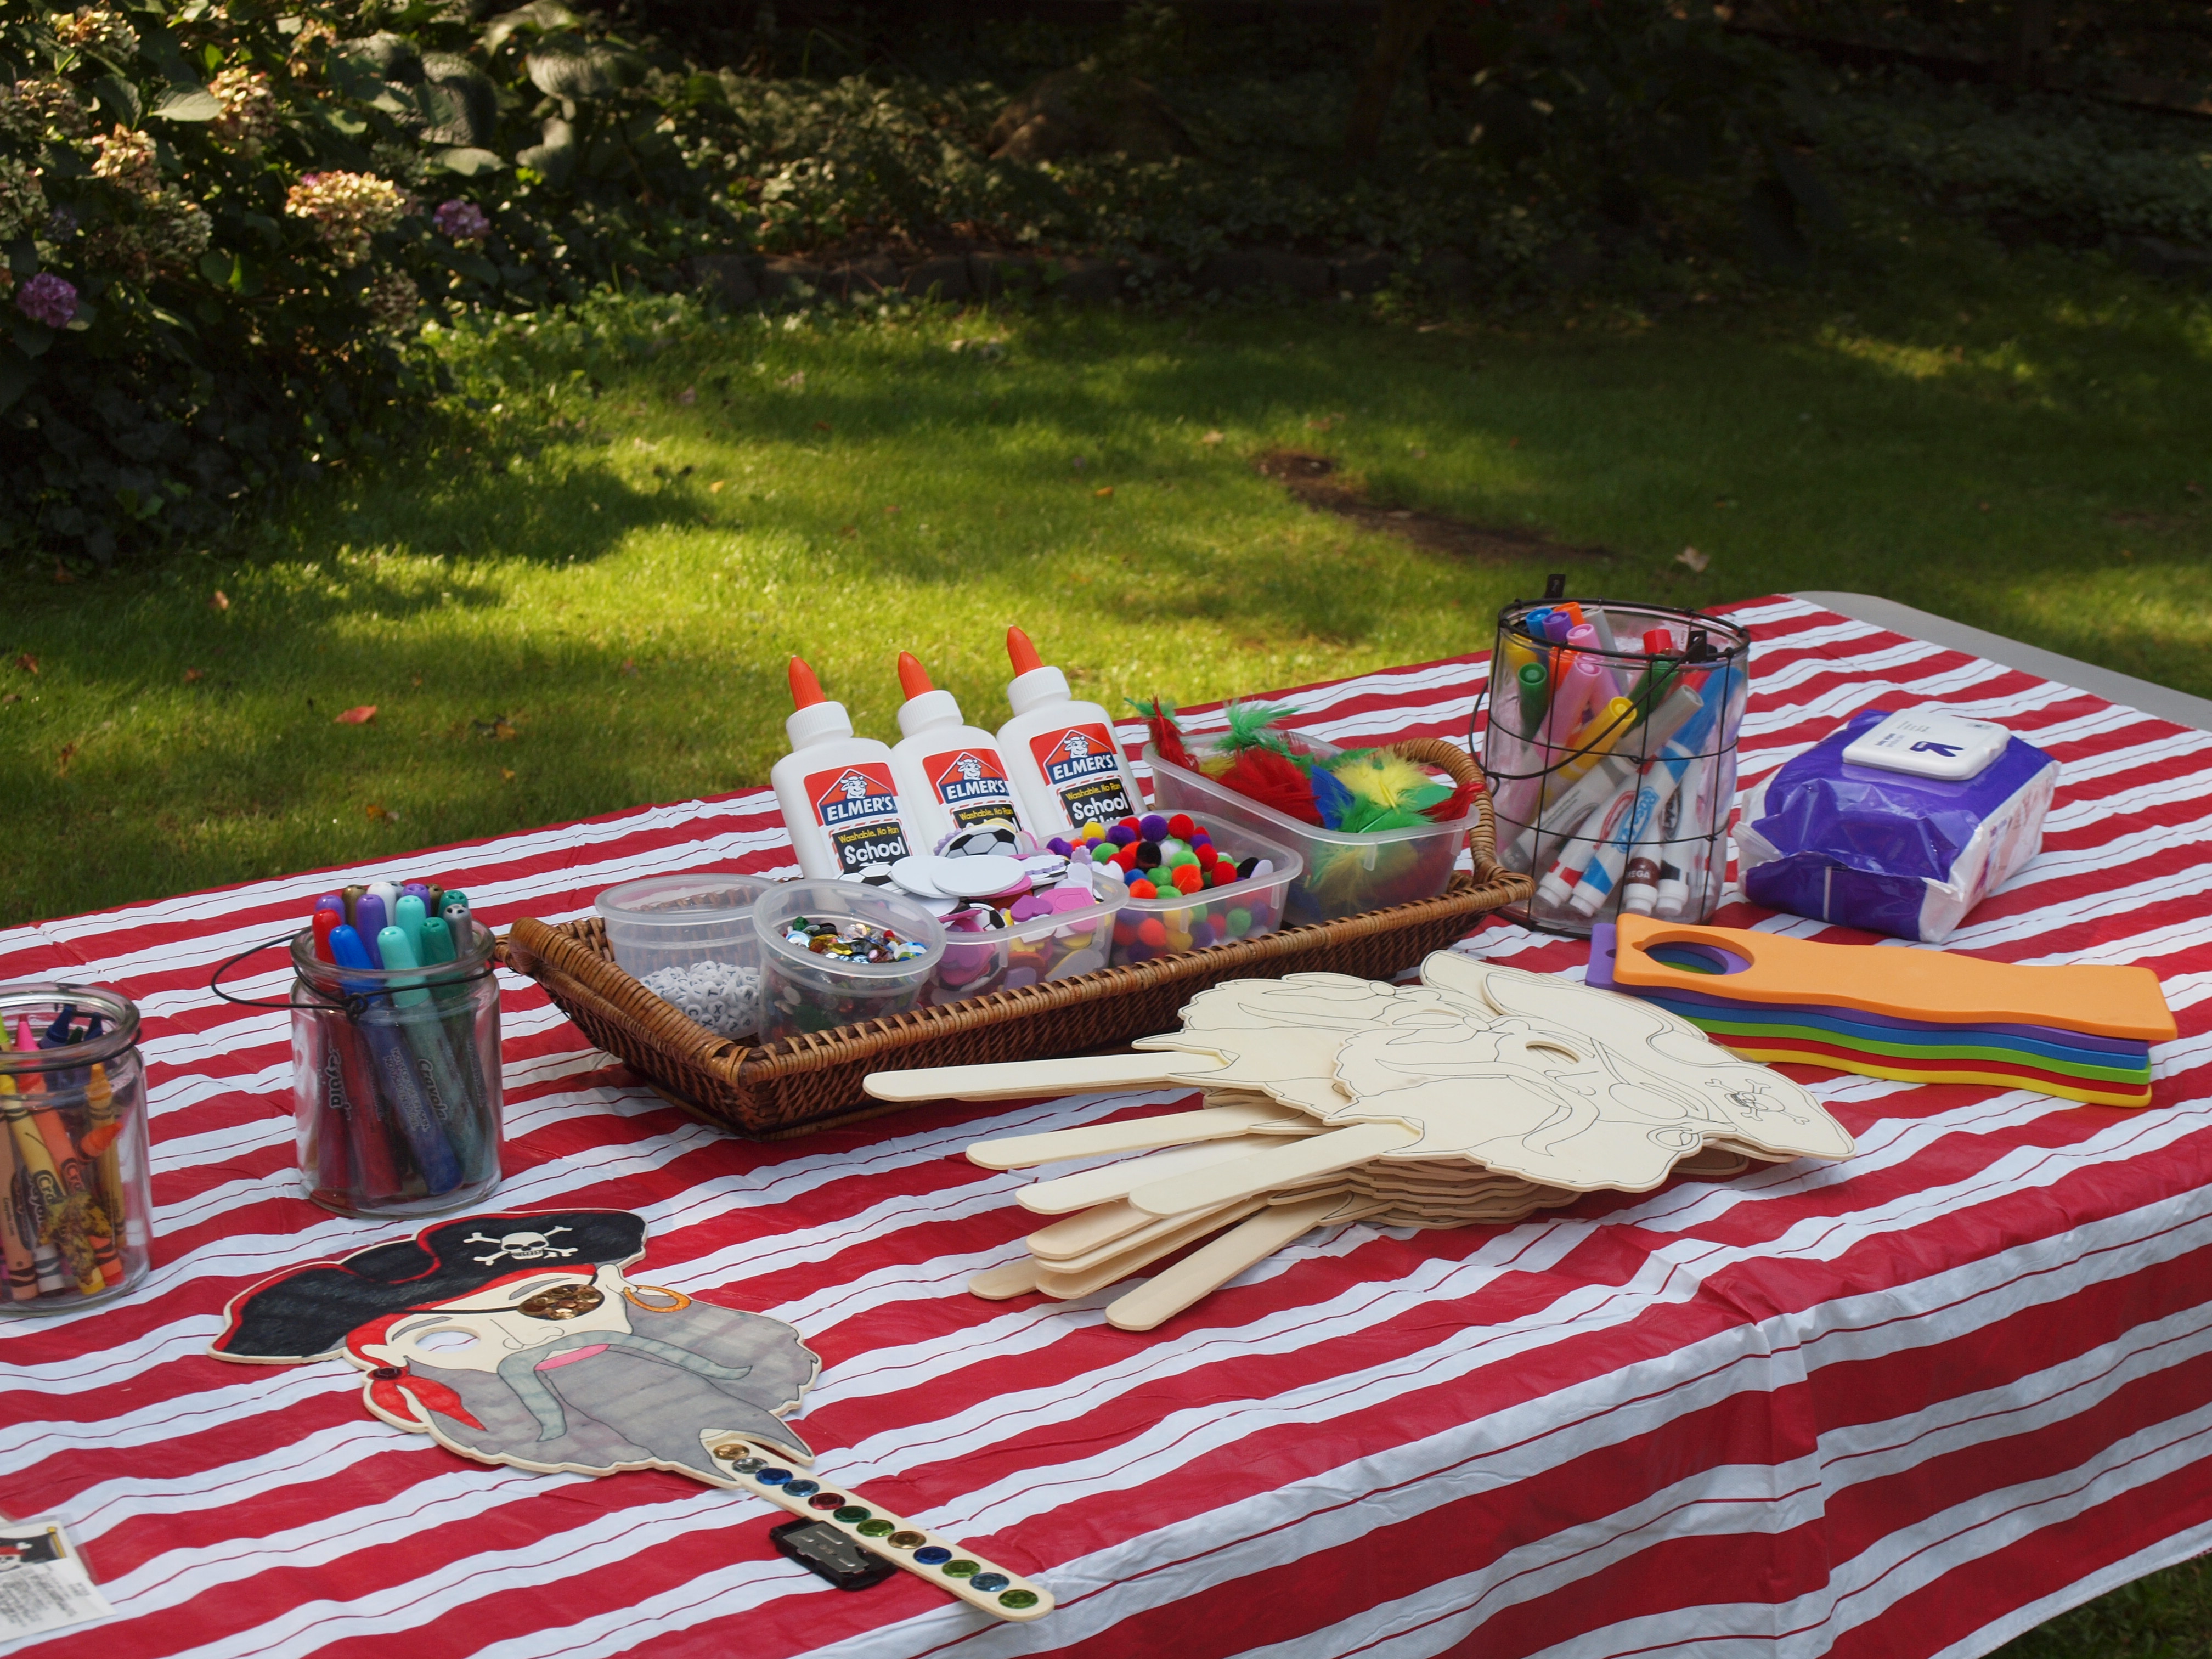
I had a craft table (of course).  The kids could decorate there own pirate. I had crayons, markers, glitter glue, letters, stickers, feathers, and pom-poms.  Girls were at the party too so I had door hangers in case they weren't into the pirate thing.  I supplied a big tub of wipes too because I know how messy kids can be!!
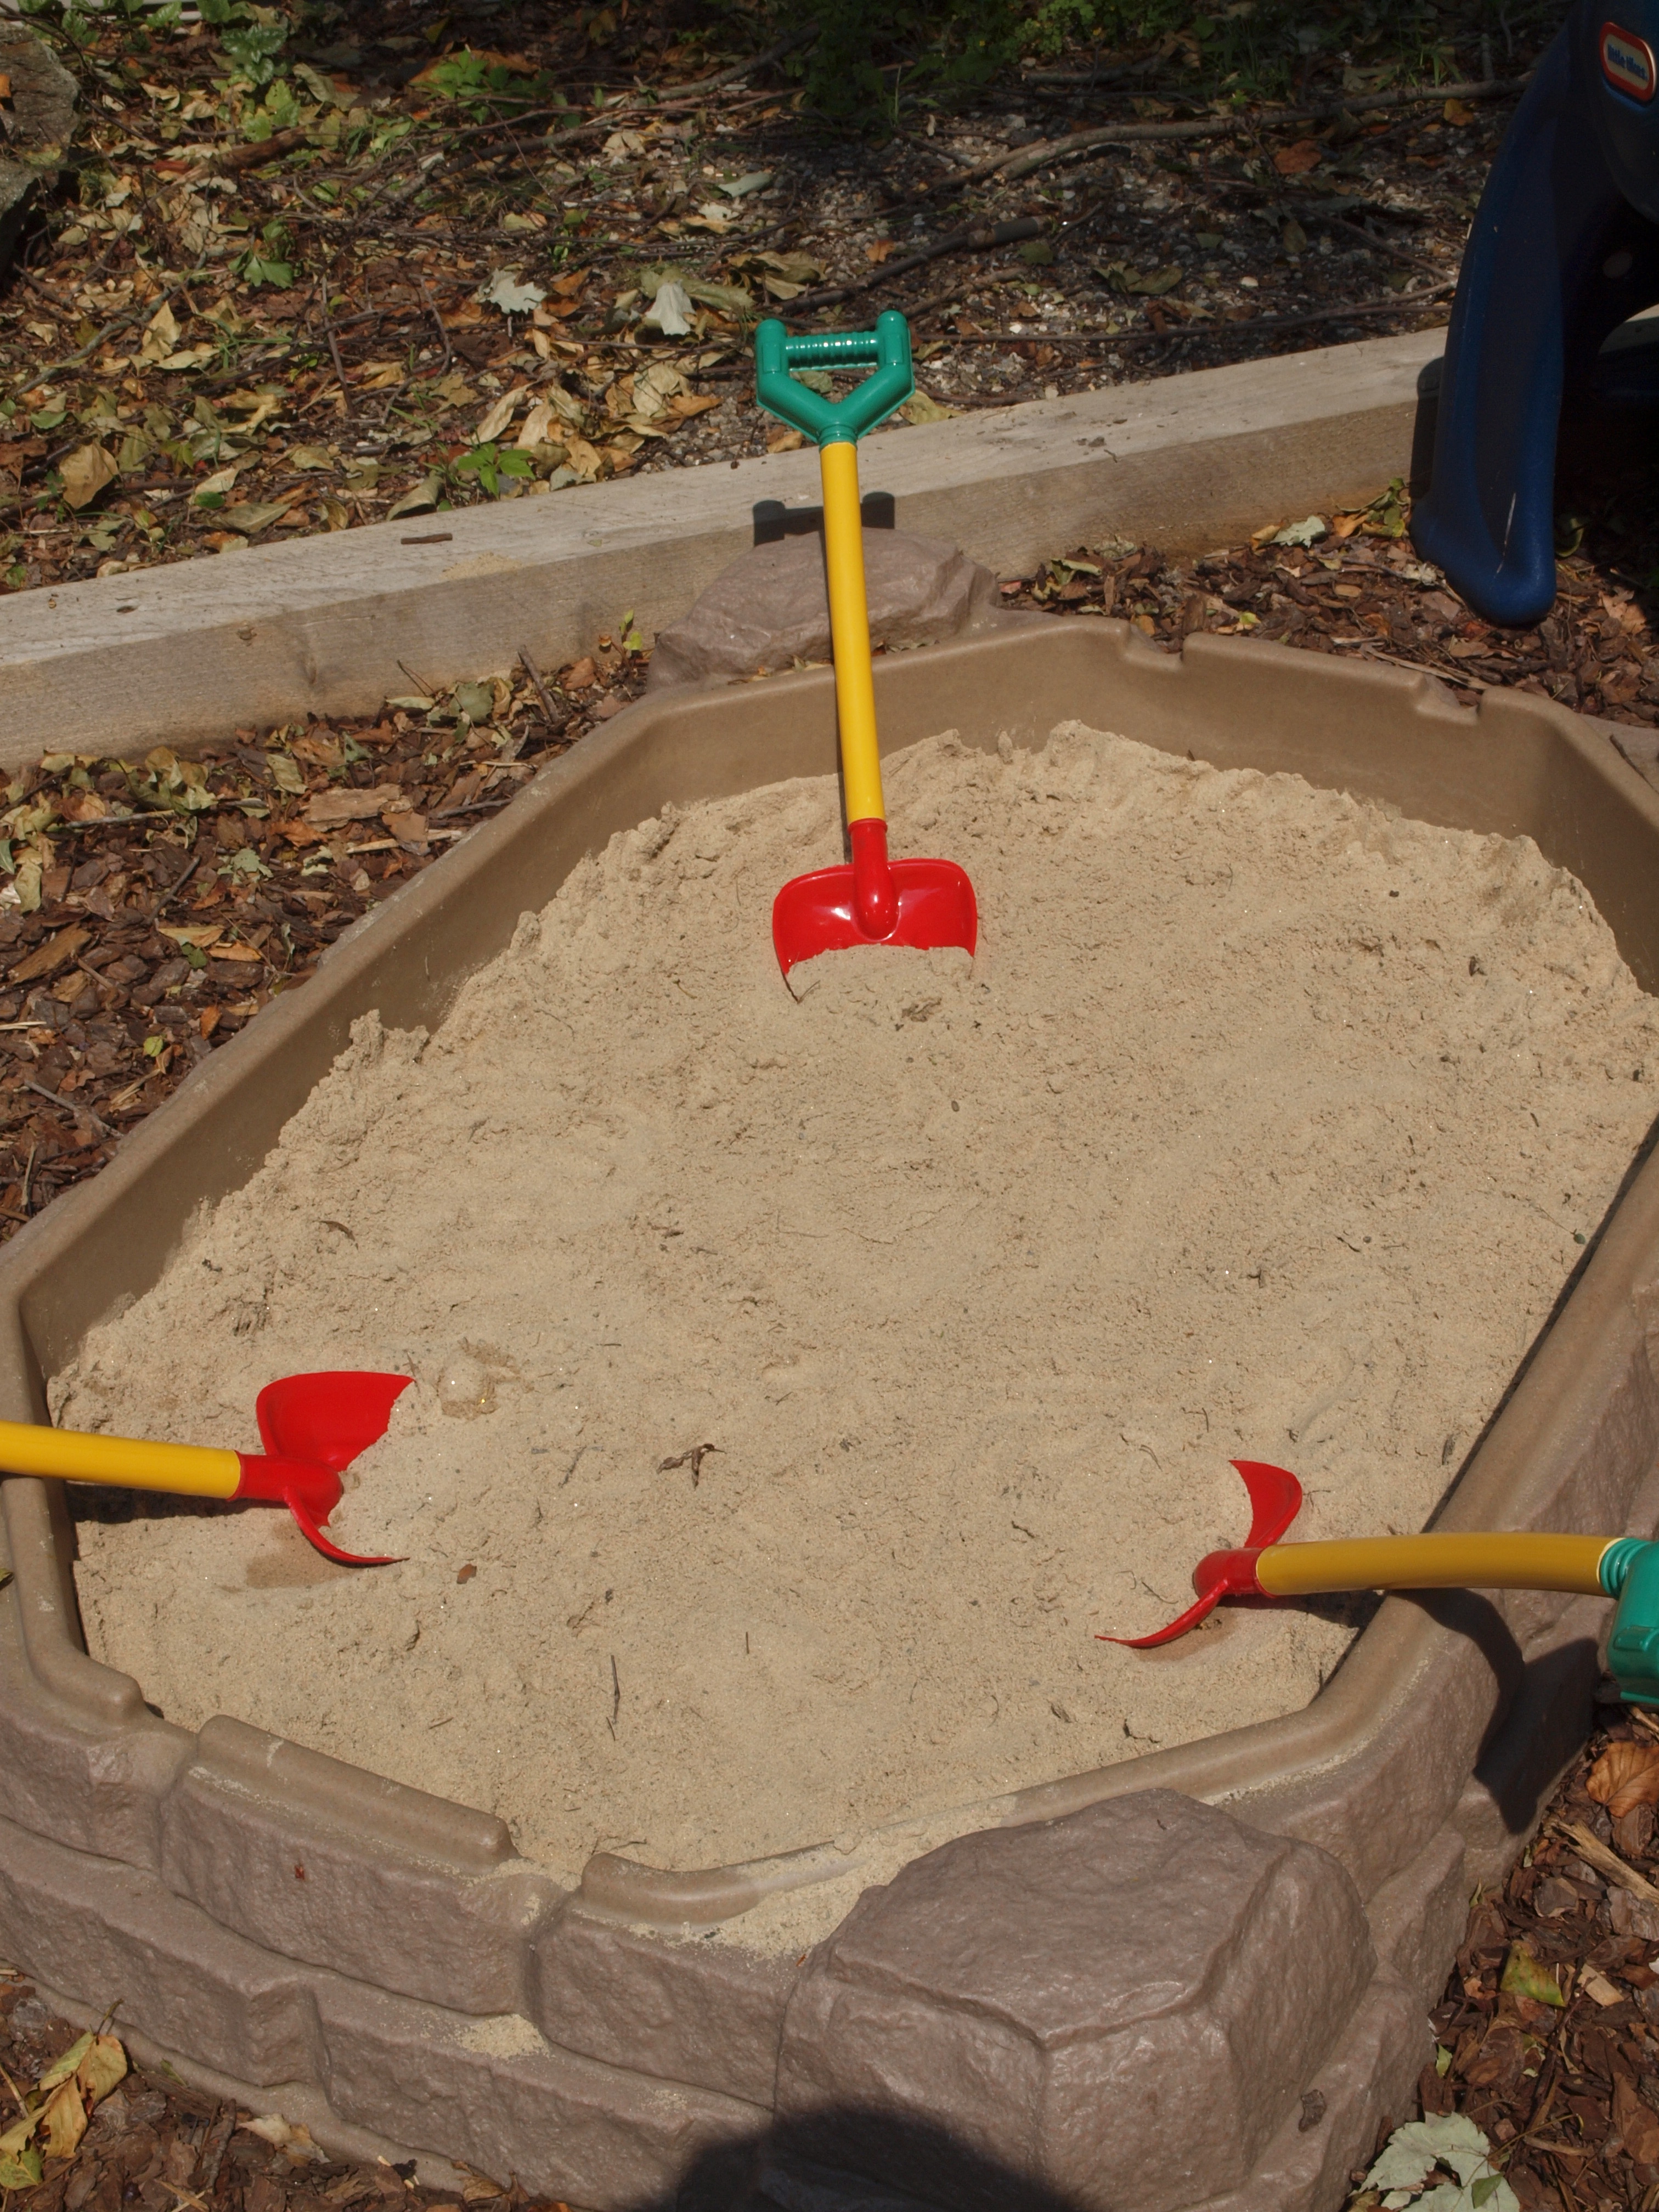
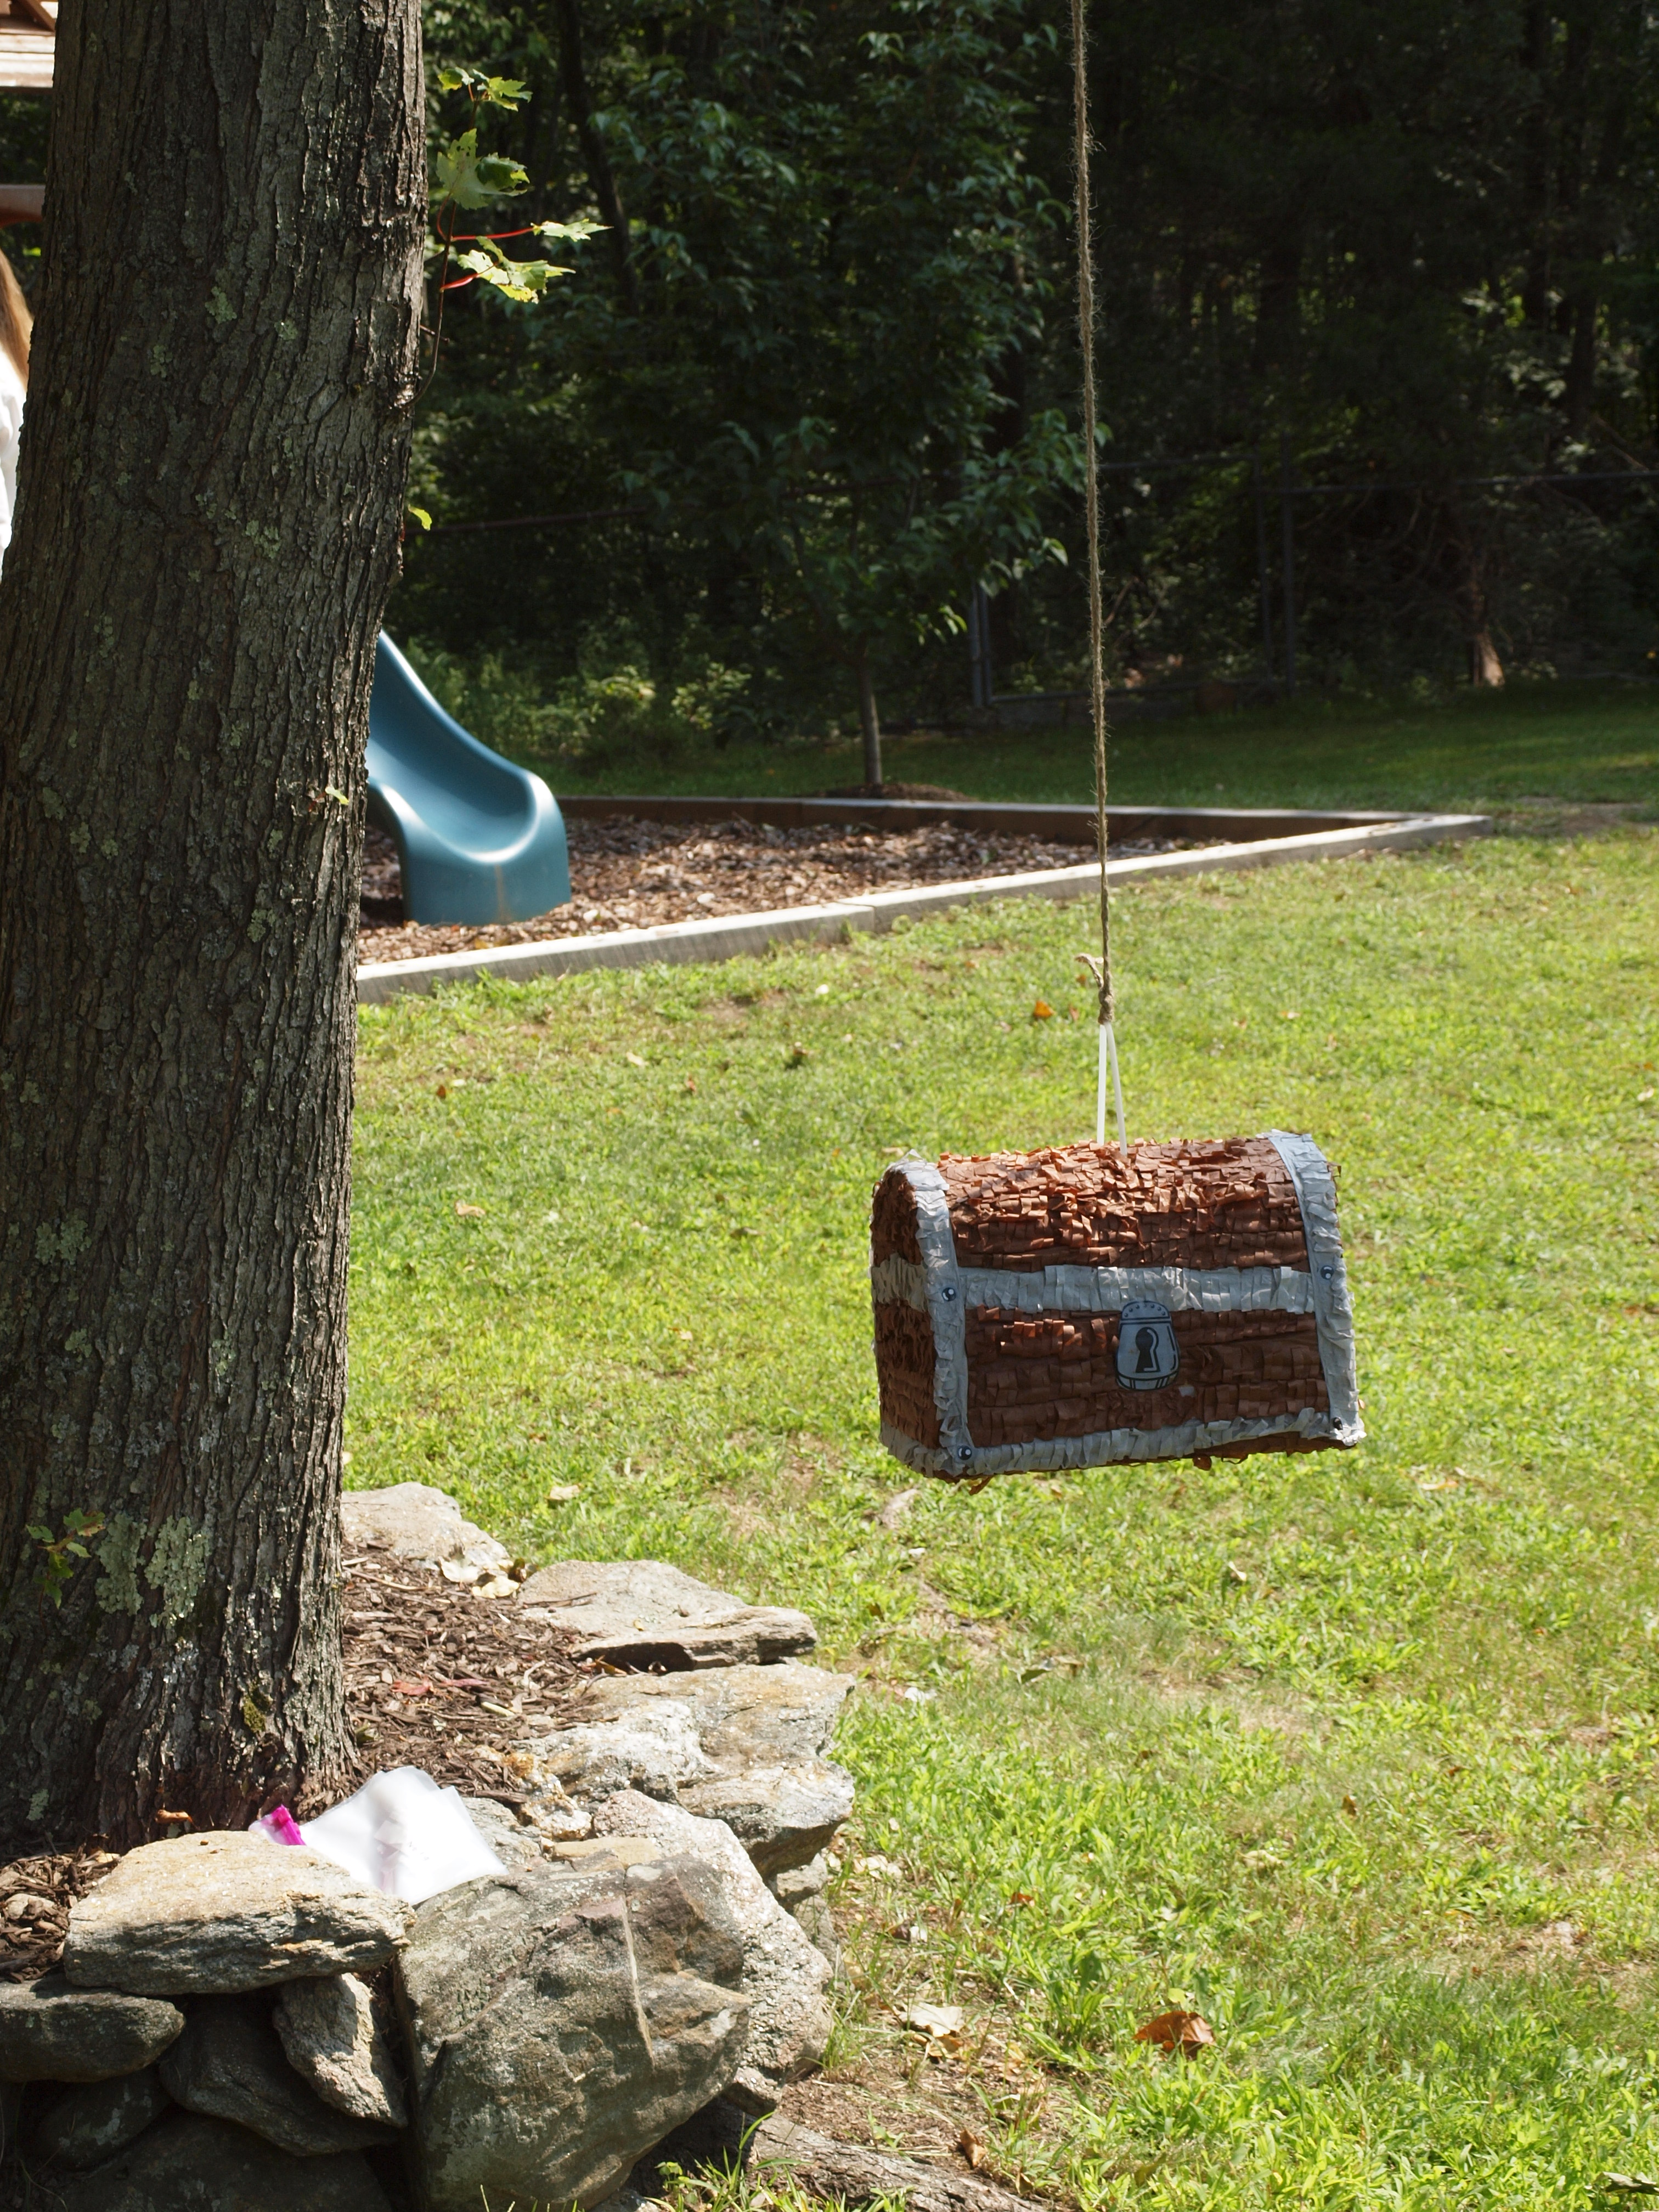
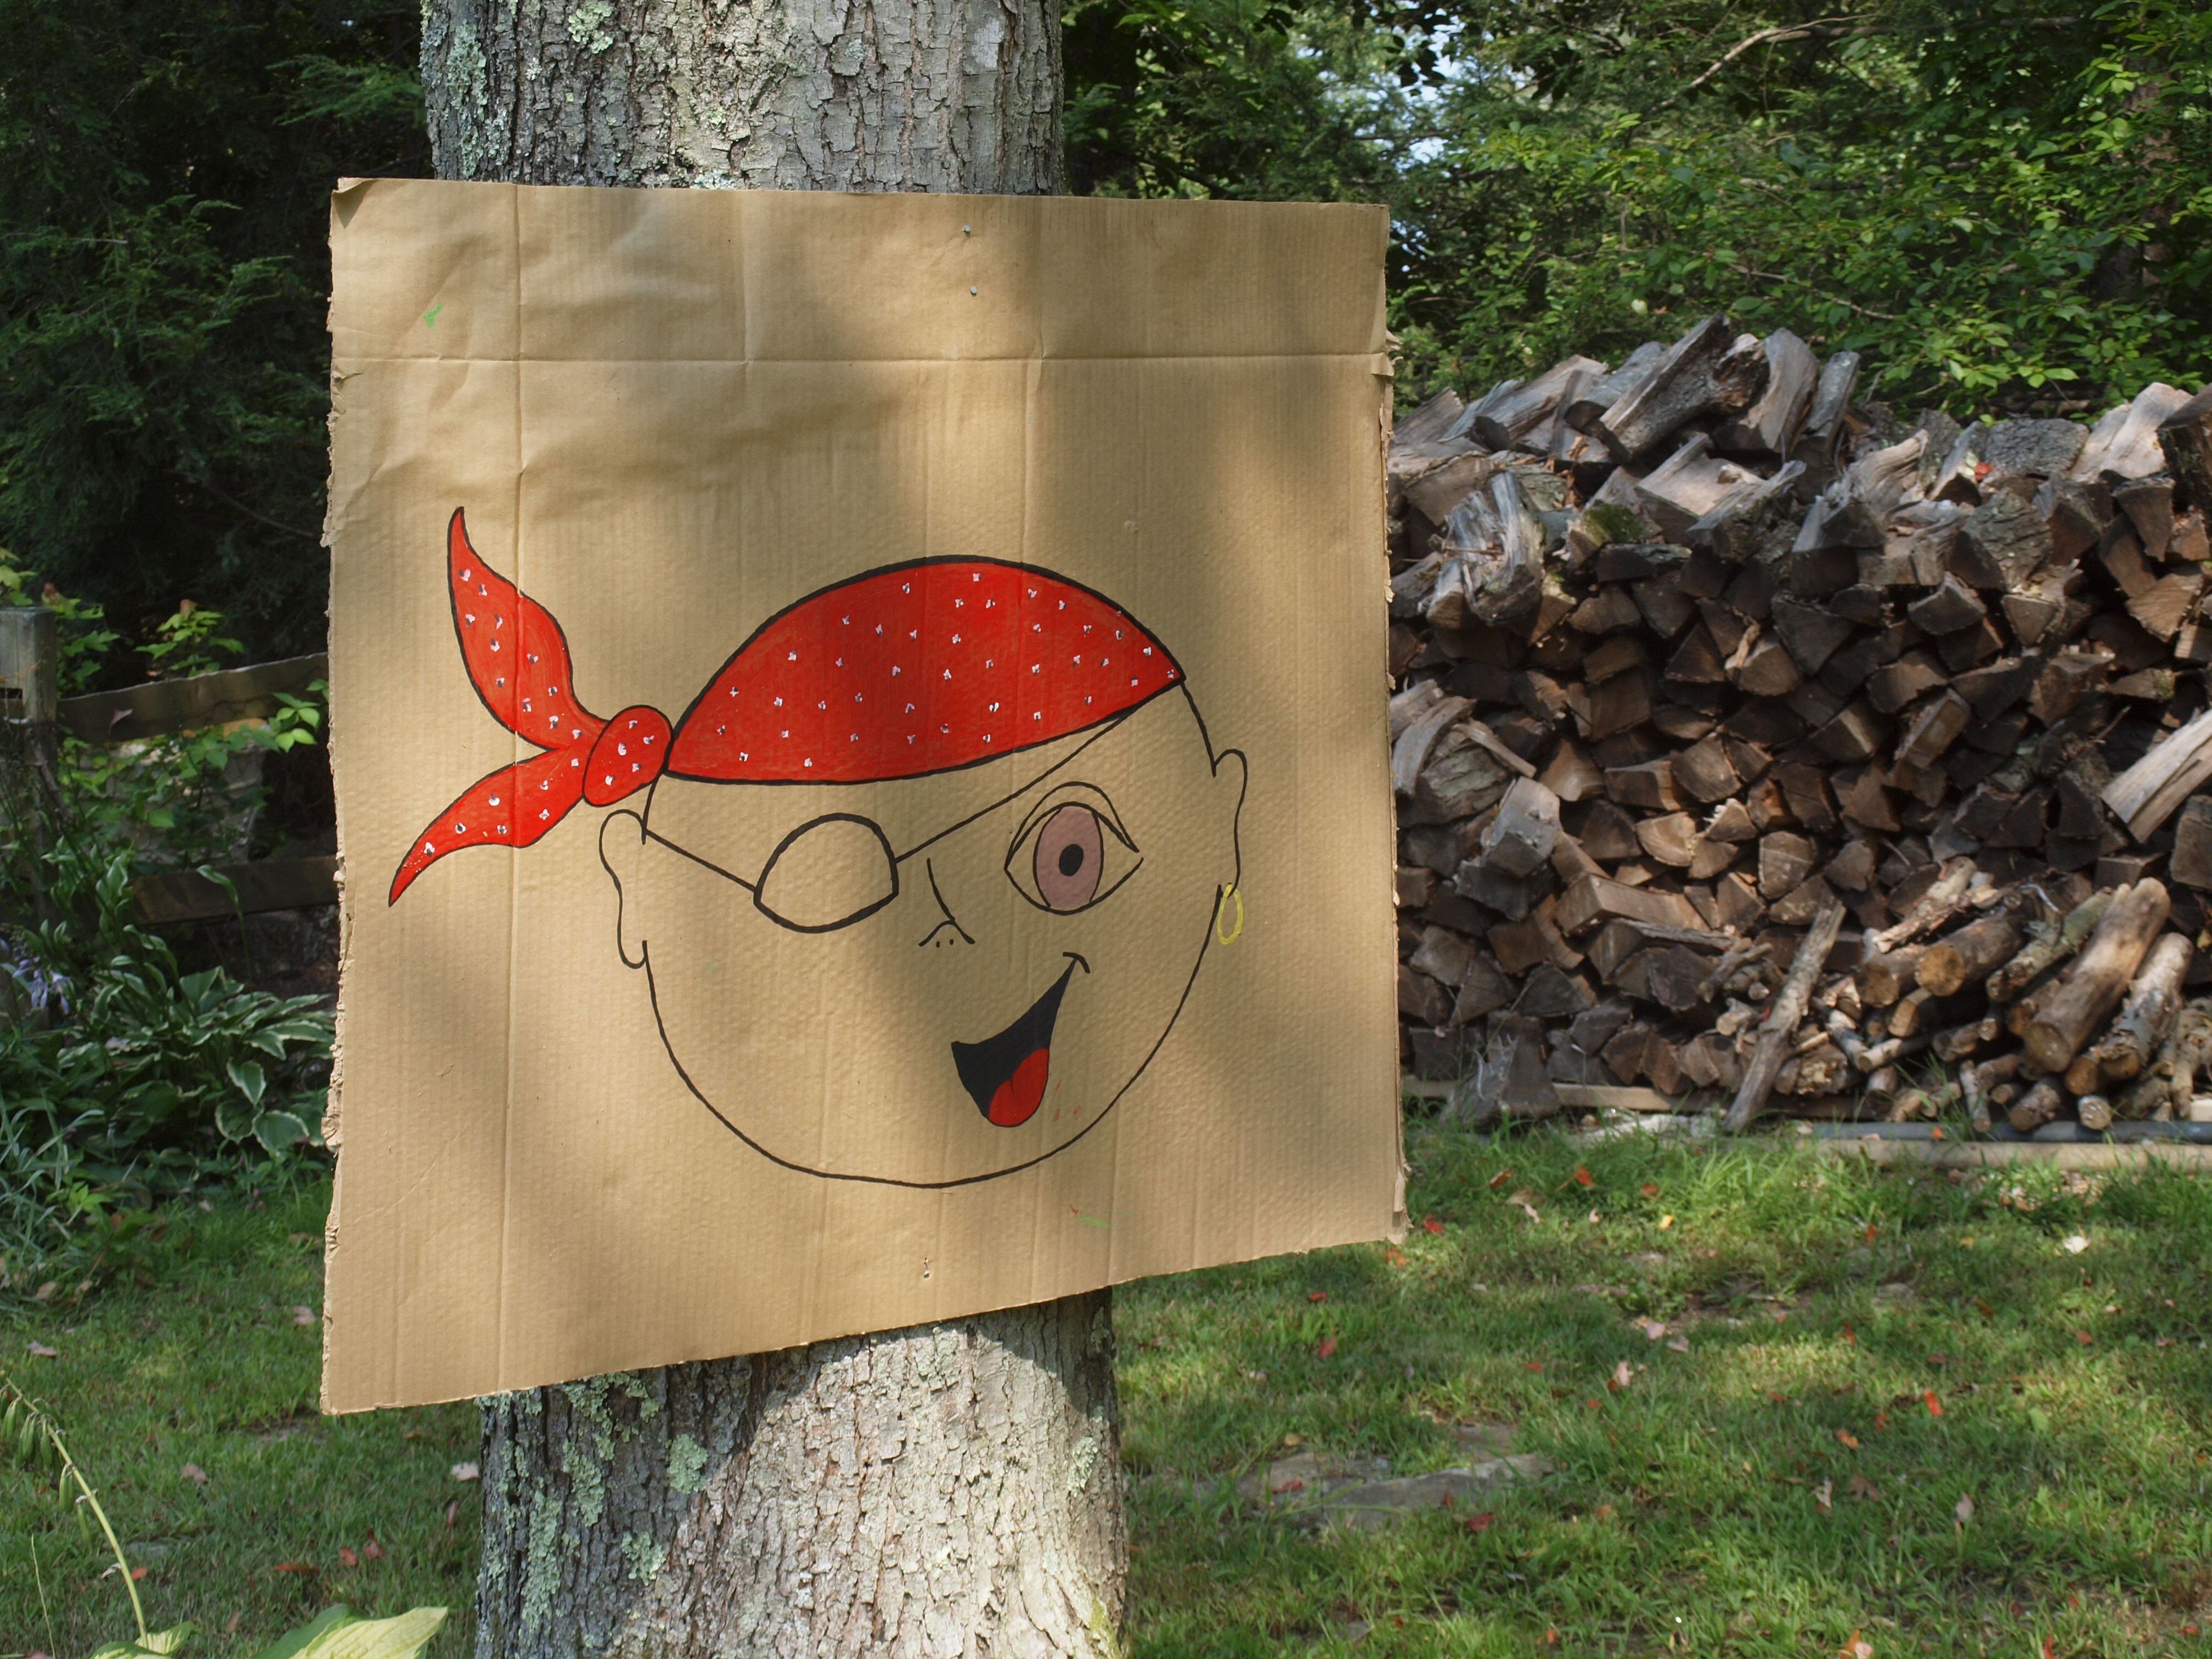
Games consisted of "Digging for Doubloons" which I buried gold coins (found on Amazon.com) in Jacob's sandbox and let them dig for 10 each.  A treasure chest pinata (Amazon.com).  And last but not least, Pin the Eye Patch on the Pirate.  I drew a cute little pirate and cut out eye patches for each kid to be blind folded and try to place it in the right spot.
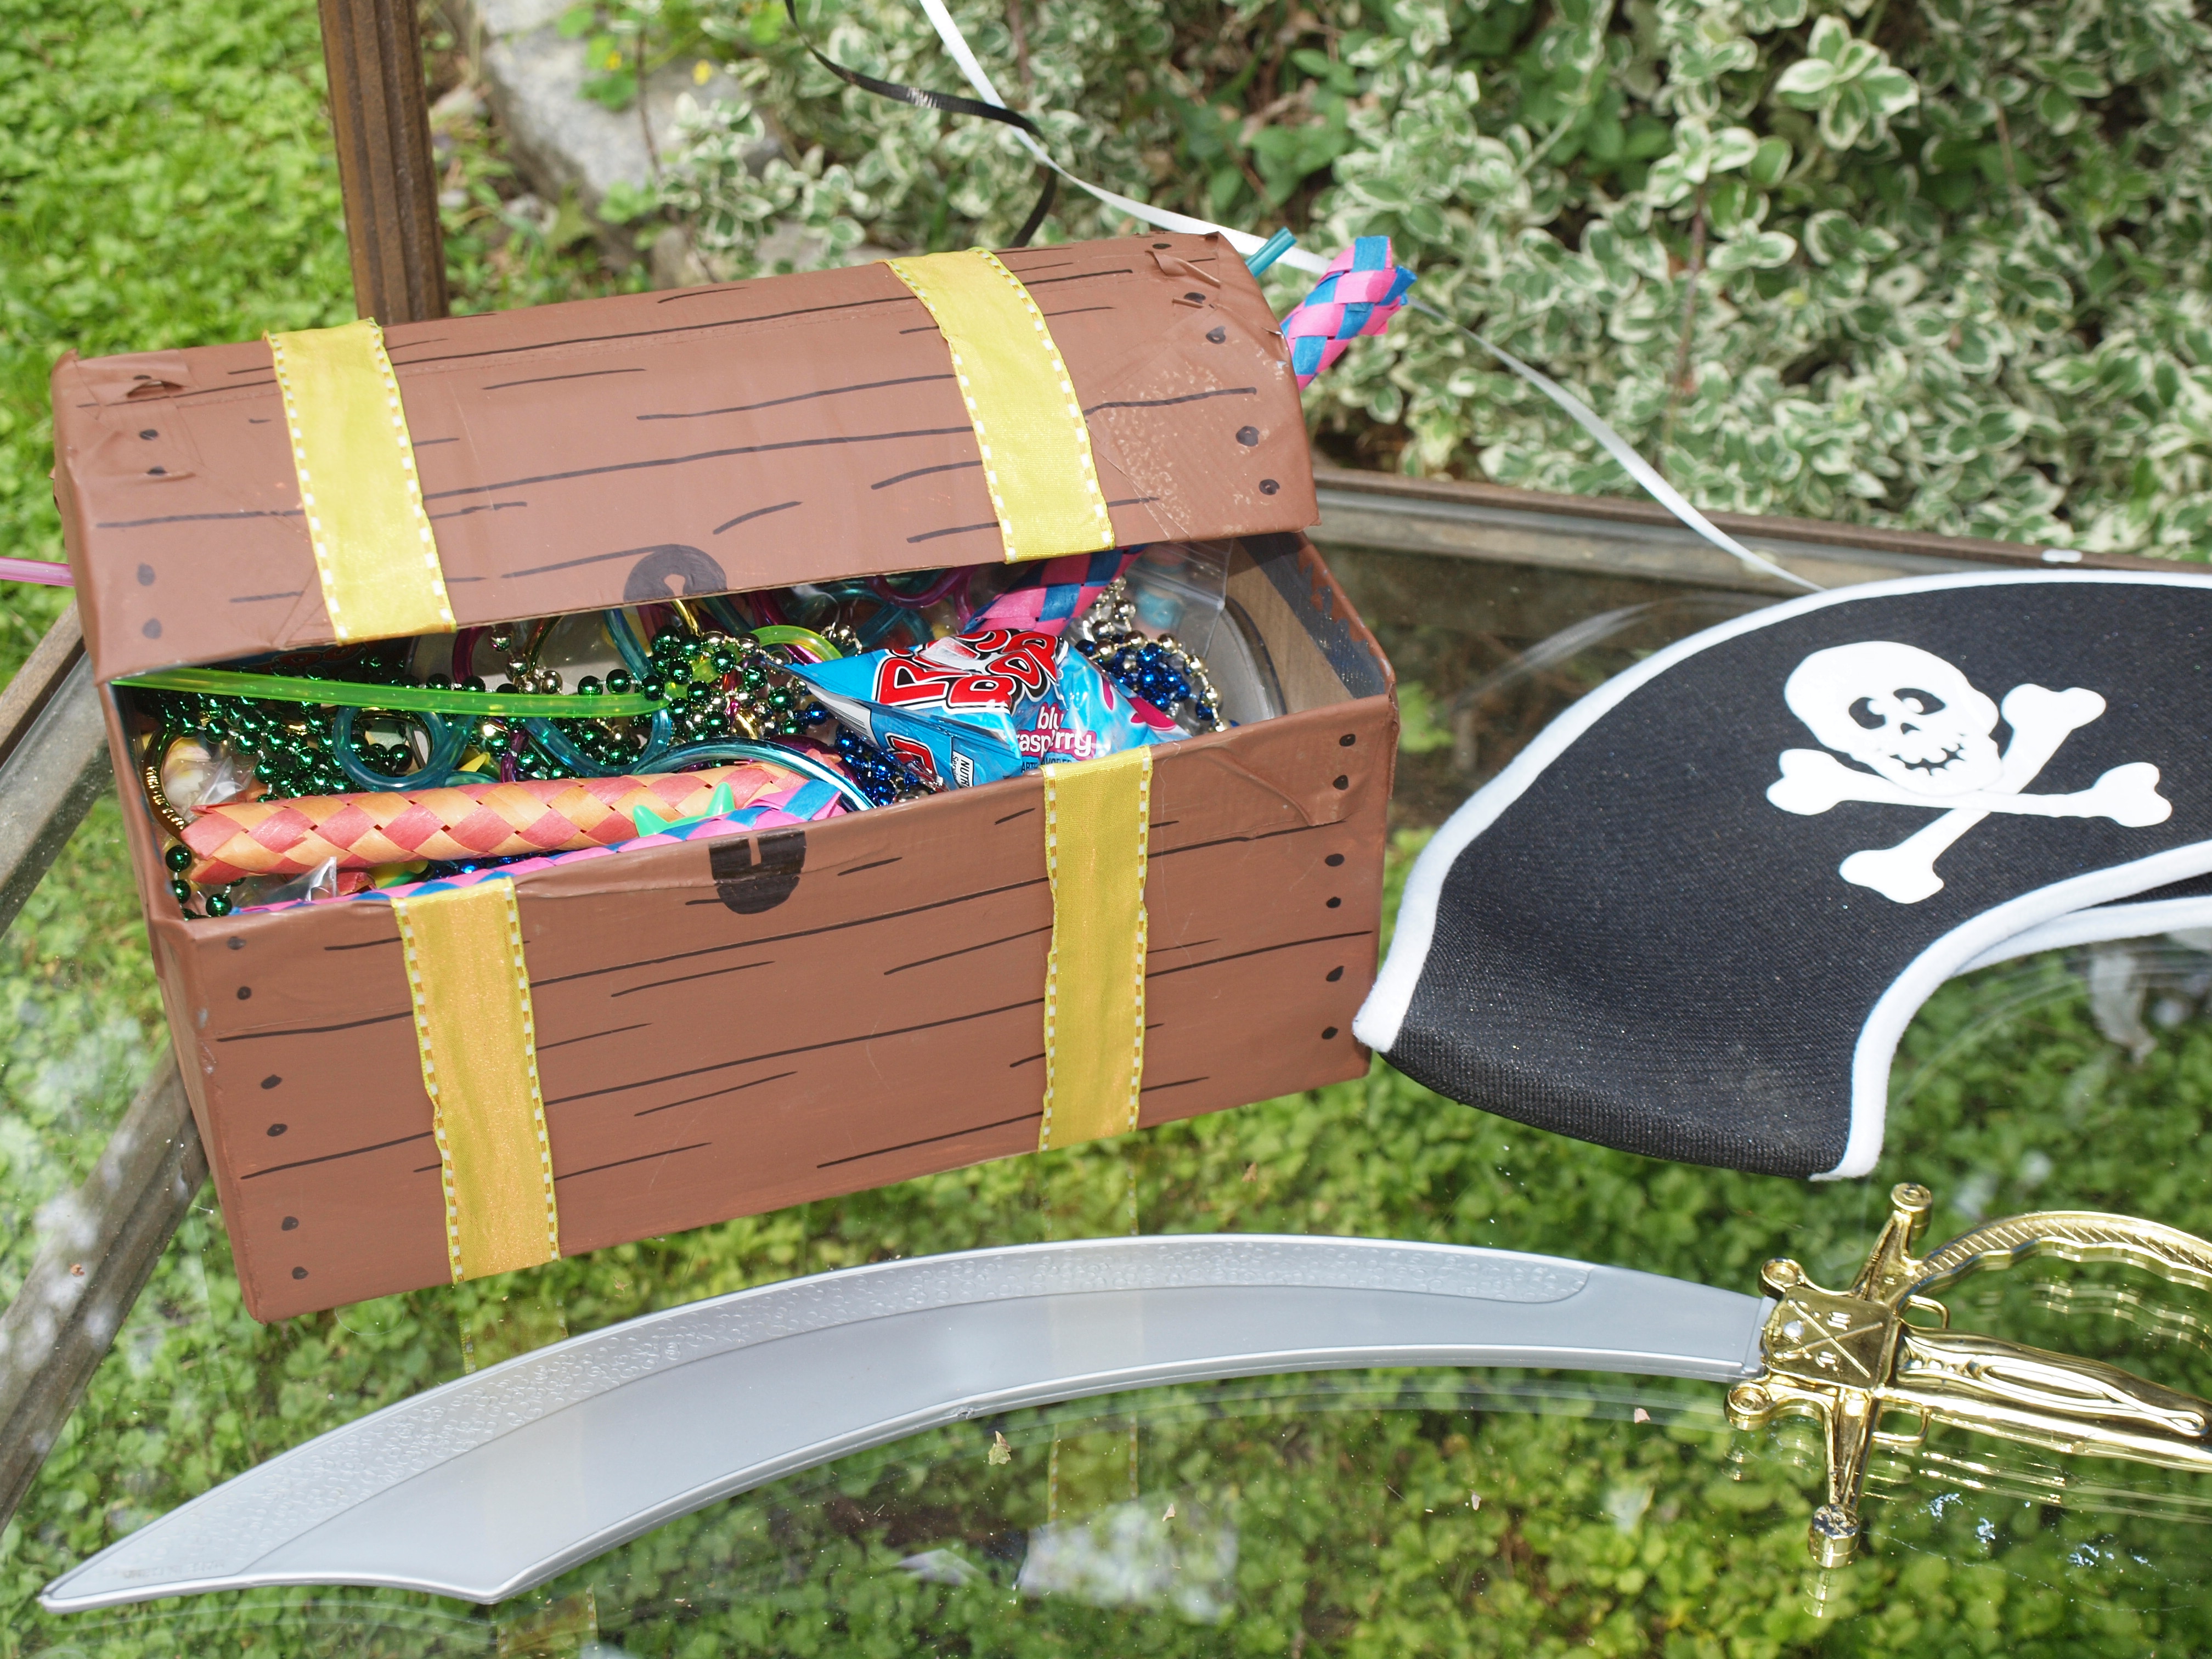
Games wouldn't be complete without prizes.  I made my own treasure chest out of a cardboard box that I fashioned to resemble a treasure chest and painted it brown.  I used gold ribbon and a sharpie for the detailing.  I filled it with all sorts of dollar store goodies including mardi gras beads and, of course, ring pops and candy necklaces.
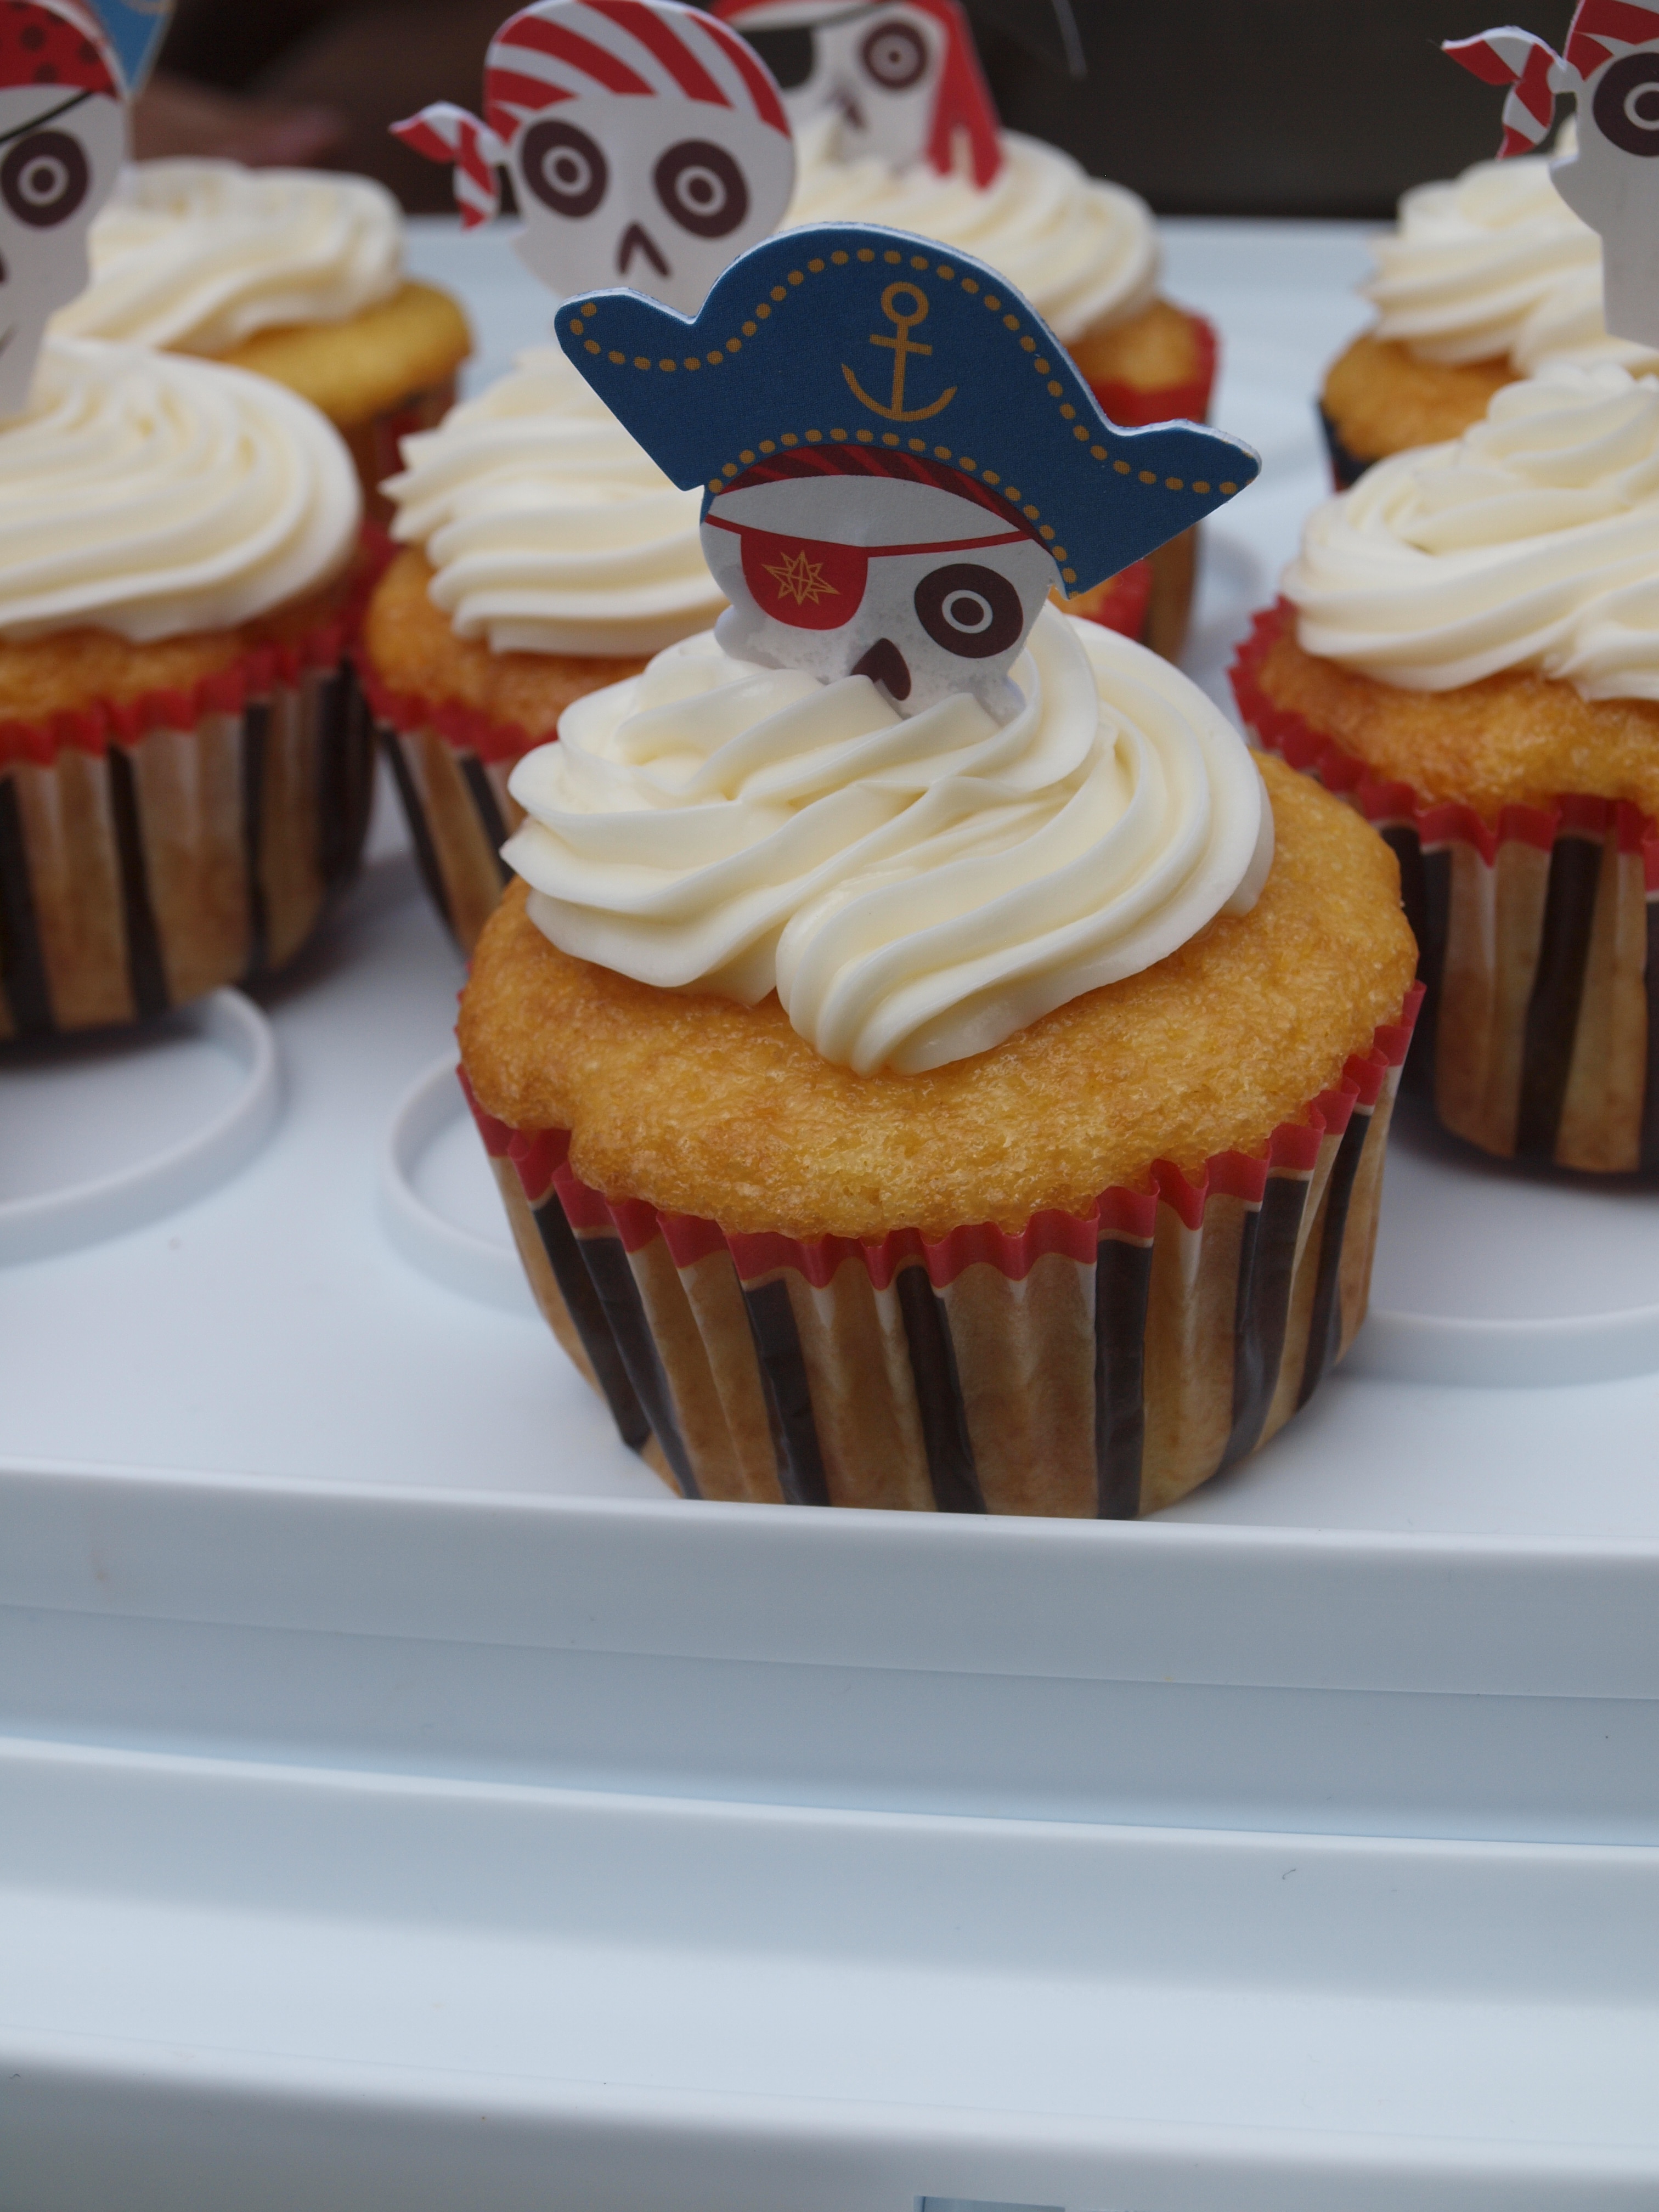
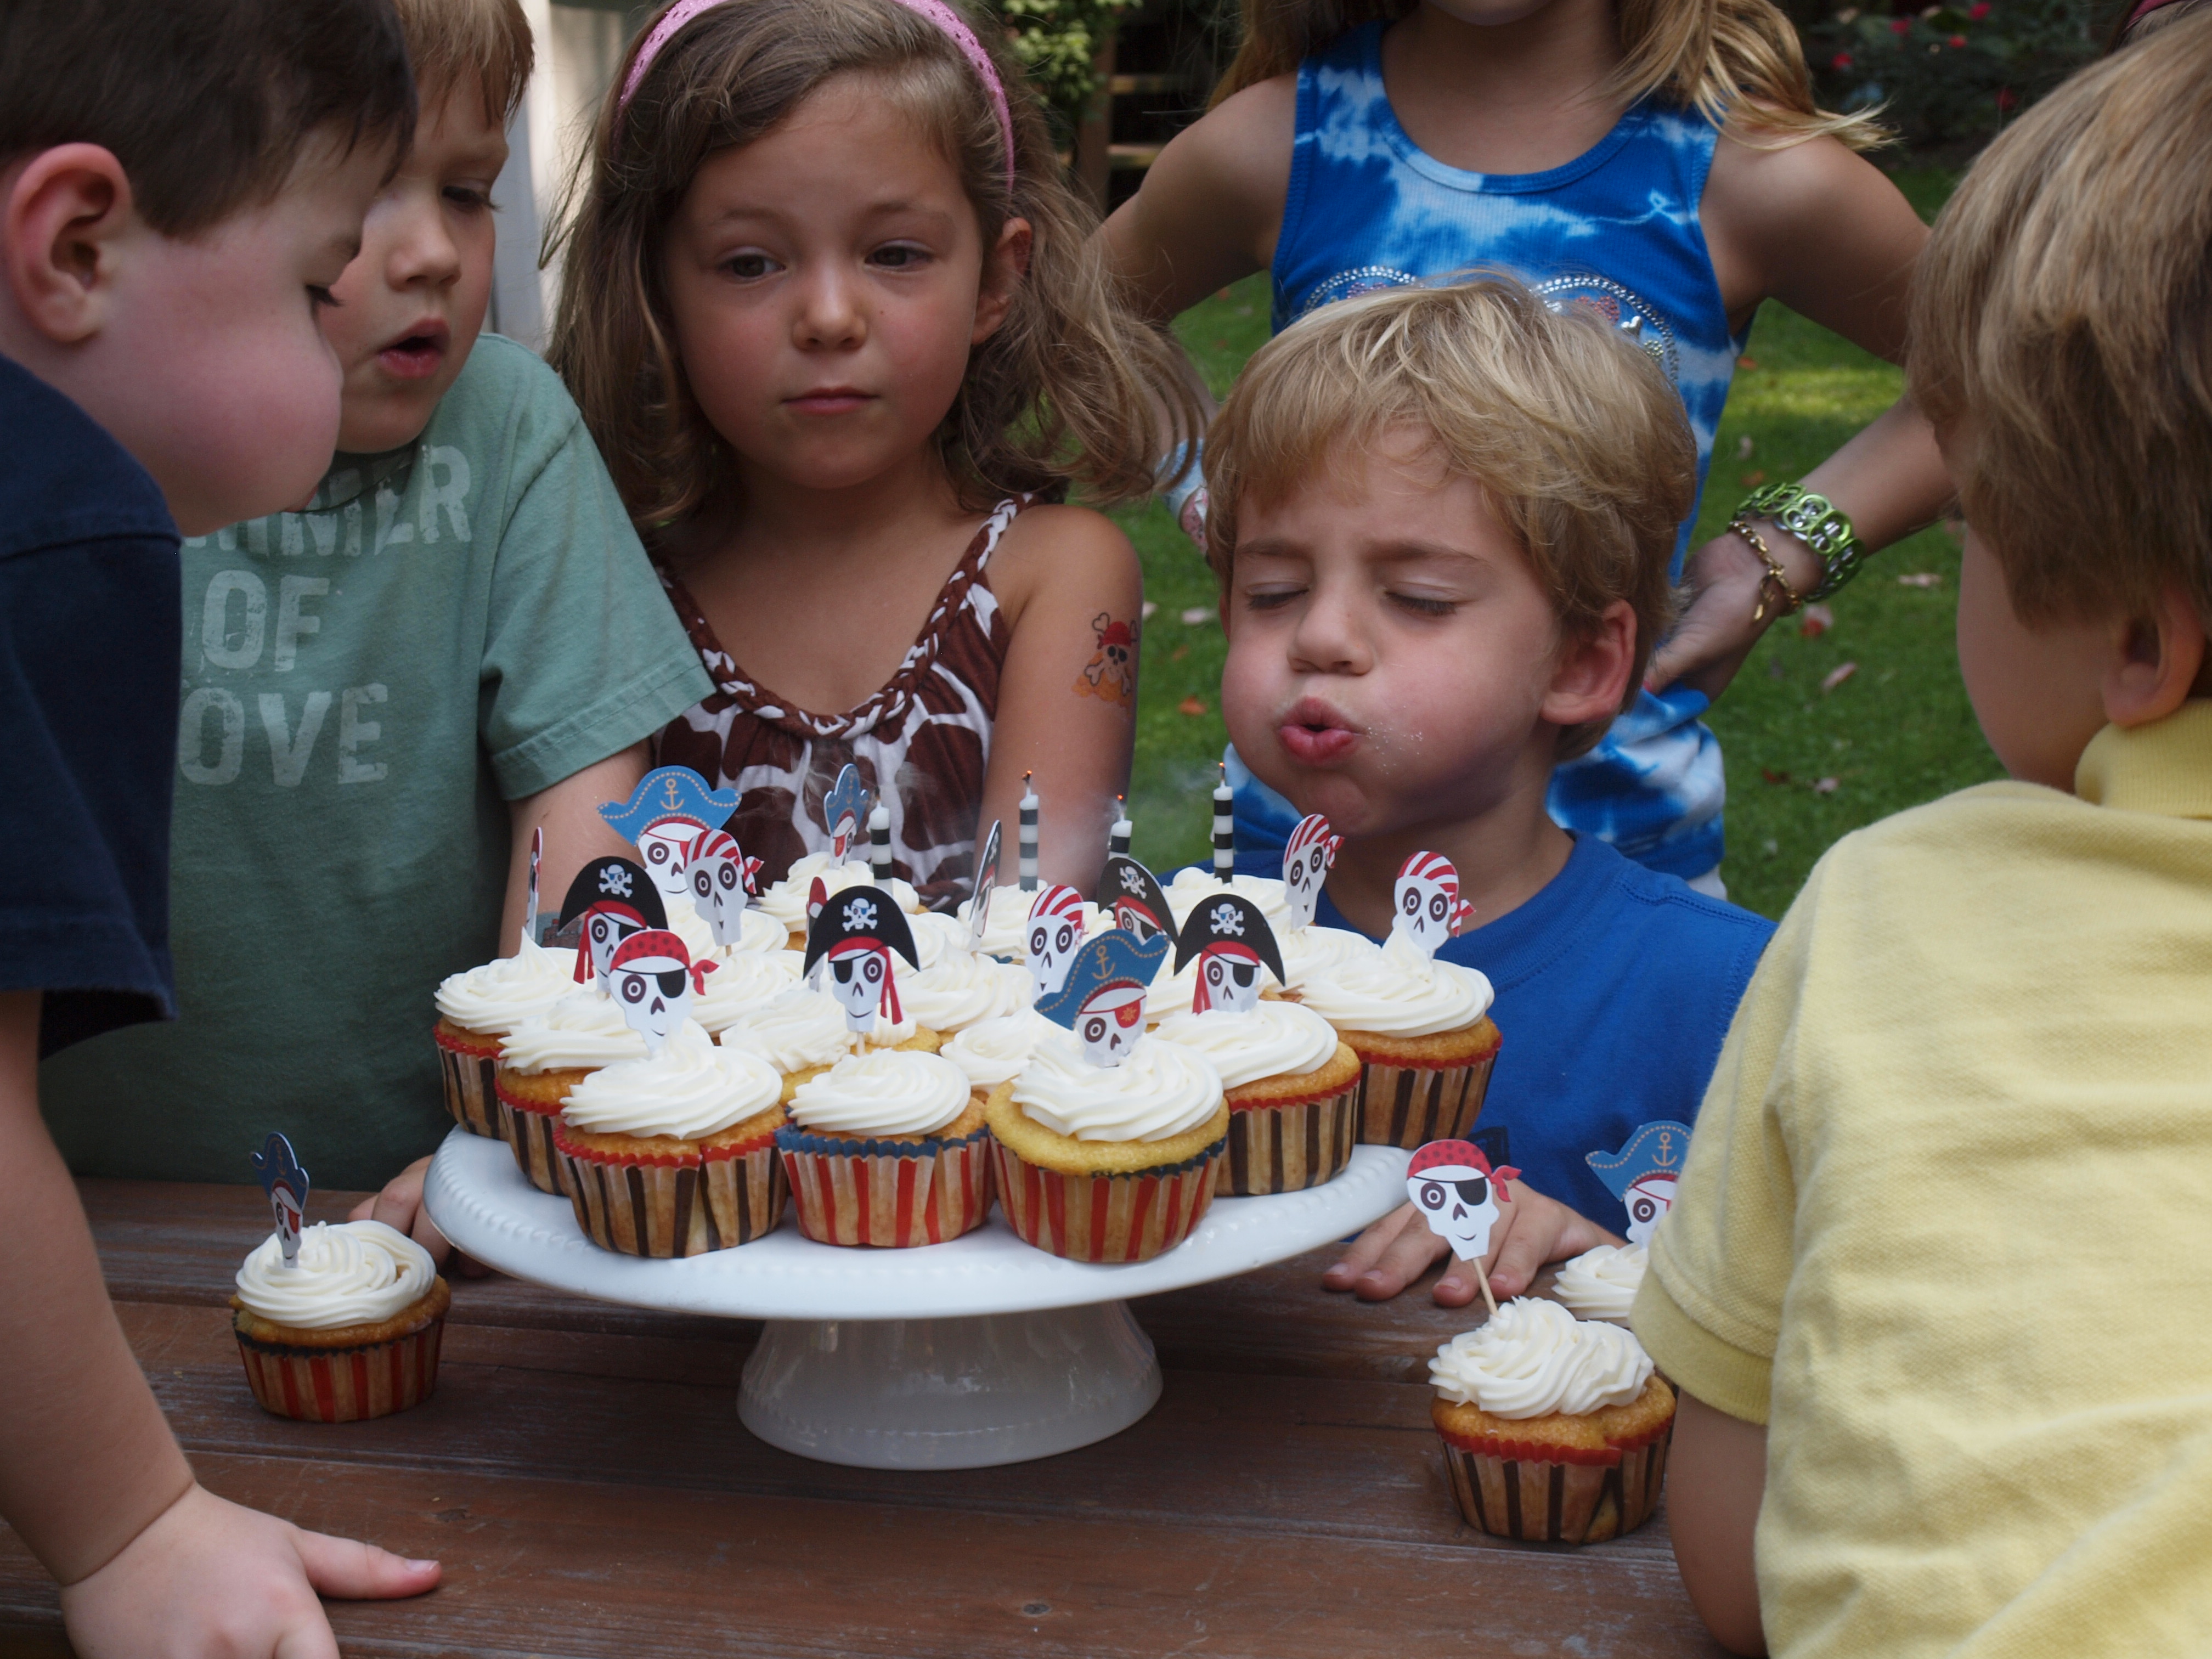
My mom found these cupcake toppers and papers at Homegoods and they just so happened to match my decor!!
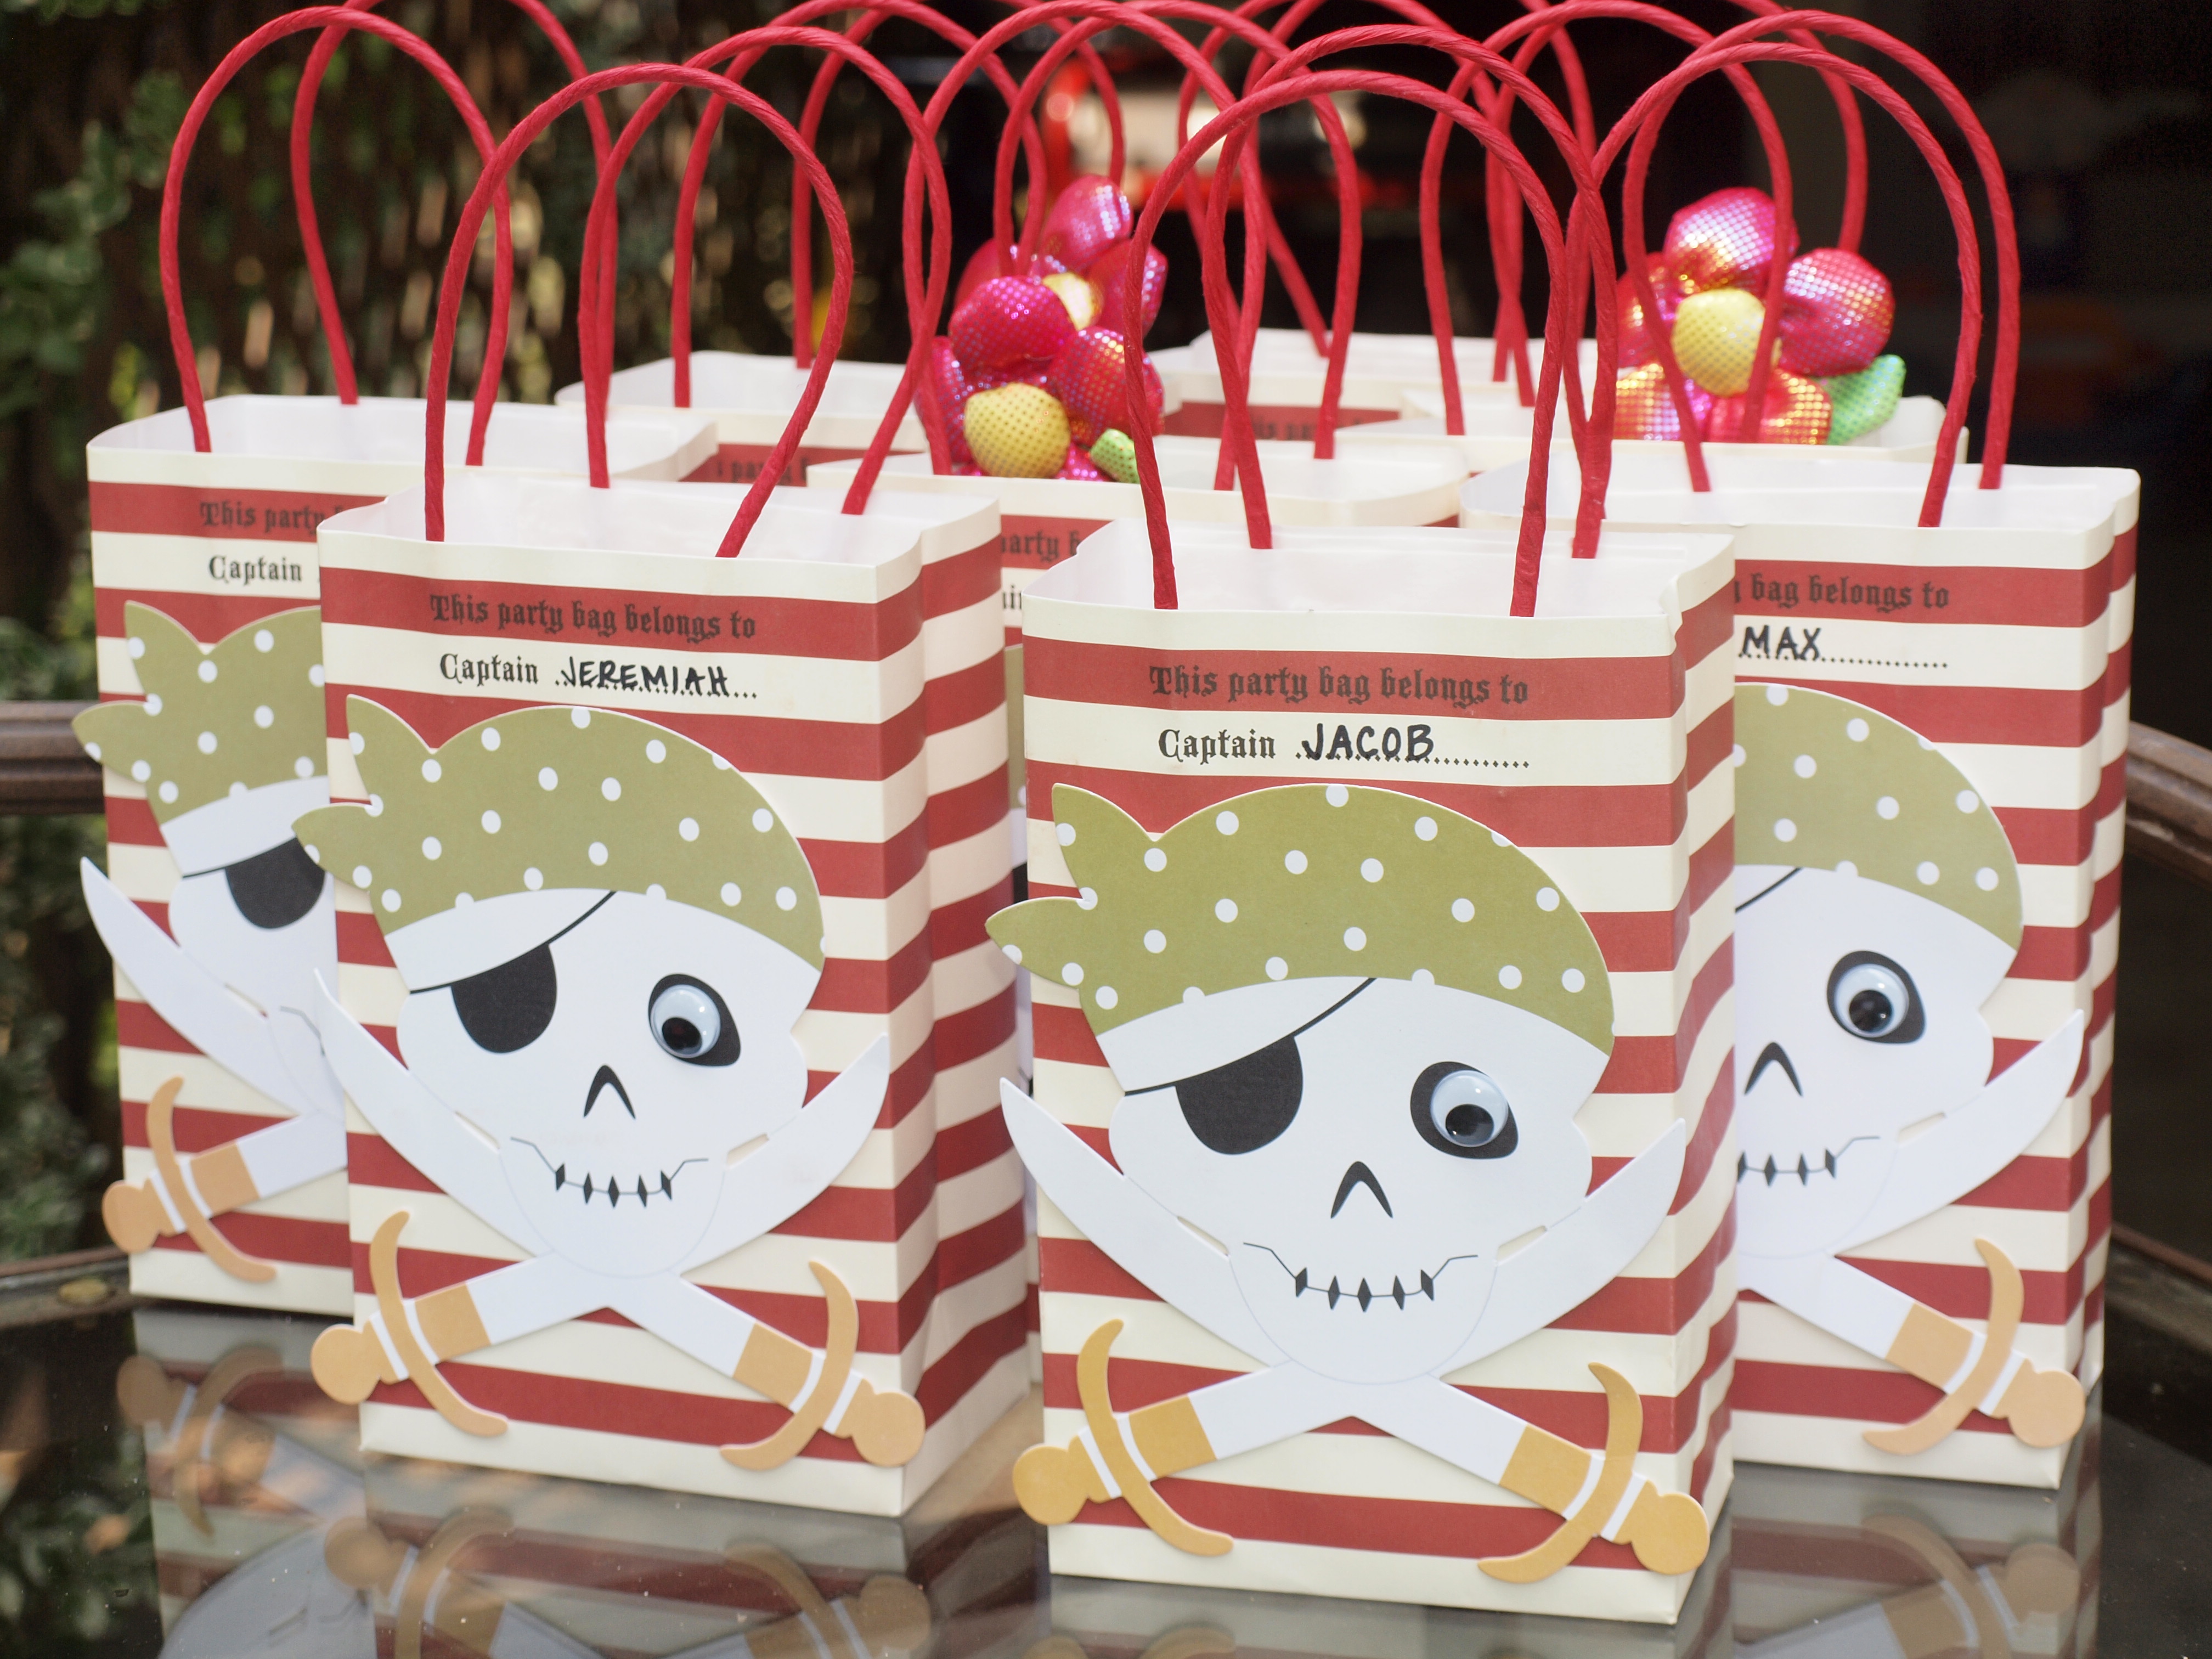
A party isn't complete without goody bags!  Each bag contained a red bandanna, an eye patch, a pirate bracelet (a flower bracelet for the girls), a little water gun, a 24 count box of Crayola crayons (20 cents at Target, what a deal!!), and gold chocolate coins.
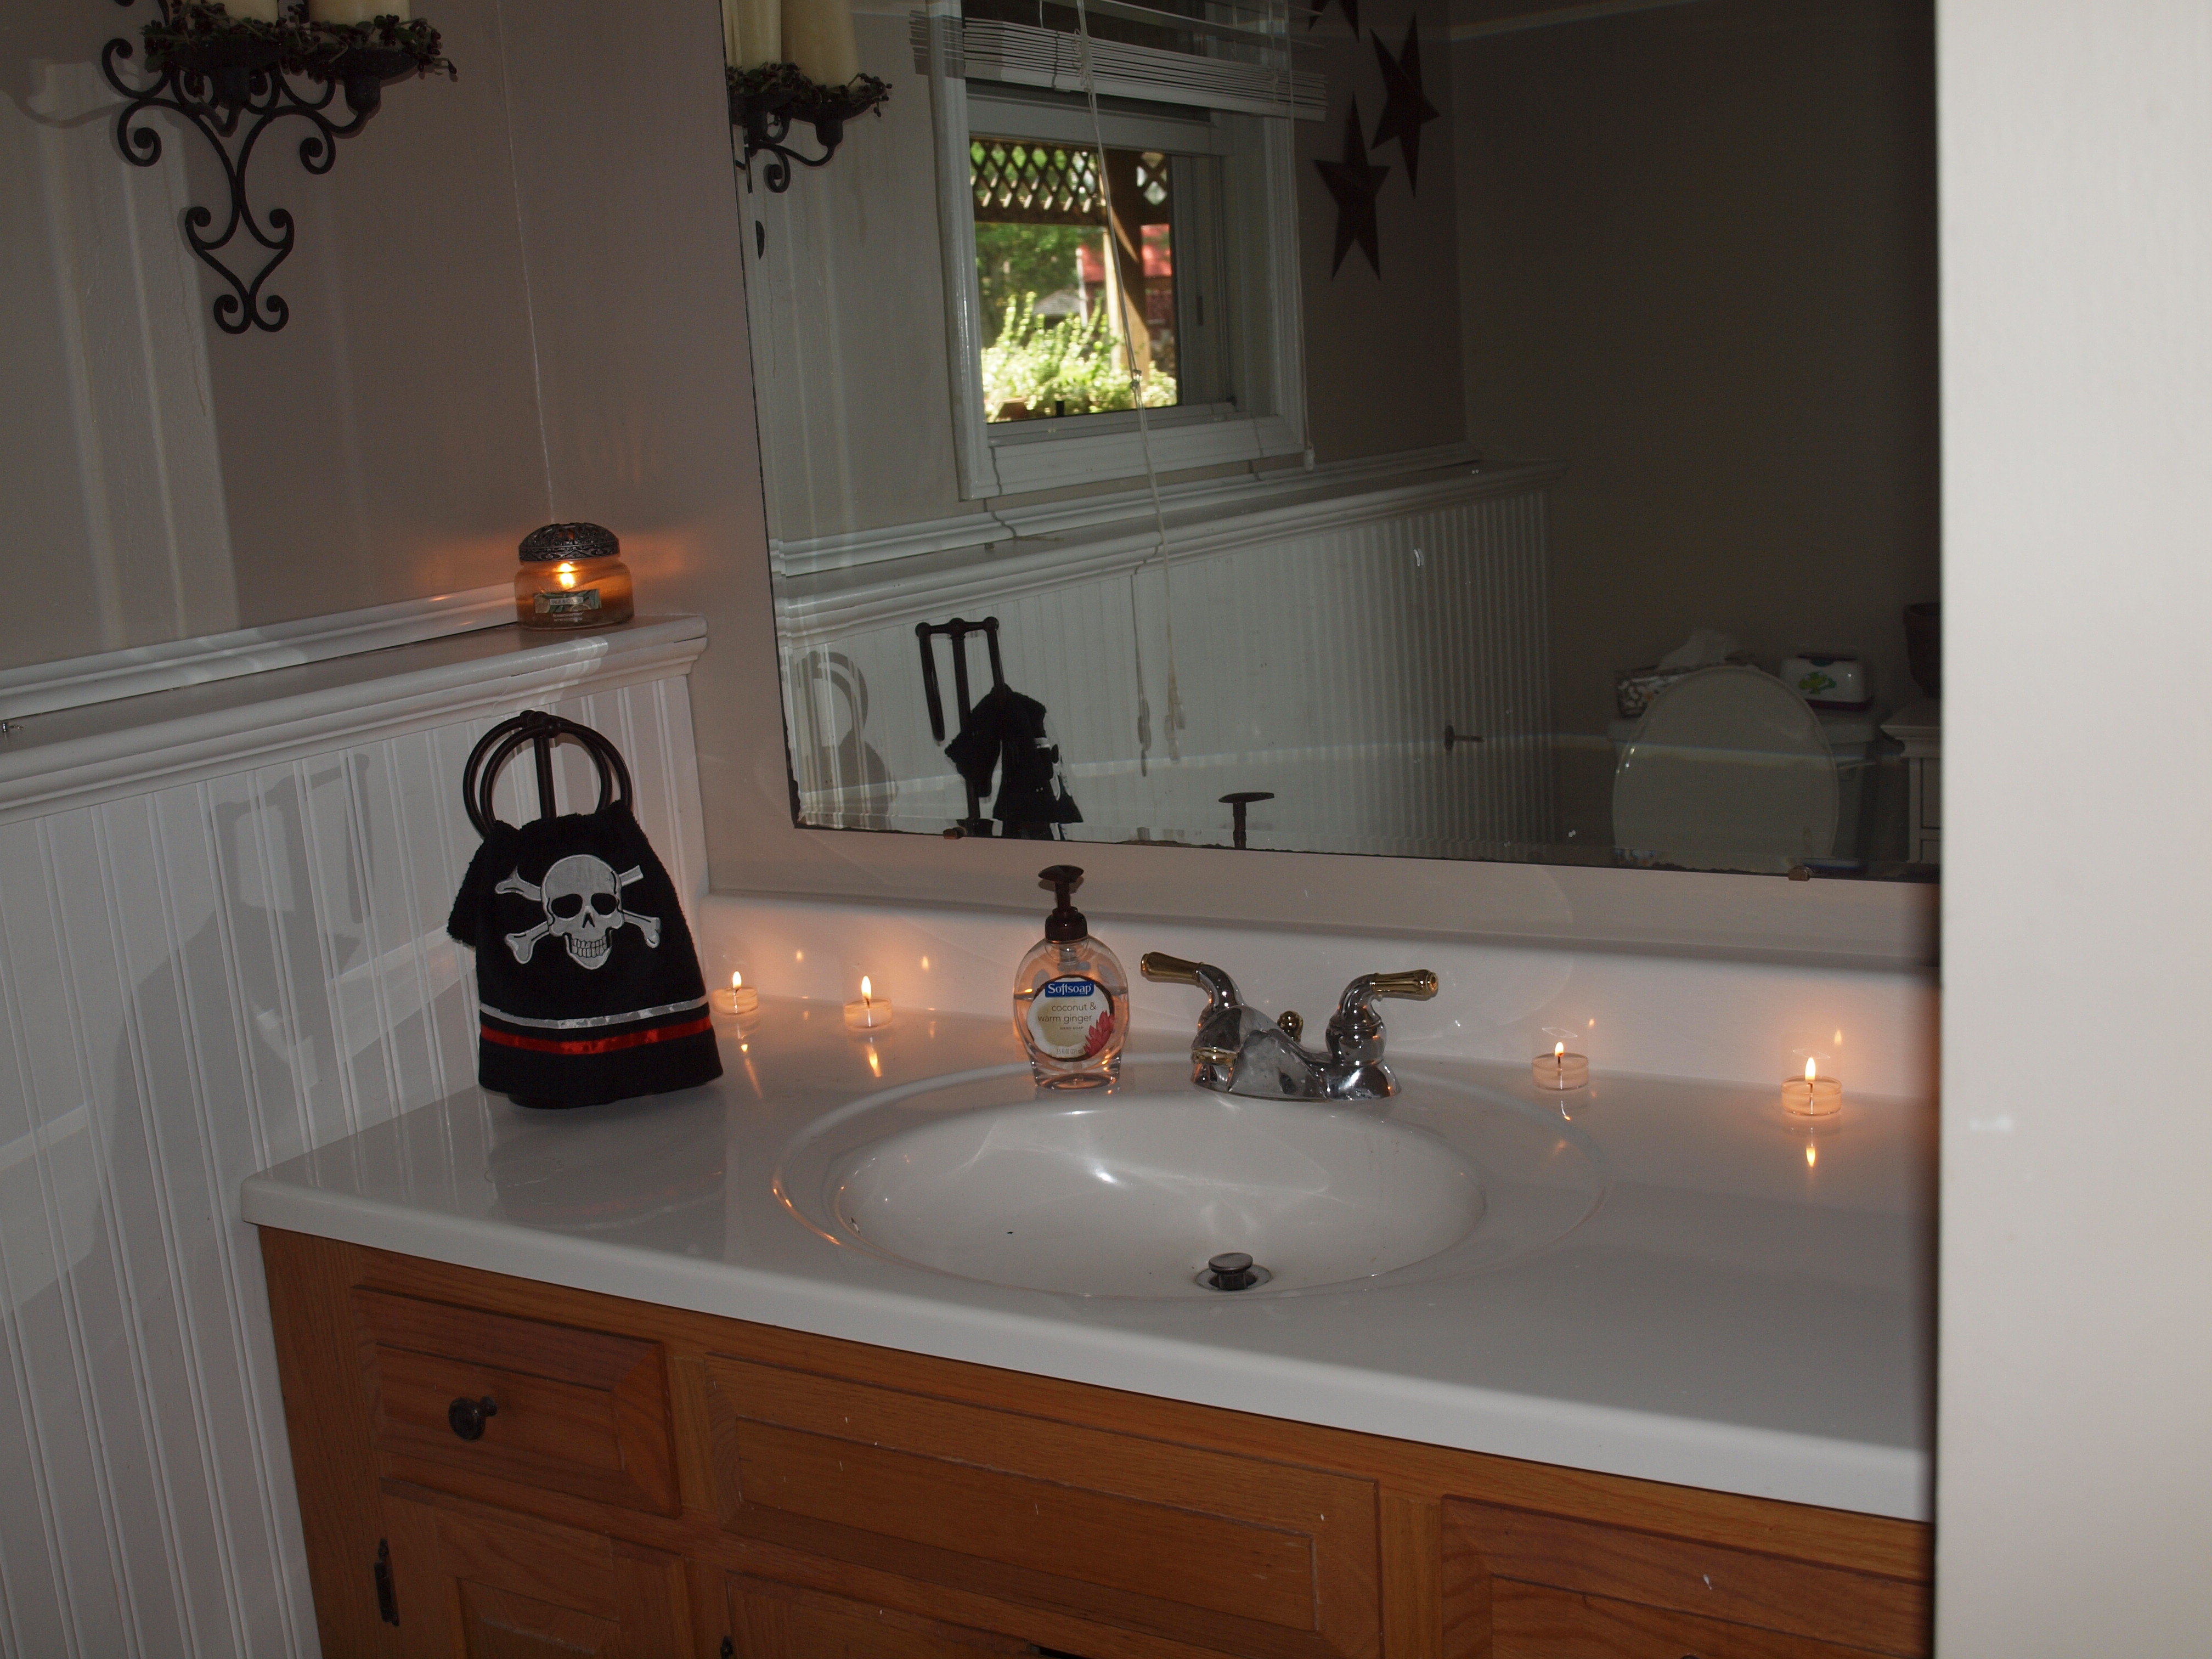
Oh and did I mention we didn't have any electricity!?  Yup that's right we had zilch!  So I lined the hallway leading to the bathroom with flameless candles and lit the bathroom with candles
Cute hand towel, right?!   Thanks oriental trading!!

I was sooooooooo excited to throw this party, can ya tell!?  And by the looks of it, I think the kids had a swashbuckling good time!!